CE 432 Fall 2021
Tutorial 2: Take Photos (Module 2 and 3 in Rui's textbook)
Taylor Nakai
tsnakai@fortlewis.edu
Introduction:
In tutorial, we built on top of what we learned in Tutorial 1: Getting Started.
We followed the examples in Module 2 and Module 3, which involved
different ways of using the ESP32-CAM's camera. The examples had us
save photos to a microSD card, customize the photo names that were
saved to the microSD, operate the ESP32-CAM's camera using a
pushbutton, create a webserver to operate the ESP32-CAM's camera,
integrating the webserver to work with the microSD, use the webserver
email the photo taken, and using the Telegram Messenger app to control
the LED and recieve photos taken. The code used can be found in
Tutorial_2.txt.
Materials:
| Materials | Quantity |
| ESP32-CAM | 1 |
| FTDI Cable | 1 |
| Power Supply | 1 |
| External Antenna | 1 |
| Push Button | 1 |
| 10k Ohm Resistor | 1 |
| Jumper Cables | 6 |
| Bread Board | 1 |
Telegram Messenger
|
1 |
Task 1:
In
task 1, we followed the example in Module 2, Unit 1 of Rui's textbook.
This example allowed us to take a photo using the ESP32-CAM and save
them to an external microSD card every few seconds, depending on the
delay that the user sets. The LED on the ESP32-CAM blinked every time a
photo was taken to inform the user of how many photos have been
taken. The photos were saved under the default naming convention
"picture#.jpg, where # corresponds to the picture number as seen in
Figure 1. One noticable thing was that the first picture always had a
green tint.

Figure 1. Saved pictures on the microSD card.
Task 2:
In
task 2, we followed the example in Module 2, Unit 2 of Rui's textbook.
This example modified the code in Task 1 to include the date and time
in the photo filename as seen in Figure 2. The time was requested from
an NTP Server, but we needed to modify the gmtOffset_sec variable match
up to MST .
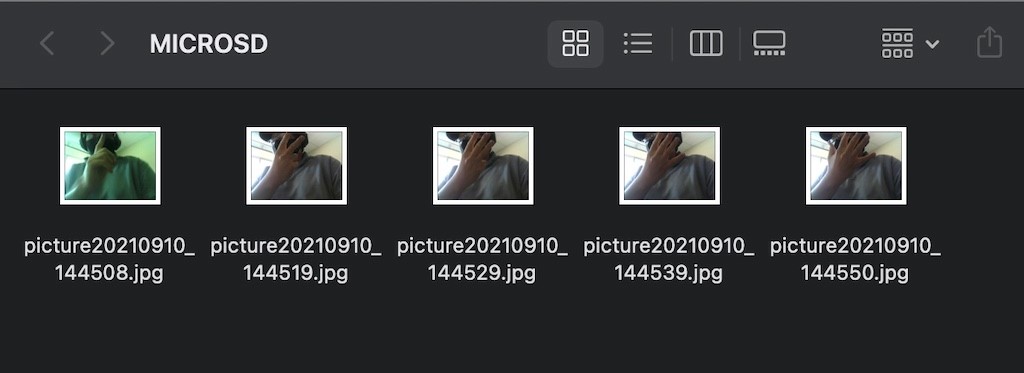
Figure 2. Saved pictures on the microSD card including the date and time in the filename.
Task 3:
In
task 3, we followed the example in Module 2, Unit 3 of Rui's textbook.
This example had us connect a pushbutton to the ESP32-CAM that allowed
us to control when a photo is taken and saved to the microSD card.
Since GPIO pins 0, 2, 4, 12, 13, 14, 15 are already being used, the
pushbutton was connected to the ESP32-CAM using GPIO pin 16. The code
included a debouce sketch to help prevent the ESP32-CAM from crashing
if a false positive press is detected, as it checks the state of the
button twice to ensure that the button was actually pressed. When the
pushbutton is pressed, the LED flashes to indicate that a photo is
taken and saved to the microSD card. Figure 3 shows the sequence of
events after the pushbutton is pressed.

Figure 3. Arduio's serial monitor showing when the pushbutton is pressed and the filename the photo is saved under.
Task 4:
In
task 4, we followed the example in Module 2, Unit 5 of Rui's textbook.
This example has us build a web server that allowed for commands to be
sent to the ESP32-CAM. In order to build the web server, the
ESPAsyncWebServer and AsyncTCP libraries need to be installed. The
commands that can be sent to the ESP32-CAM are rotate, capture photo,
and refresh page. When the user clicks on the capture photo button, the
ESP32-CAM take a photo and saves it to it's filesystem, SPIFFS. Once a
photo is taken, the refresh page button can be clicked to refresh the
page and display the photo taken. The rotate button can be clicked to
change the orientation of the photo. Figure 4 shows the web page that
has the buttons for the commands and last photo taken. An interesting
feature is that even if the board is restarted, the last photo taken is
still accessible.
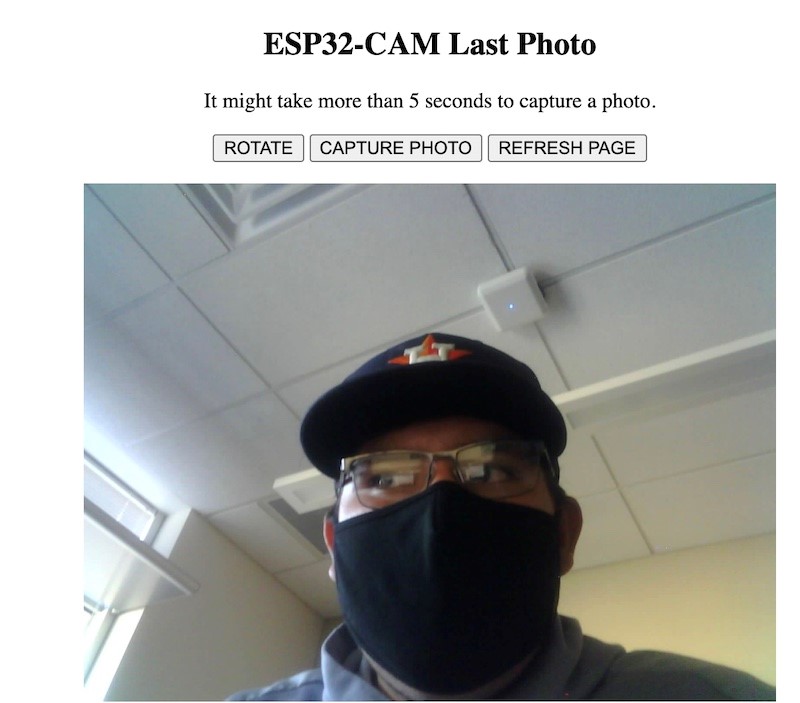
Figure 4. Web page showing commands and last photo taken.
Task 5:
In
task 5, we followed the example in Module 2, Unit 6 of Rui's textbook.
This example allowed for us to build a web server that manages the
photos saved on the microSD. The commands that can be sent to the ESP32-CAM are rotate, capture photo, refresh page, and view and delete photos. When
the user clicks on the capture photo button, the ESP32-CAM take a photo
and saves it to the microSD card. Once a photo is taken, the
refresh page button can be clicked to refresh the page and display the
photo taken. The rotate button can be clicked to change the orientation
of the photo. The view and delete photos button can be clicked to view or delete previous photos on the microSD. Figure 5 shows the web page that has the buttons for the commands and last photo taken. Figure 6 shows the web page when view and delete photos button is clicked.
Task 5:
In task 5, we followed the example in Module 2, Unit 6 of Rui's textbook.
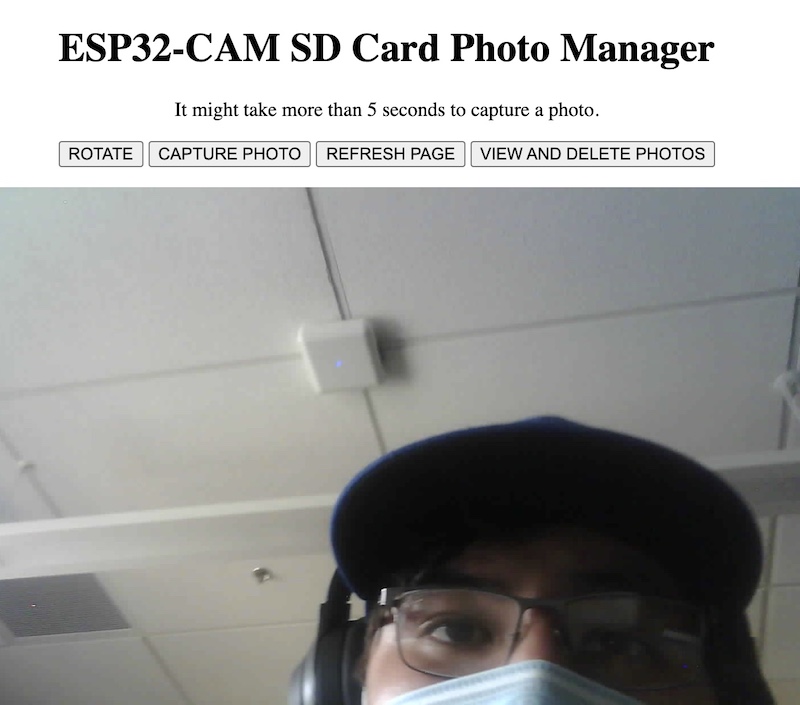
Figure 5. Web page showing commands and last photo taken.
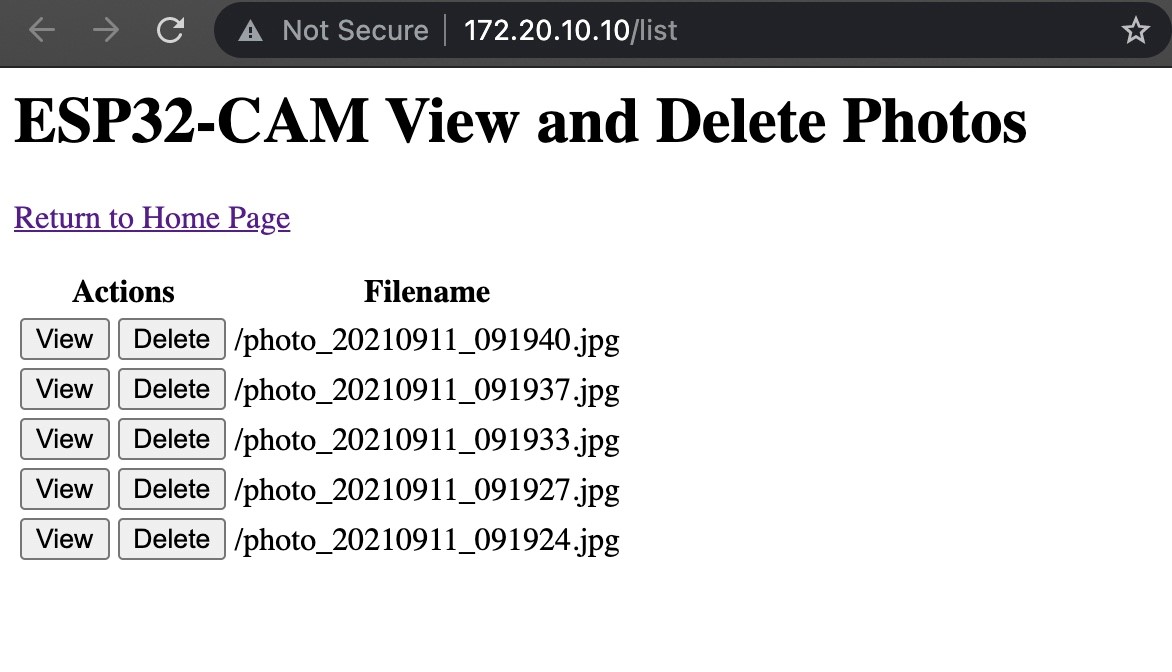
Figure 6. Web page showing the options when view and delete photos button is clicked.
Task 6:
In
task 6, we followed the example in Module 3, Unit 1 of Rui's textbook.
This example allowed us to send the photo taken with the ESP32-CAM to
an email account automatically. In order to send the photo through email, the ESP-Mail-Client library need to be installed.The
photo is saved in the ESP32-CAM's SPIFFS and sent from a sender email
account. Since I used Gmail, I had to allow less secure apps in the
settings and using the Gmail SMTP Server Settings. The sender's email
address, sender's email password, recipient's email address, and
network credentials needed to be provided. Figure 7 shows the email
that was recieved from the gmail sender email and attached is the photo
the ESP32-CAM took. Figure 8 shows the output from Arduino's serial
monitor and the photo that was taken.
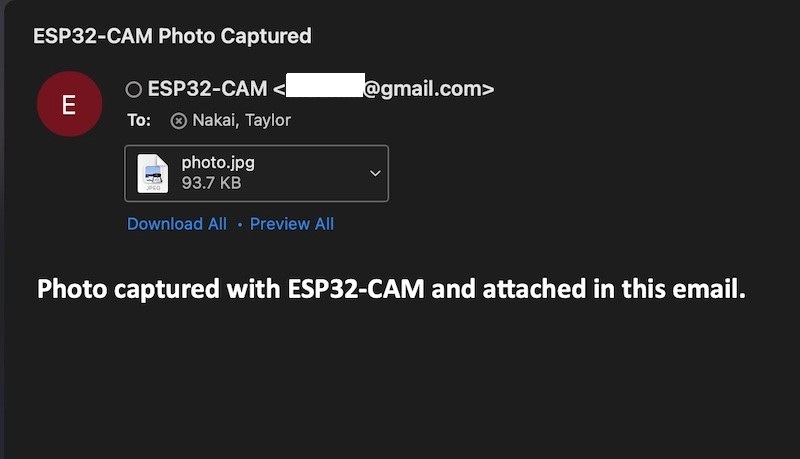
Figure 7. Email from sender email contain photo that was taken.
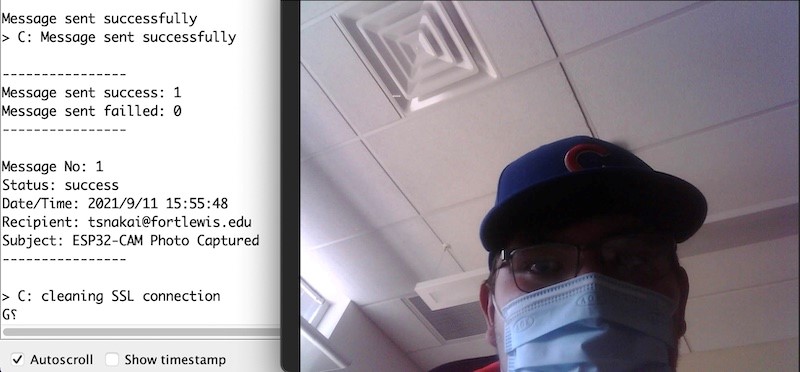
Figure 8. Arduino's serial monitor output and photo from email.
Task 7:
In task 7, we followed the example in Module 3, Unit 3 of Rui's textbook. This
example allowed us to set up the web server so that we could send the
photo taken with the ESP32-CAM to an email address. A bonus was that we
could set the recipient's email address through the web server. The commands that can be sent to the ESP32-CAM are capture photo, refresh page, and email photo. .
When the user clicks on the capture photo button, the ESP32-CAM take a
photo and saves it to it's SPIFFS. Once a photo is taken,
the refresh page button can be clicked to refresh the page and display
the photo taken. When the user clicks email photo, it sends the most
recent photo to the email address provided. Figure 9 shows the web page
and the commands that are available for the user to choose from. Figure
10 shows the email that was recieved from the gmail sender email and attached is the photo the ESP32-CAM took. Figure 11 shows the output from Arduino's serial monitor and the photo that was taken.
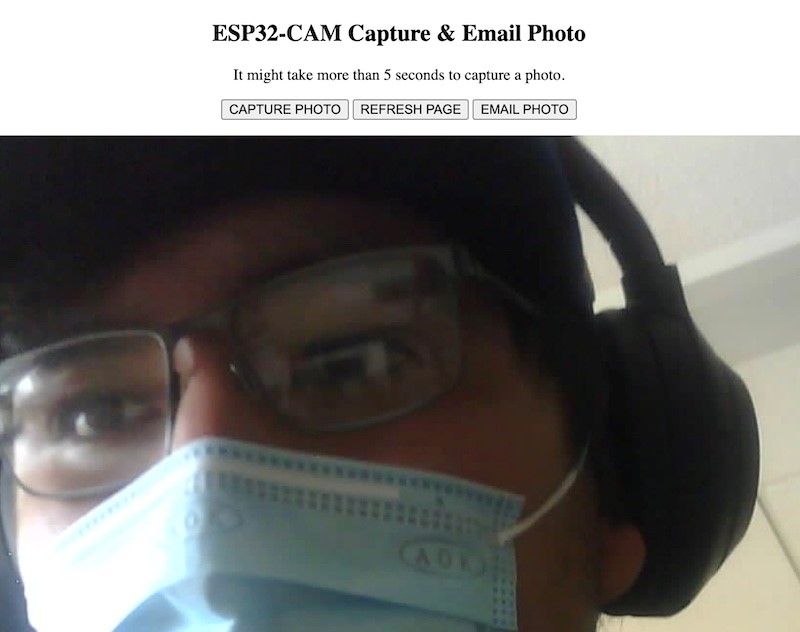
Figure 9. Web page showing commands and last photo taken.
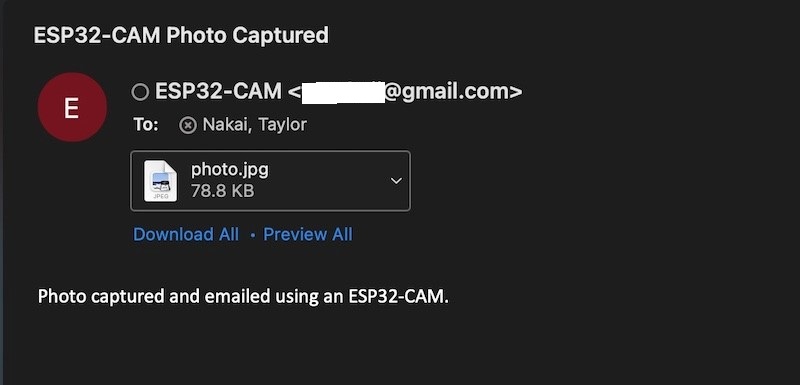
Figure 10. Email from sender email contain photo that was taken.
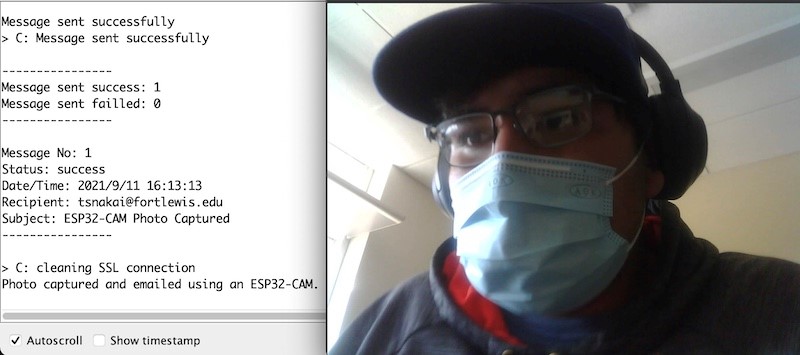
Figure 11. Arduino's serial monitor output and photo from email.
Task 8:
In
task 8, we followed the example in Module 3, Unit 4 of Rui's textbook.
This example allowed us to use the Telegram Messenger app to interact
with the ESP32-CAM. In
order to complete this task, the Telegram messenger app needed to be
installed on my iPhone and the Universal Telegram Bot Library and the
ArduinoJson Library needed to be installed. Once
the app was installed, a Telegram bot need to be created and I needed
my Telegram user ID. Two commands could be sent through the messenger
app, /flash and /photo. The command /flash would turn on or off the
ESP32-CAM's LED and the command /photo would request a new photo from
the ESP32-CAM. Figure 12 shows the commands being sent through the Telegram Messenger app and the response from the ESP32-CAM.
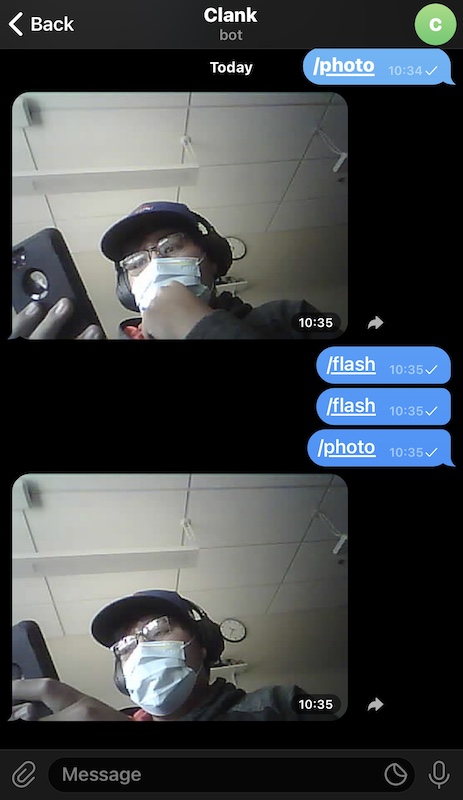
Figure 12. The commands sent through the Telegram Messenger app and the response.
Discussion:
By
completing this tutorial, we were able to gain more comfortability
using the ESP32-CAM. It was interesting to see the different ways that
we could use the ESP32-CAM to capture photos, store photos, display
photos, and sharing photos through email. I can see how useful the
ESP32-CAM can be, and see the many possibilities that come from
integrating this into a project. Overall, I learned some really cool
things through this tutorial and look forward to more tutorials that
use the ESP32-CAM.
---------------------------------------------------------------------------------------------------------------------------------------