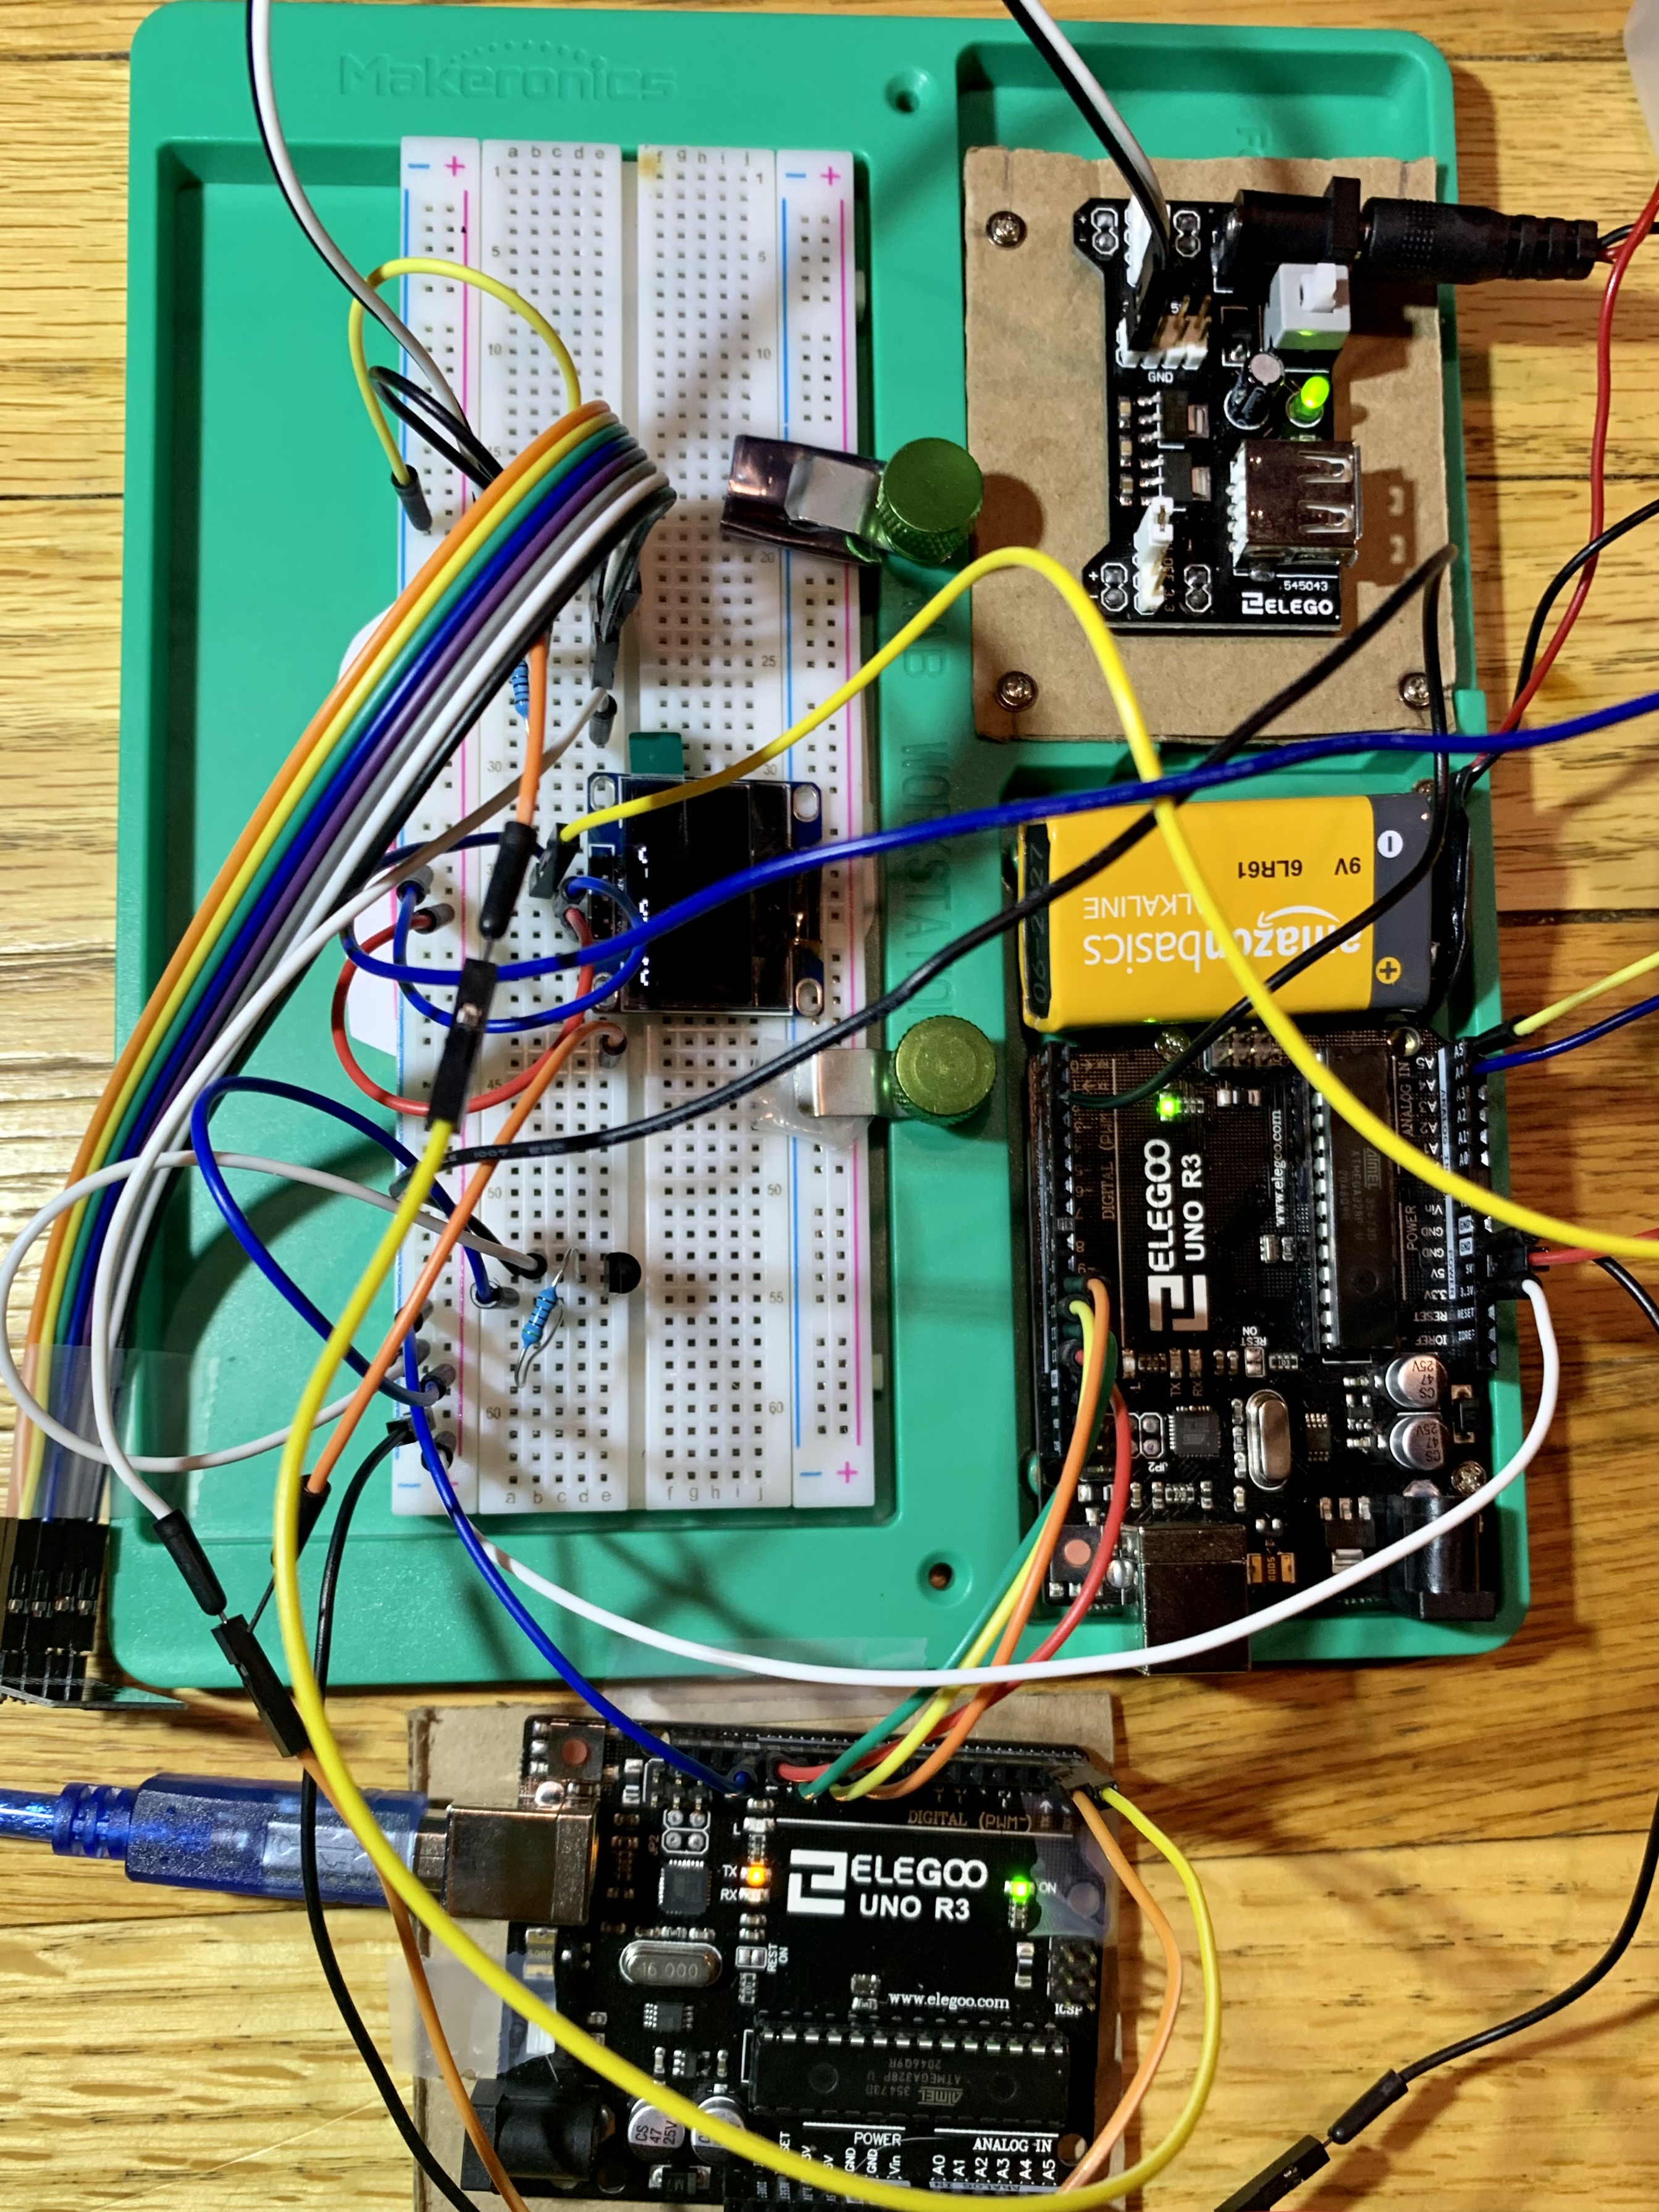
Ran
the following Arduino code (see Fig.05):
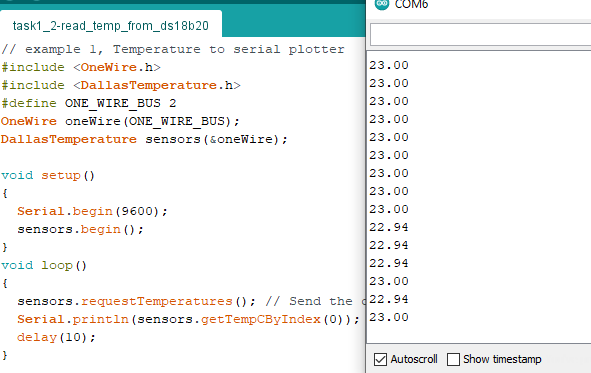
// example 3, ssd1306 and Timer1, conflict test.
#include <SPI.h>
#include <Wire.h>
#include <Adafruit_GFX.h>
#include <Adafruit_SSD1306.h>
#define SCREEN_WIDTH 128 // OLED display width, in pixels
#define SCREEN_HEIGHT 64 // OLED display height, in pixels
#define OLED_RESET 4 // Reset pin # (or -1 if sharing Arduino reset pin)
Adafruit_SSD1306 display(SCREEN_WIDTH, SCREEN_HEIGHT, &Wire, OLED_RESET);
String myString;
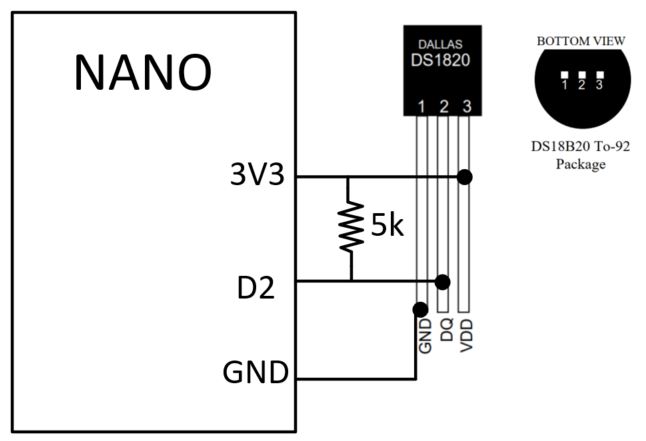
#include <OneWire.h> #include <DallasTemperature.h>
#define ONE_WIRE_BUS 2 OneWire oneWire(ONE_WIRE_BUS); DallasTemperature sensors(&oneWire);
bool states;
void setup() {
noInterrupts();
TCCR1A=0;
TCCR1B=0;
TCNT1=0;
OCR1A=62500;
TCCR1B|=(1<<WGM12);
TCCR1B|=(1<<CS12);
TCCR1B|=(1<<CS10);
TIMSK1|=(1<<OCIE1A);
interrupts();
pinMode(11,OUTPUT);
sensors.begin(); display.begin(SSD1306_SWITCHCAPVCC, 0x3C);// Address 0x3C for 128x64
display.clearDisplay();
display.display();
} void loop() { sensors.requestTemperatures();
myString=String(sensors.getTempCByIndex(0));
drawChar(myString+" oC"); } void drawChar(String str) {
display.clearDisplay();
display.setTextSize(2); // Normal 1:1 pixel scale
display.setTextColor(SSD1306_WHITE); // Draw white text
display.setCursor(0, 0); // Start at top-left corner
display.cp437(true); // Use full 256 char 'Code Page 437' font
display.print(str);
display.display();
}
ISR(TIMER1_COMPA_vect){
states=!states;
digitalWrite(11,states);
}
Figure 05: Arduino code for using an ISR while displaying to an ssd1306 OLED module