Lab2_2 CE351 Lab 2023 Spring
Lab 2 - A Heart Rate Monitoring System Task 2
Name: Simon Gorman
Email: sbgorman@fortlewis.edu

1. A Heart Rate Monitoring System Task 2

2. Introduction
We were tasked with bootloading an Arduino NANO board so it can directly print the heart rate and oxygen levels to a SSD1306 OLED display.

3. Materials and Methods

Need Arduino application installed on your computer!

Materials Quantity
Arduino Uno R3 board (or similar model)
1
Arduino Nano bootloader board
1
MAX30102 Heart Rate Sensor and Oximeter Module
1
SSD1306 OLED Display (0.96 inch)
1
Arduino Nano board
1
Breadboard (half or full-size)
1
Pushbutton 1
Breadboard/Jumper wires
5-6

Used the following video as a guide for the wiring and coding: MOUNT DYNAMICS

Burned the bootloader to the Arduino Nano board using the Arduino UNO R3 board with a custom board (will be provided by instructor) by following this tutorial from the yilectronics.com page and How to Burn the Bootloader into Arduino by NT Tronix:

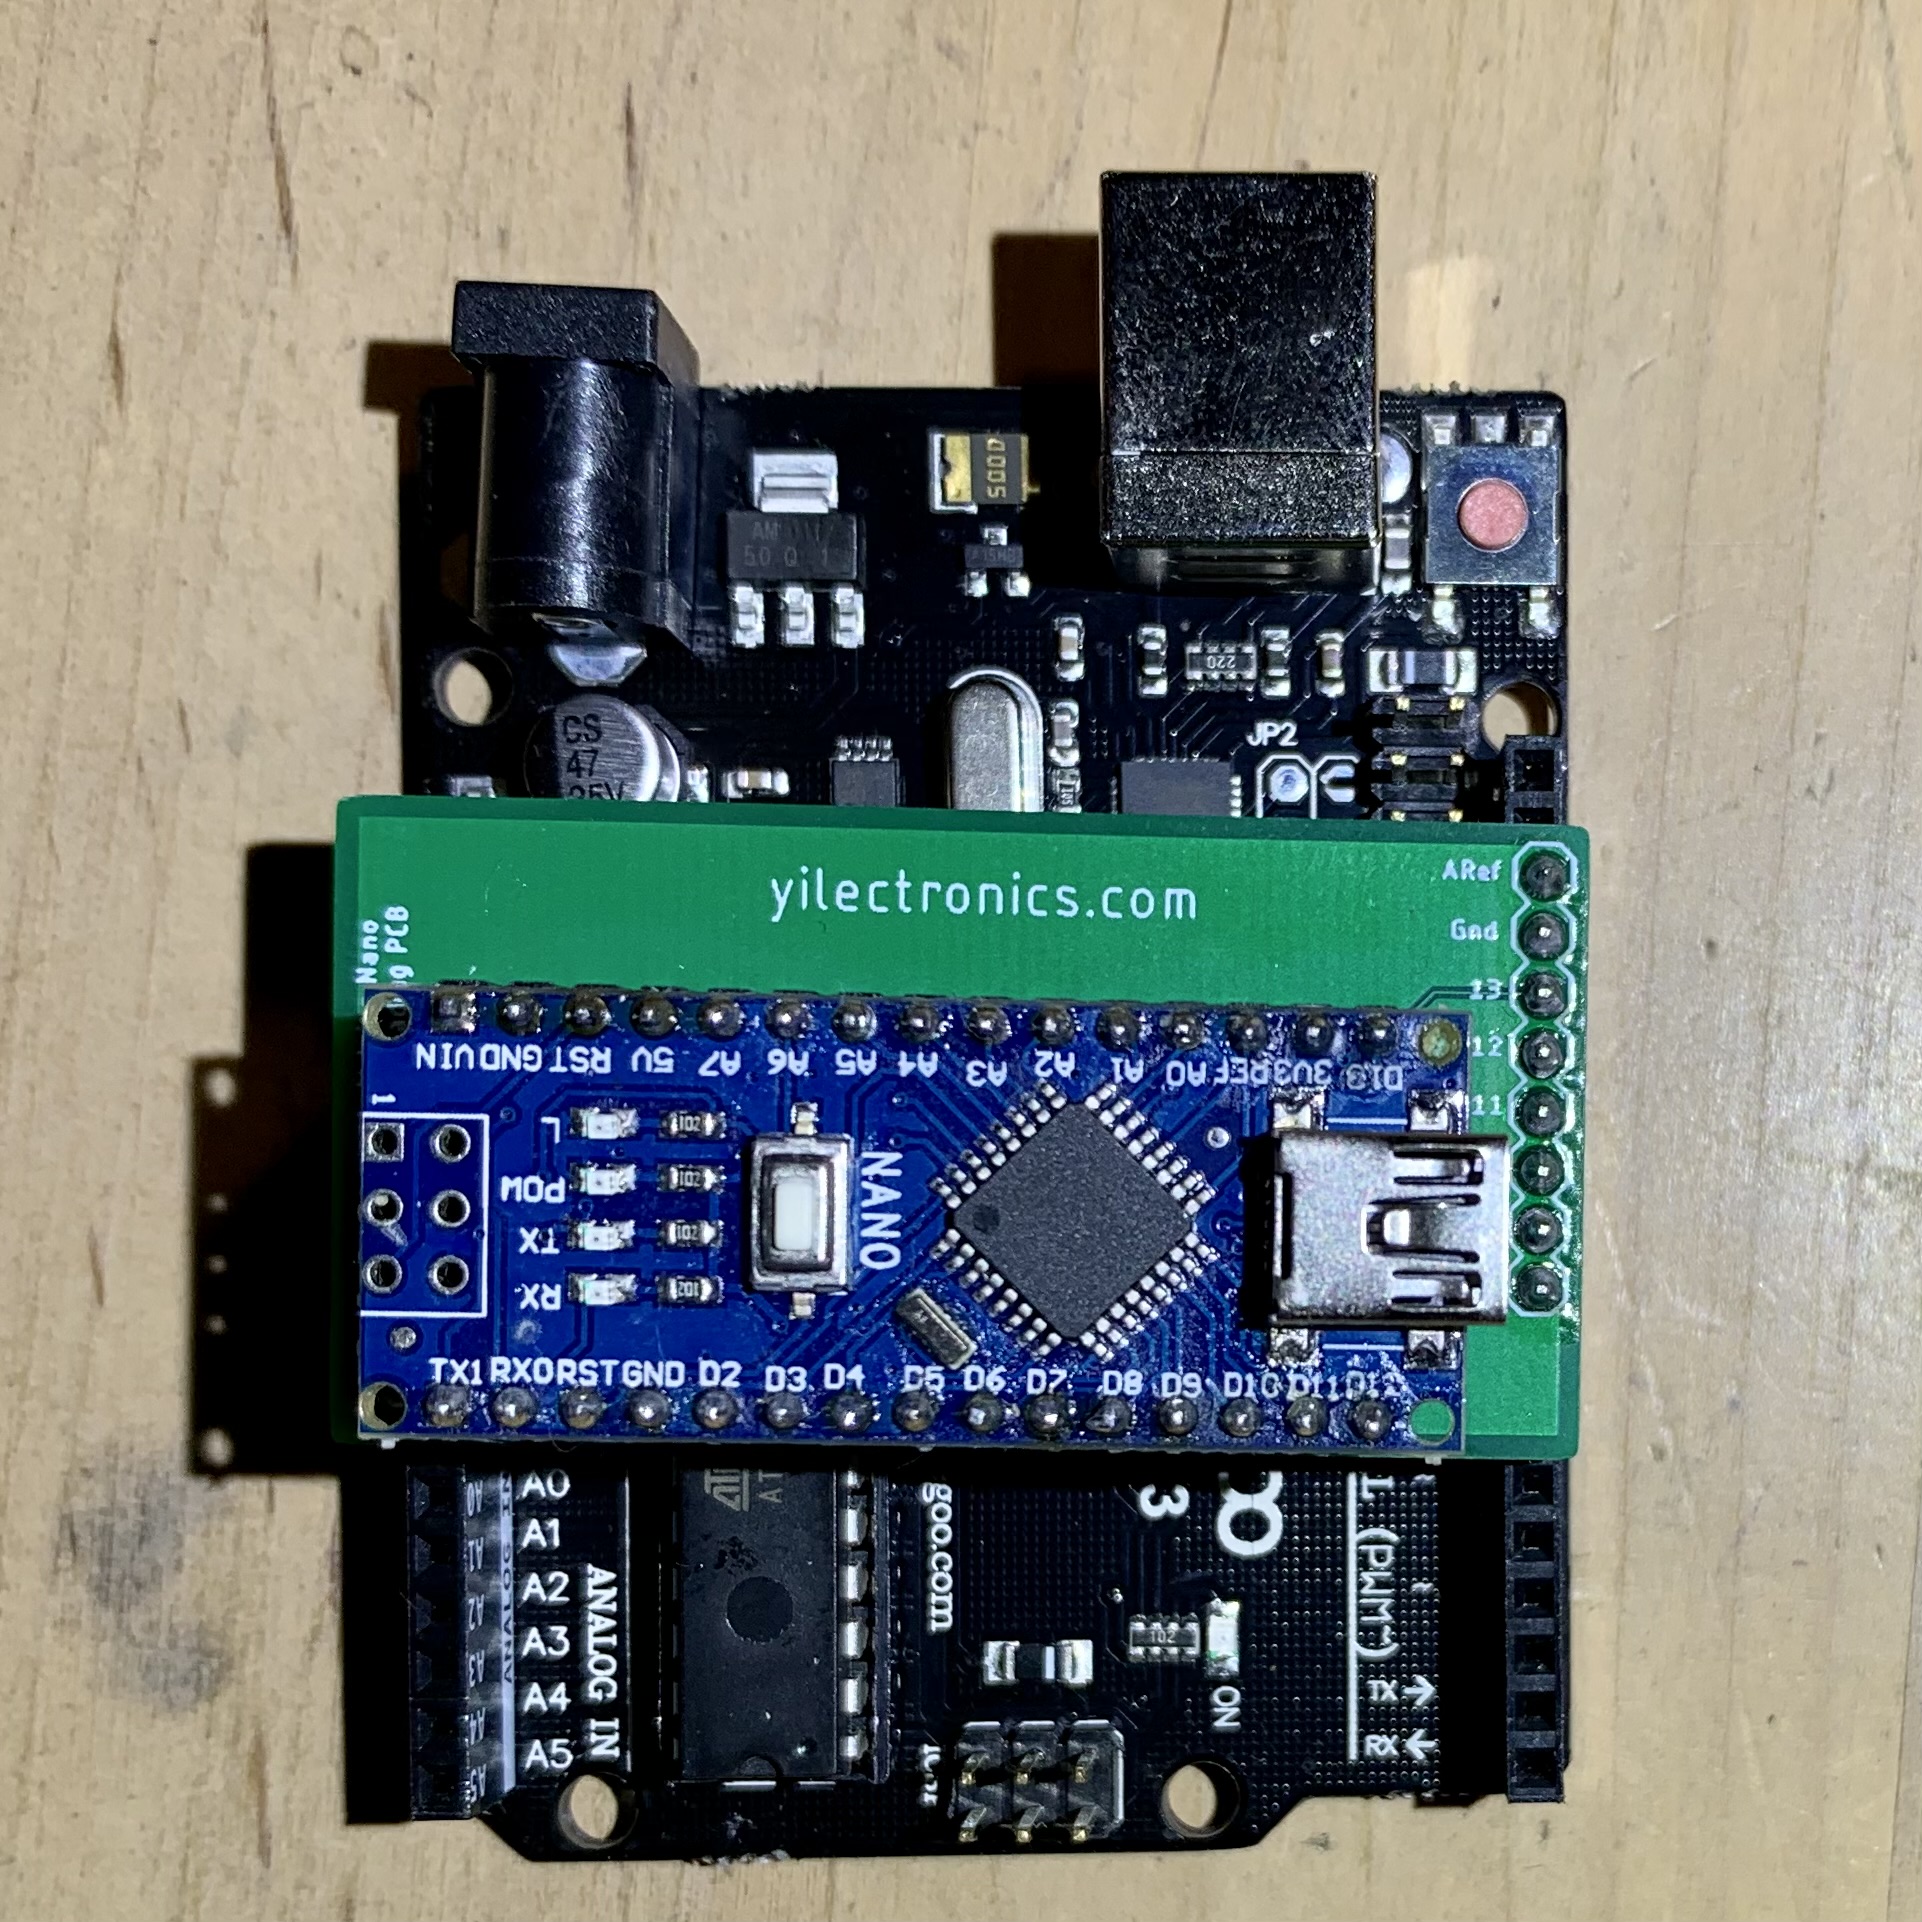
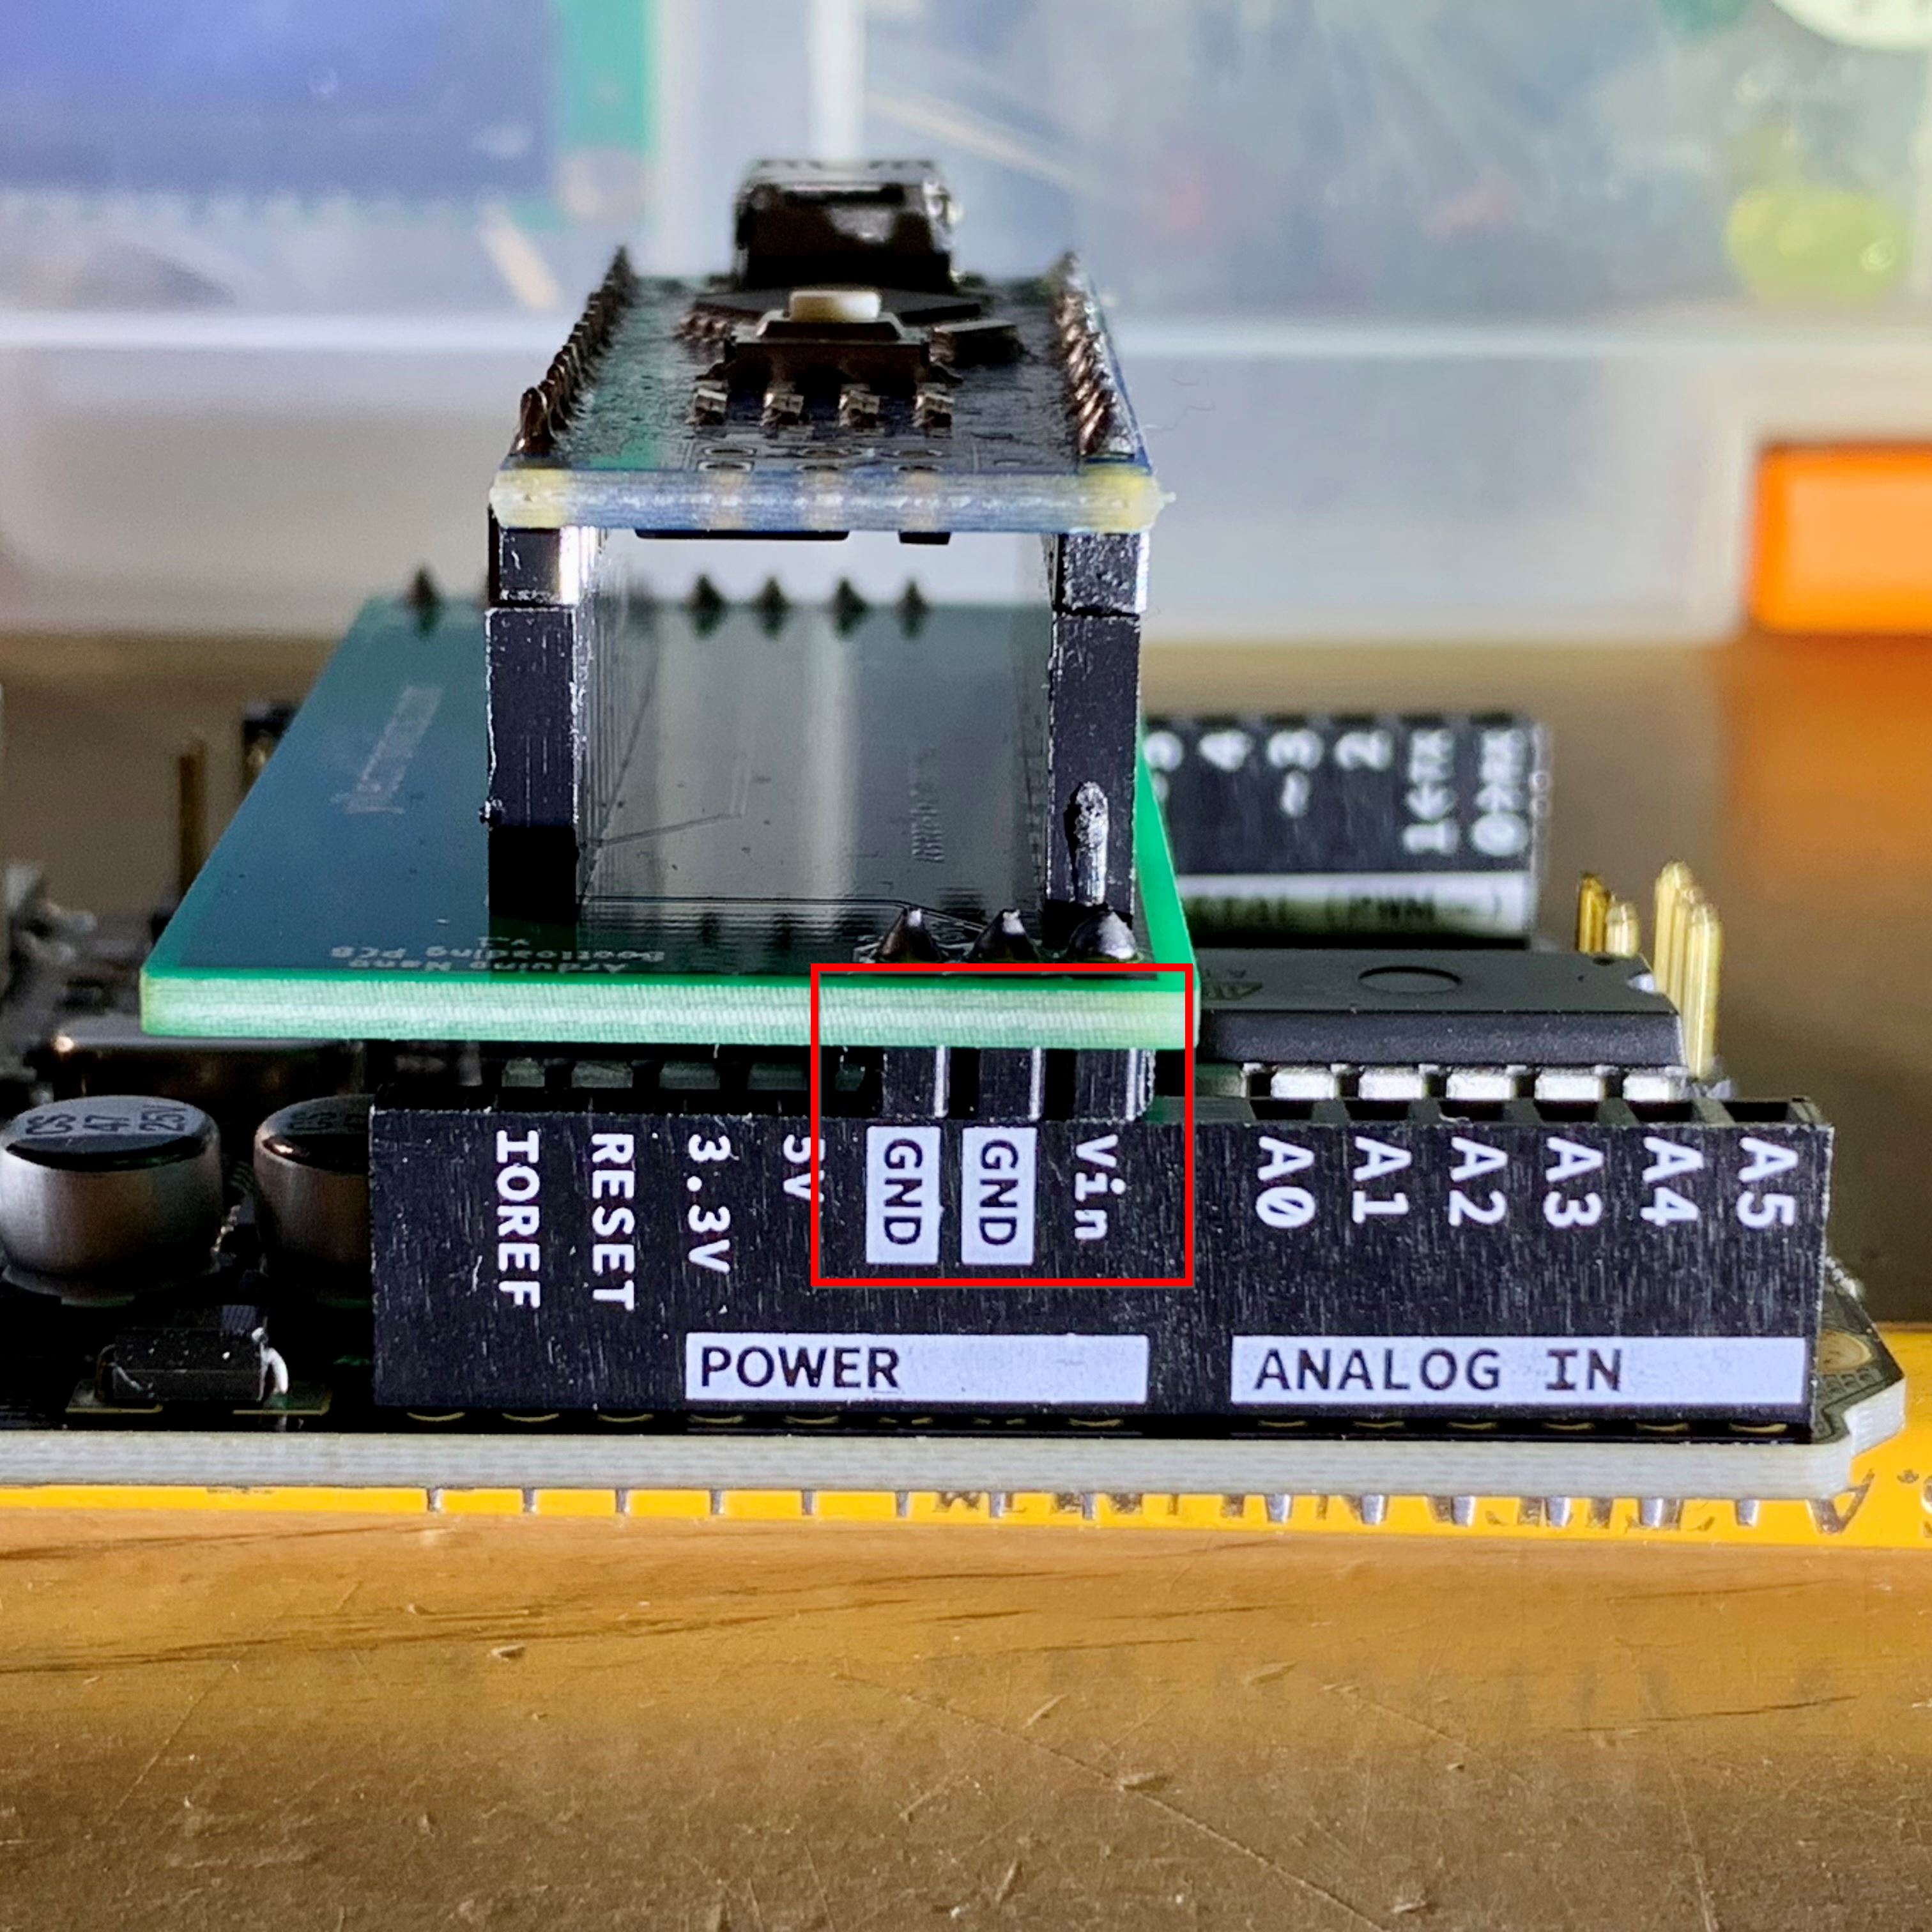
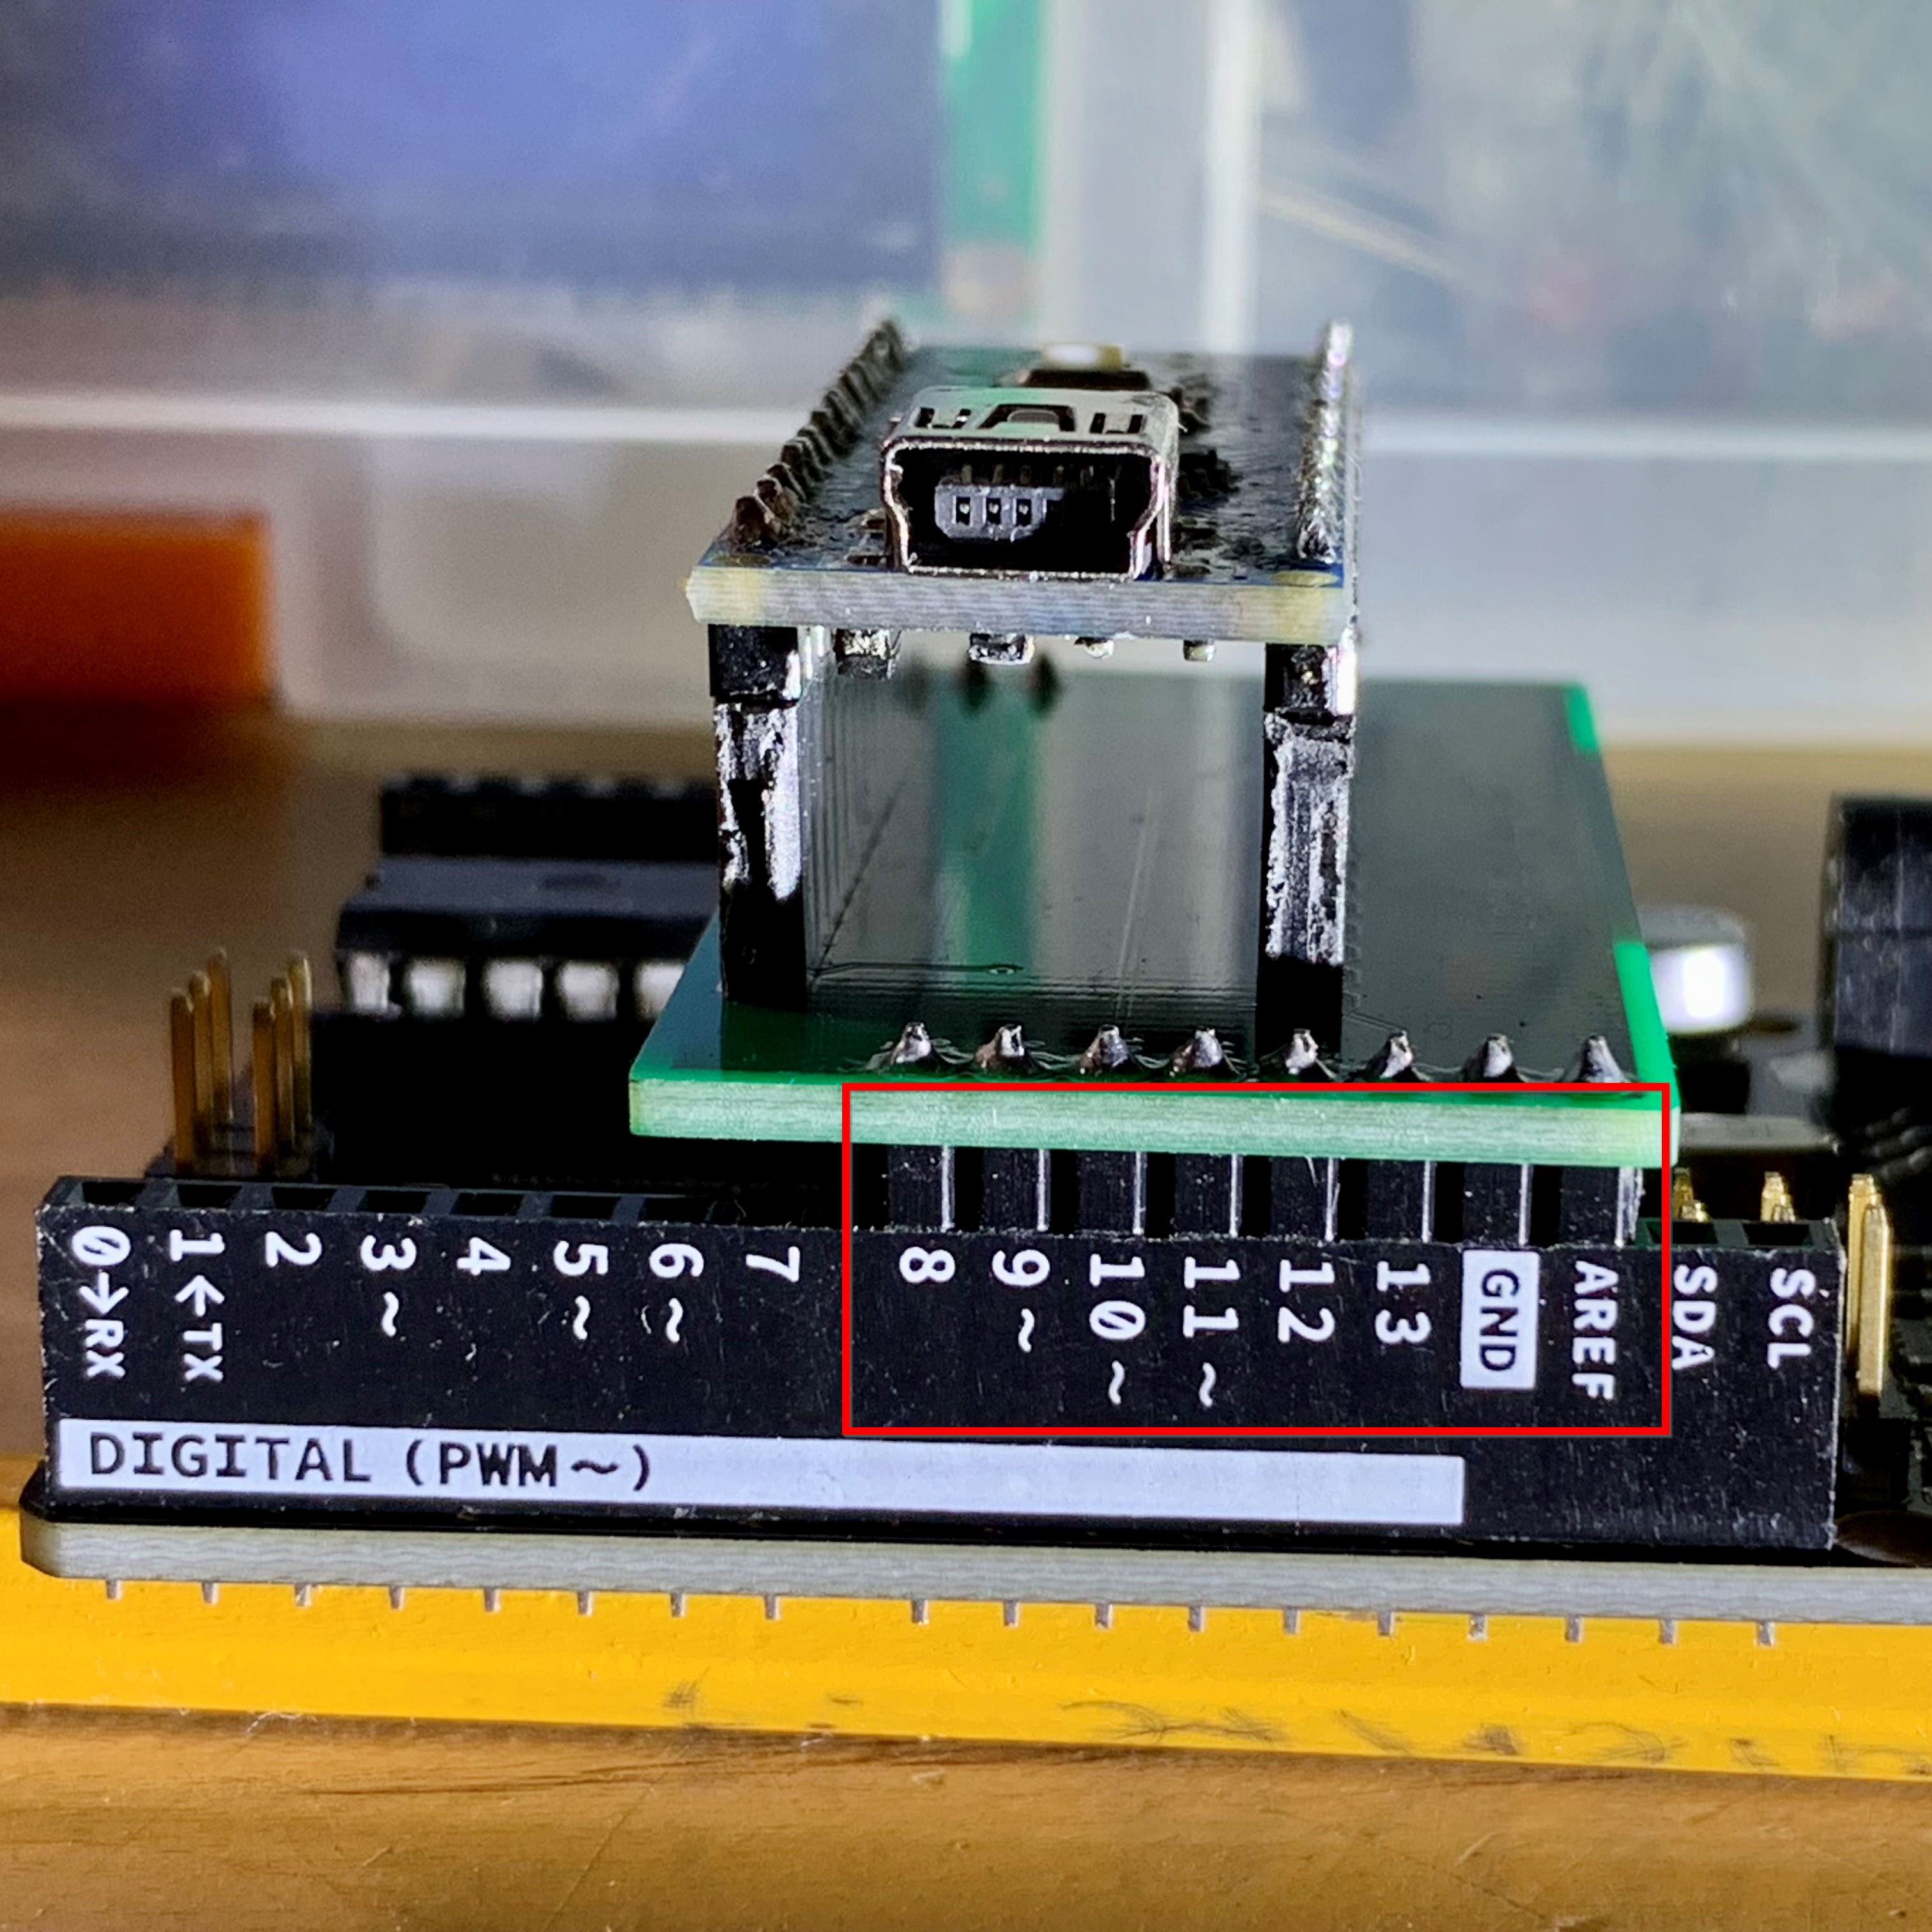
Instead of connecting the Arduino Nano to the Arduino Uno via jumper wires, use the Arduino Nano bootloader board like this:
Bootloader board attached to Arduino Uno
Bootloader board attached to Arduino Uno side connection 01
Bootloader board attached to Arduino Uno side connection 02
Figure 01: Attached Arduino Nano bootloader board to Arduino Uno R3

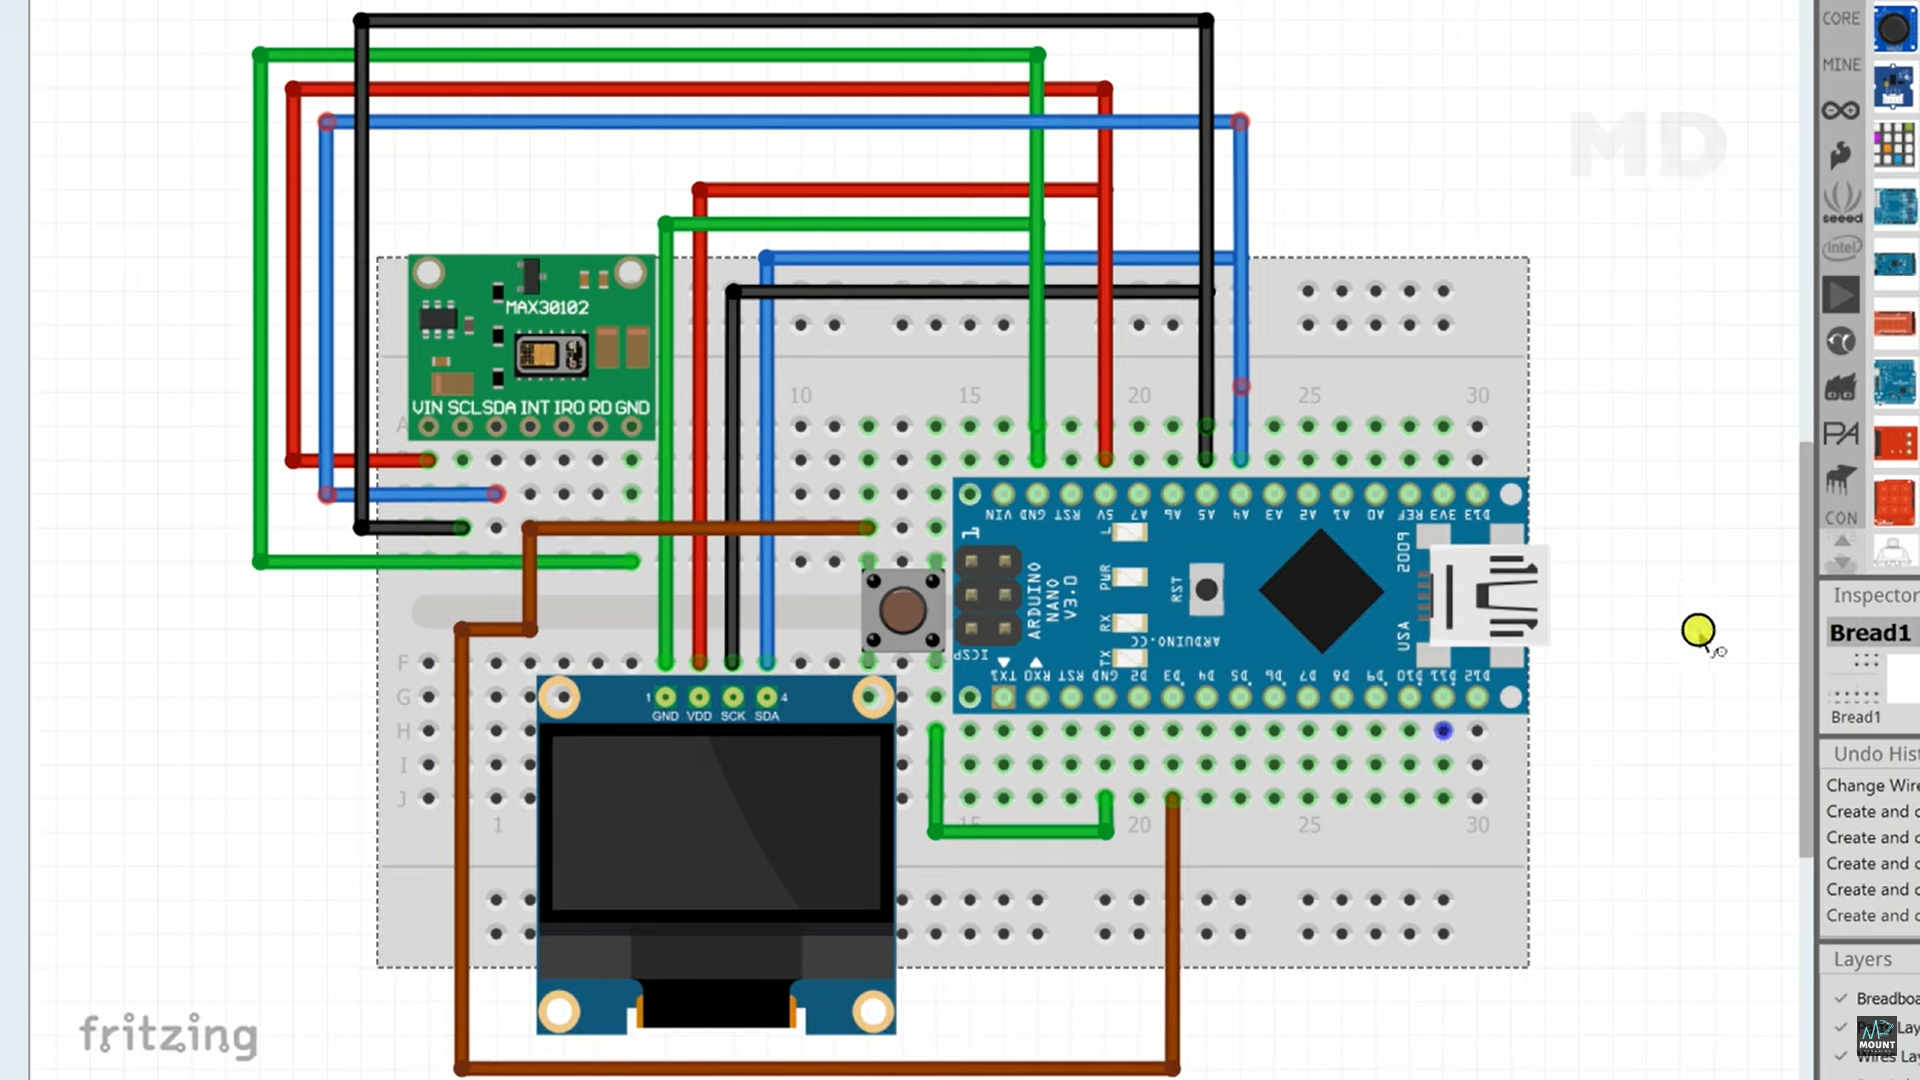
After burning the bootloader and testing the Nano board with the Arduino - Blink example, attached the Arduino Nano board to the breadboard and made the following wiring connections to the OLED display, switch, and MAX30102:

Breadboard wiring of the Arduino Nano, OLED display, and MAX30102 sensor
Figure 02: Breadboard wiring of the Arduino Nano, OLED display, and MAX30102 from the MOUNT DYNAMICS video


In the MOUNT DYNAMICS video, their Arduino codes are in this google drive. Download the "code" folder and the "oximeter lib" folder.

MOUNT DYNAMICS google drive
Figure 03: MOUNT DYNAMICS' google drive

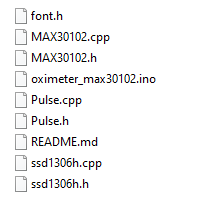
In the Arduino application, go to the "code" folder then open the "oximeter_max30102.ino" in the Arduino application. Allow Arduino to make a folder for
oximeter_max30102 then copy/paste all the .h, .cpp, .md files from the "oximiter lib" folder into the "oximeter_max30102" folder. It'll look like this inside the oximeter_max30102 folder:

oximeter_max30102 folder contents
Figure 04:
All the files within the oximeter_max30102 folder

Finally I connected the mini-usb cable to the Arduino Nano and uploaded the oximeter_max30102 code into the Arduino Nano.

4. Results


Video 01: Testing the oximeter

5. Discussion
Understanding the bootloading process was crucial and I'm glad we had multiple resources available on the yilectronics.com website and on Youtube.