ENGR351 Lab 2023 Spring
Lab 2 - A Heart Rate Monitoring System Task 1
Name: Simon Gorman
Email:
sbgorman@fortlewis.edu
1. A Heart Rate Monitoring System Task 1
2. Introduction
Tasked with wiring an
MAX30102 Pulse Oximeter/Heart Rate sensor to an Arduino Uno R3 board
where we learned to code in Arduino so we could test the pulse and
oximeter abilities of the sensor.
3. Materials and Methods
| Material |
Quantity |
Elegoo
Uno R3 Board
|
1 |
MAX30102
Module
|
1 |
| Breadboard
(16.5x5.5)cm |
1 |
Jumper
Wires (multiple colors)
|
10 |
USB
type B to USB type A cable
|
1 |
Downloaded the SparkFun MAX3010x
Pulse and Proximity Sensor Library from the Arduino library*
File > Examples > SparkFun MAX3010x Pulse and
Proximity Sensor Library
*The examples provided in the
SparkFun MAX3010x Pulse and
Proximity SensorLibrary kept having errors in the Arduino application so I copied and pasted the Arduino code
directly from the website Interfacing MAX30102 Pulse Oximeter and Heart Rate Sensor with Arduino (lastminuteengineers.com).
Before setting up my board, I used the following Pinout as a reference:
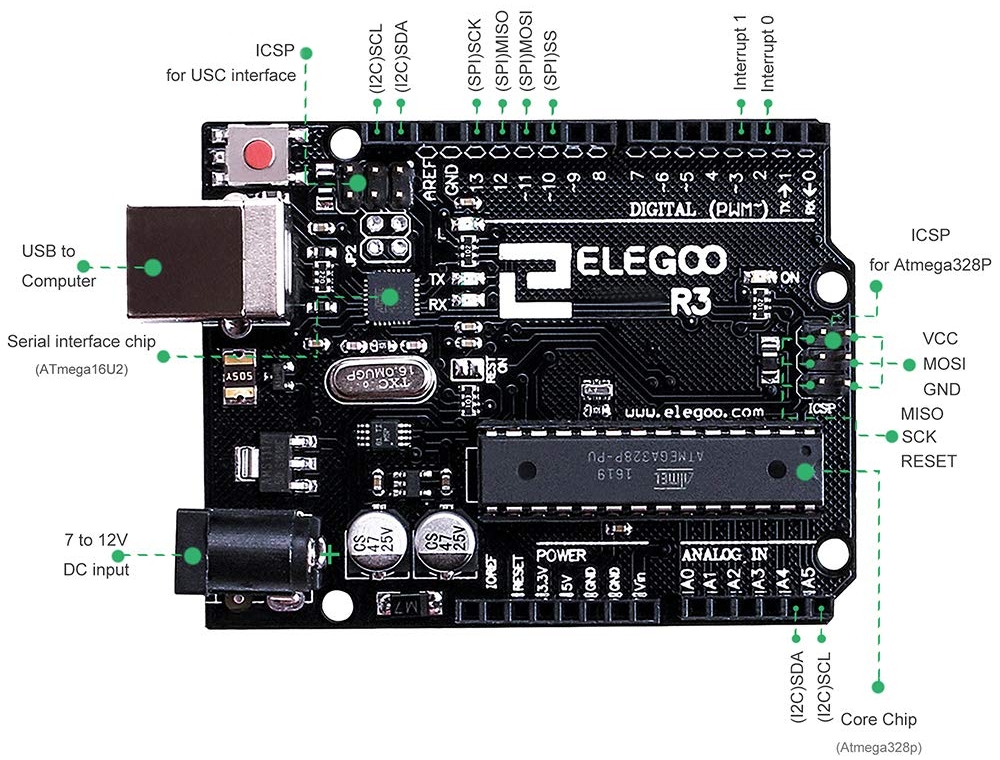
Figure 01: Pin-out of ATMEGA328P Elegoo R3 Uno
I wired up my Arduino like this:
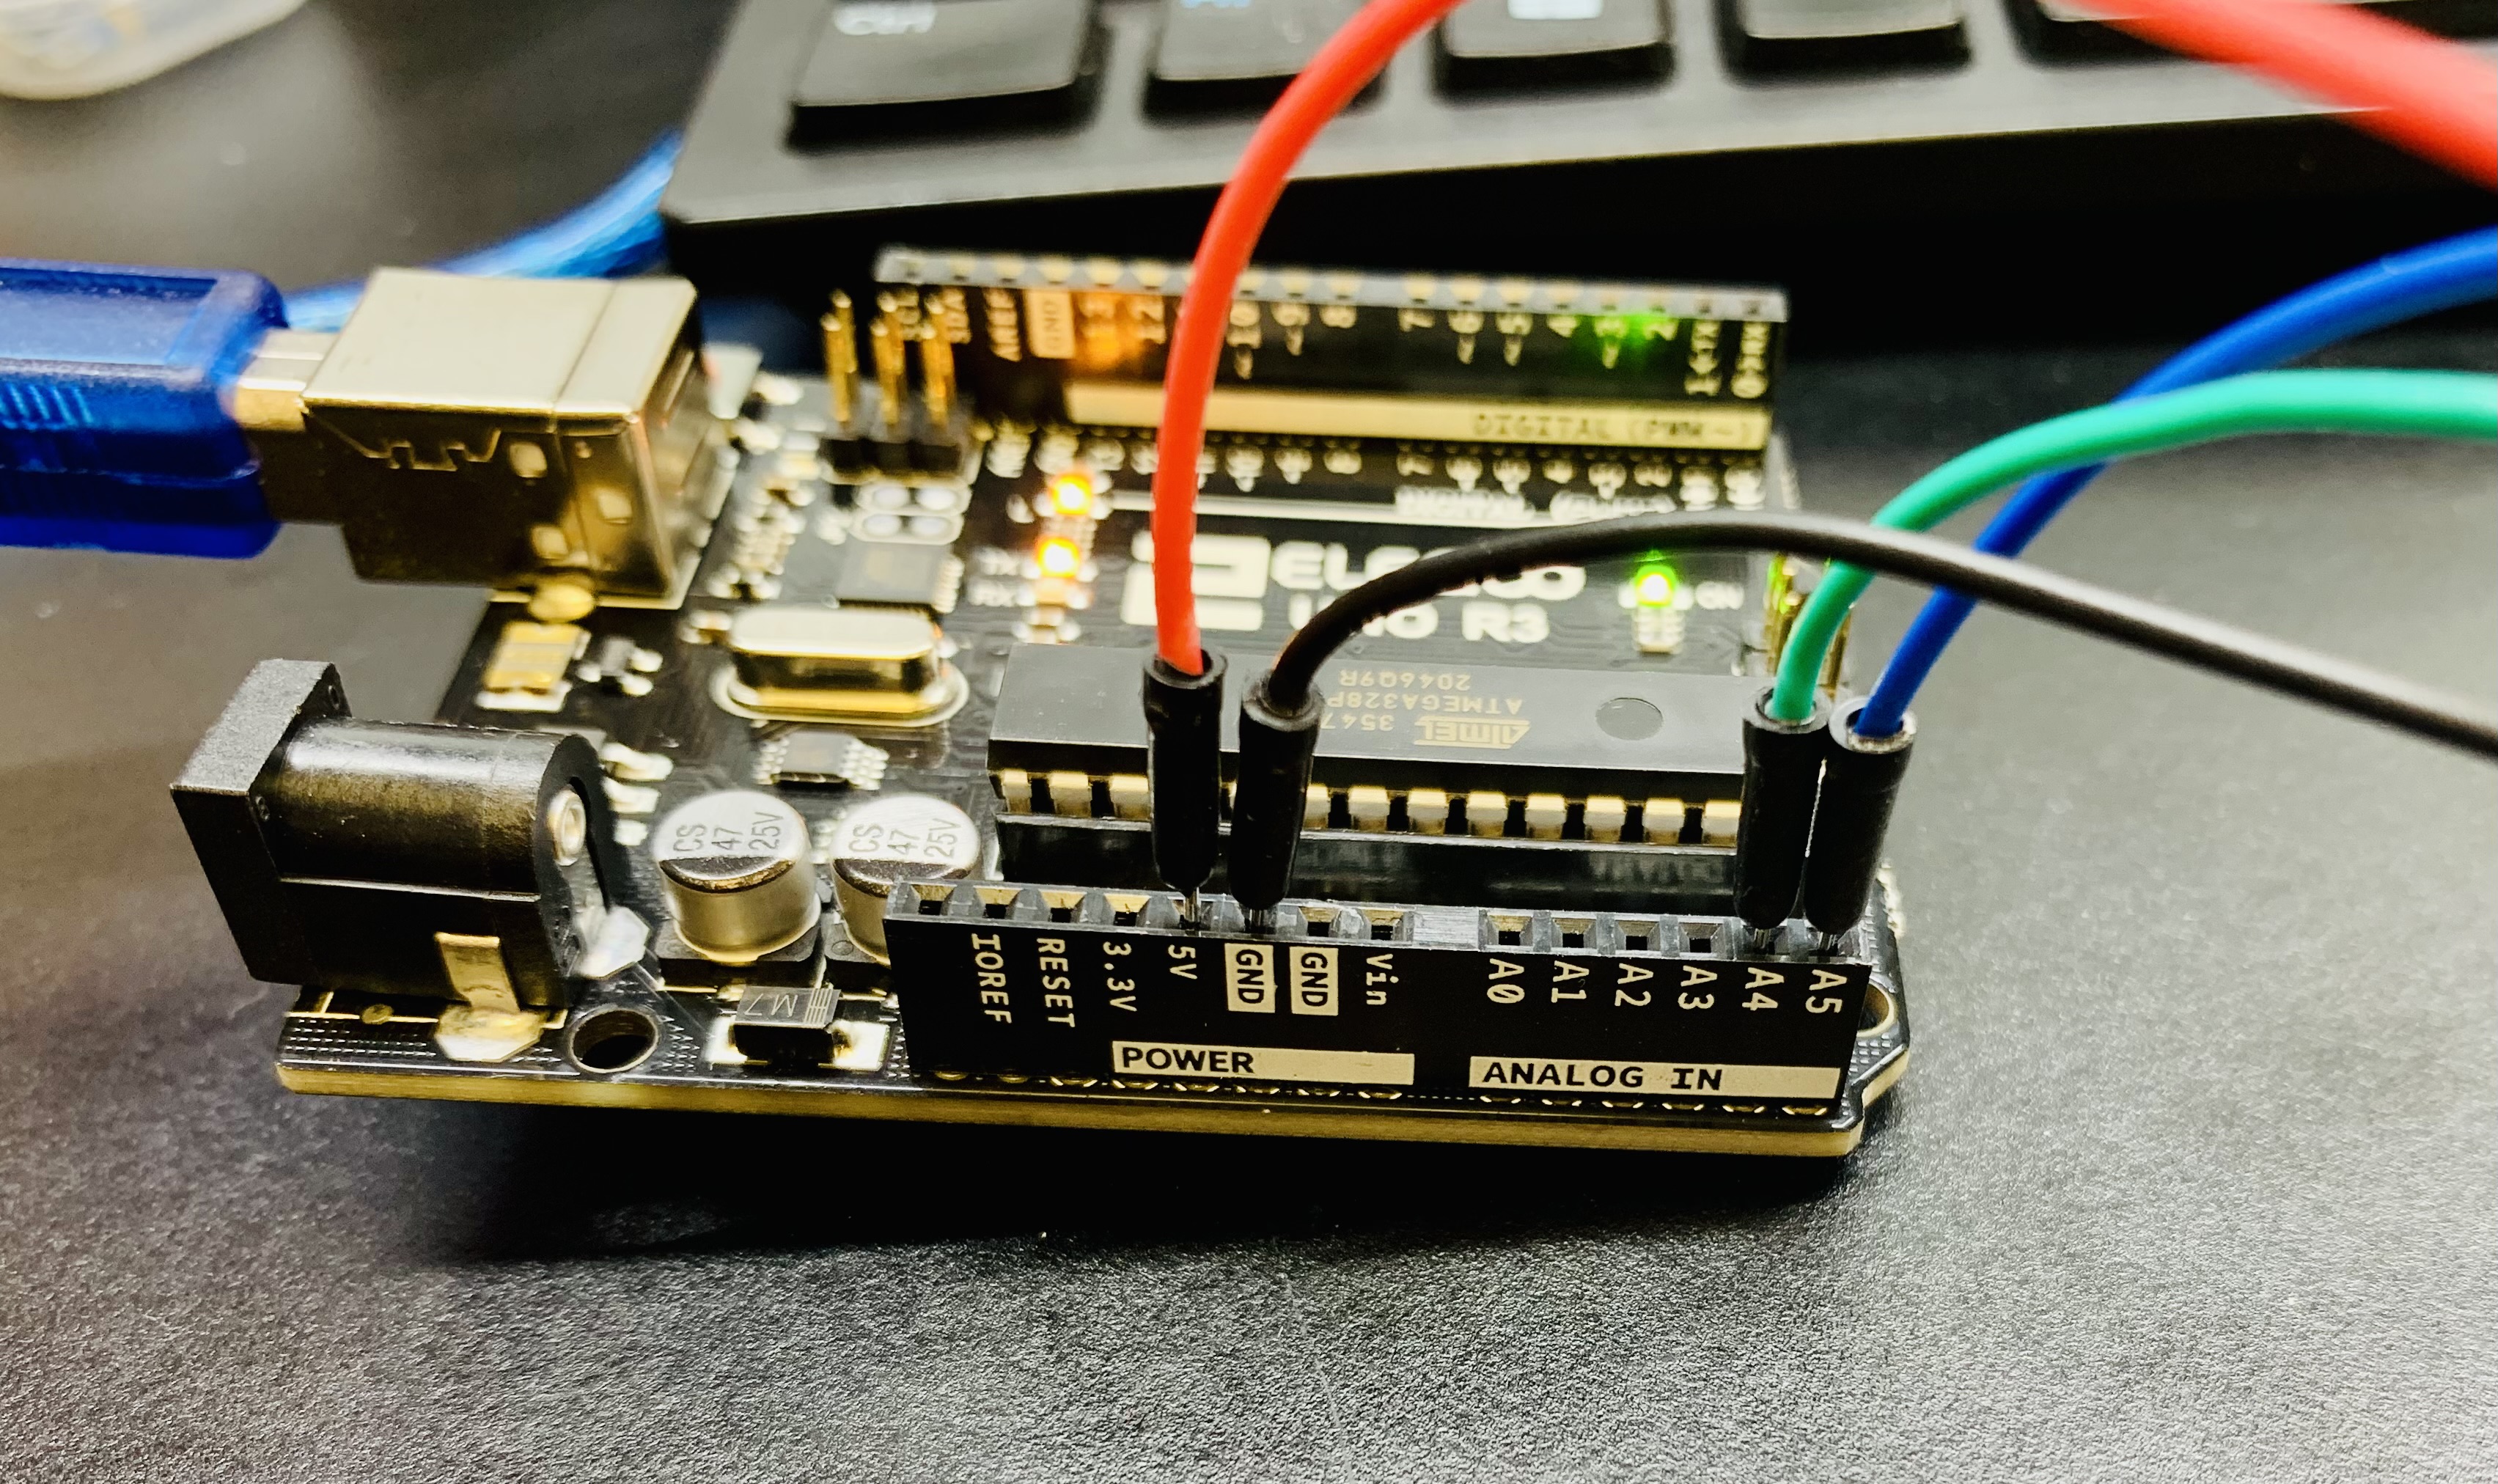
Figure 02: Arduino jumper wiring
The breadboard was wired like this:
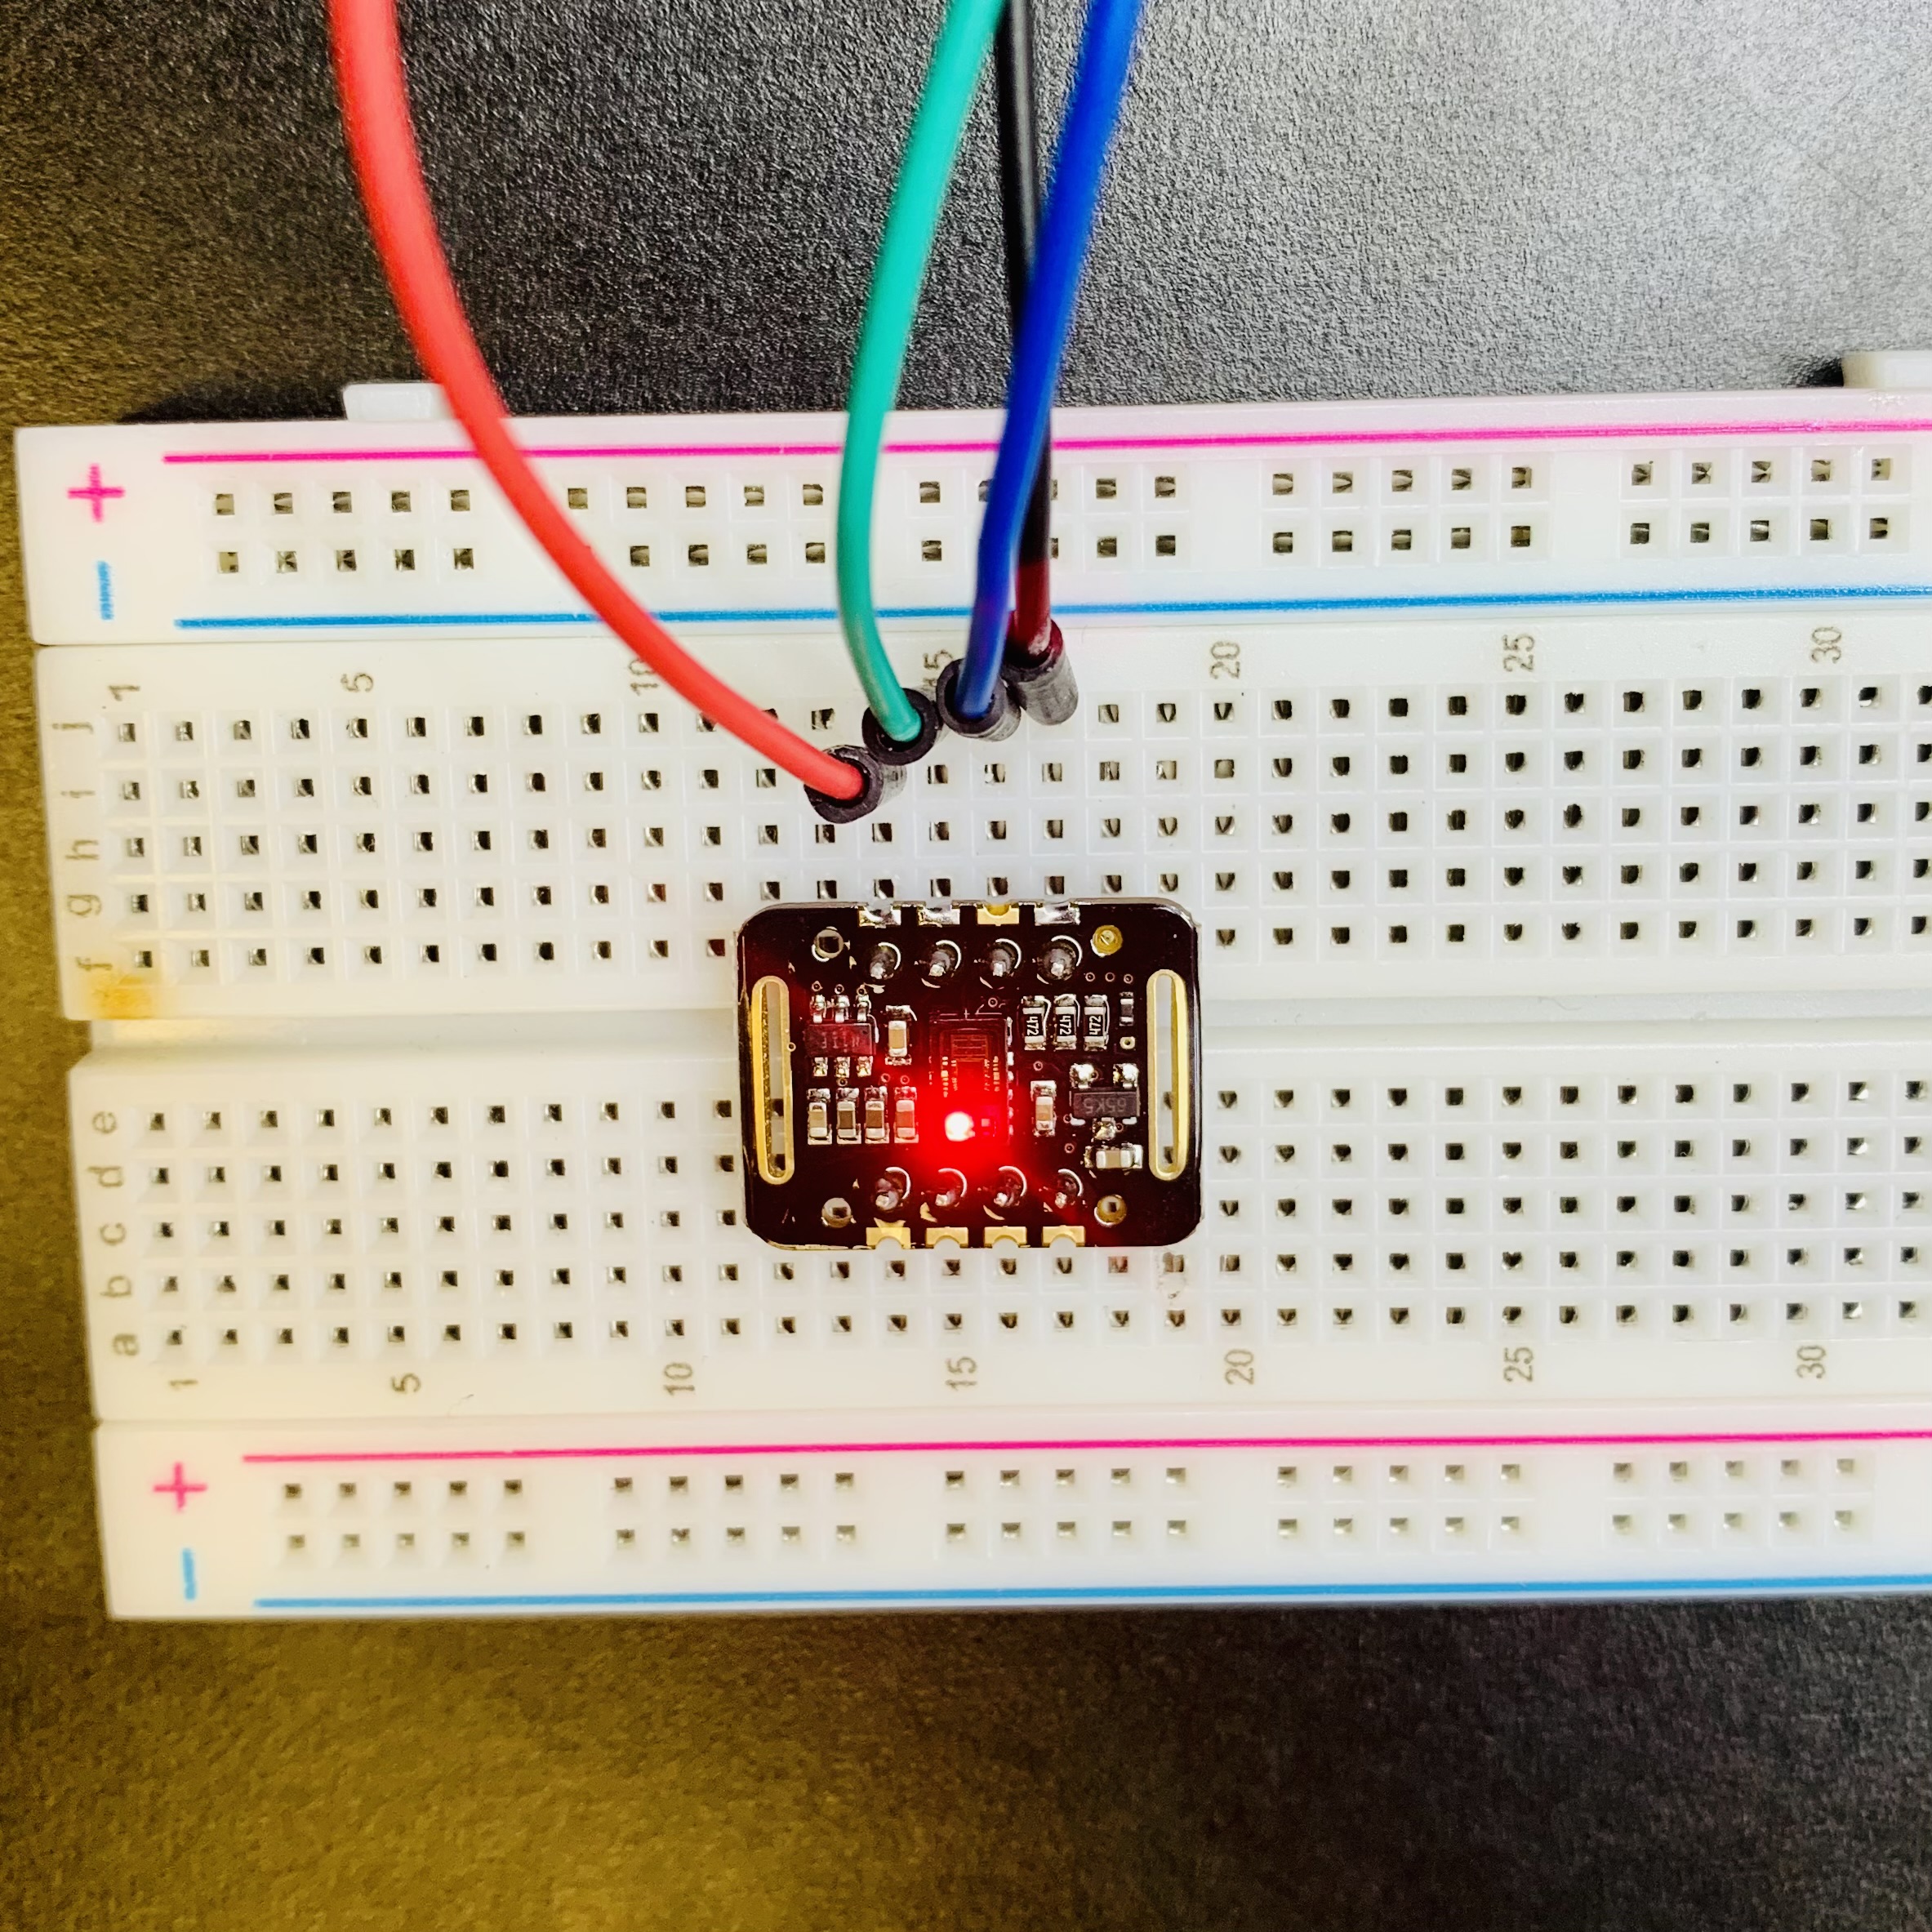
Figure 03: MAX30102 sensor jumper wiring on the breadboard
The overall connections looked like this:
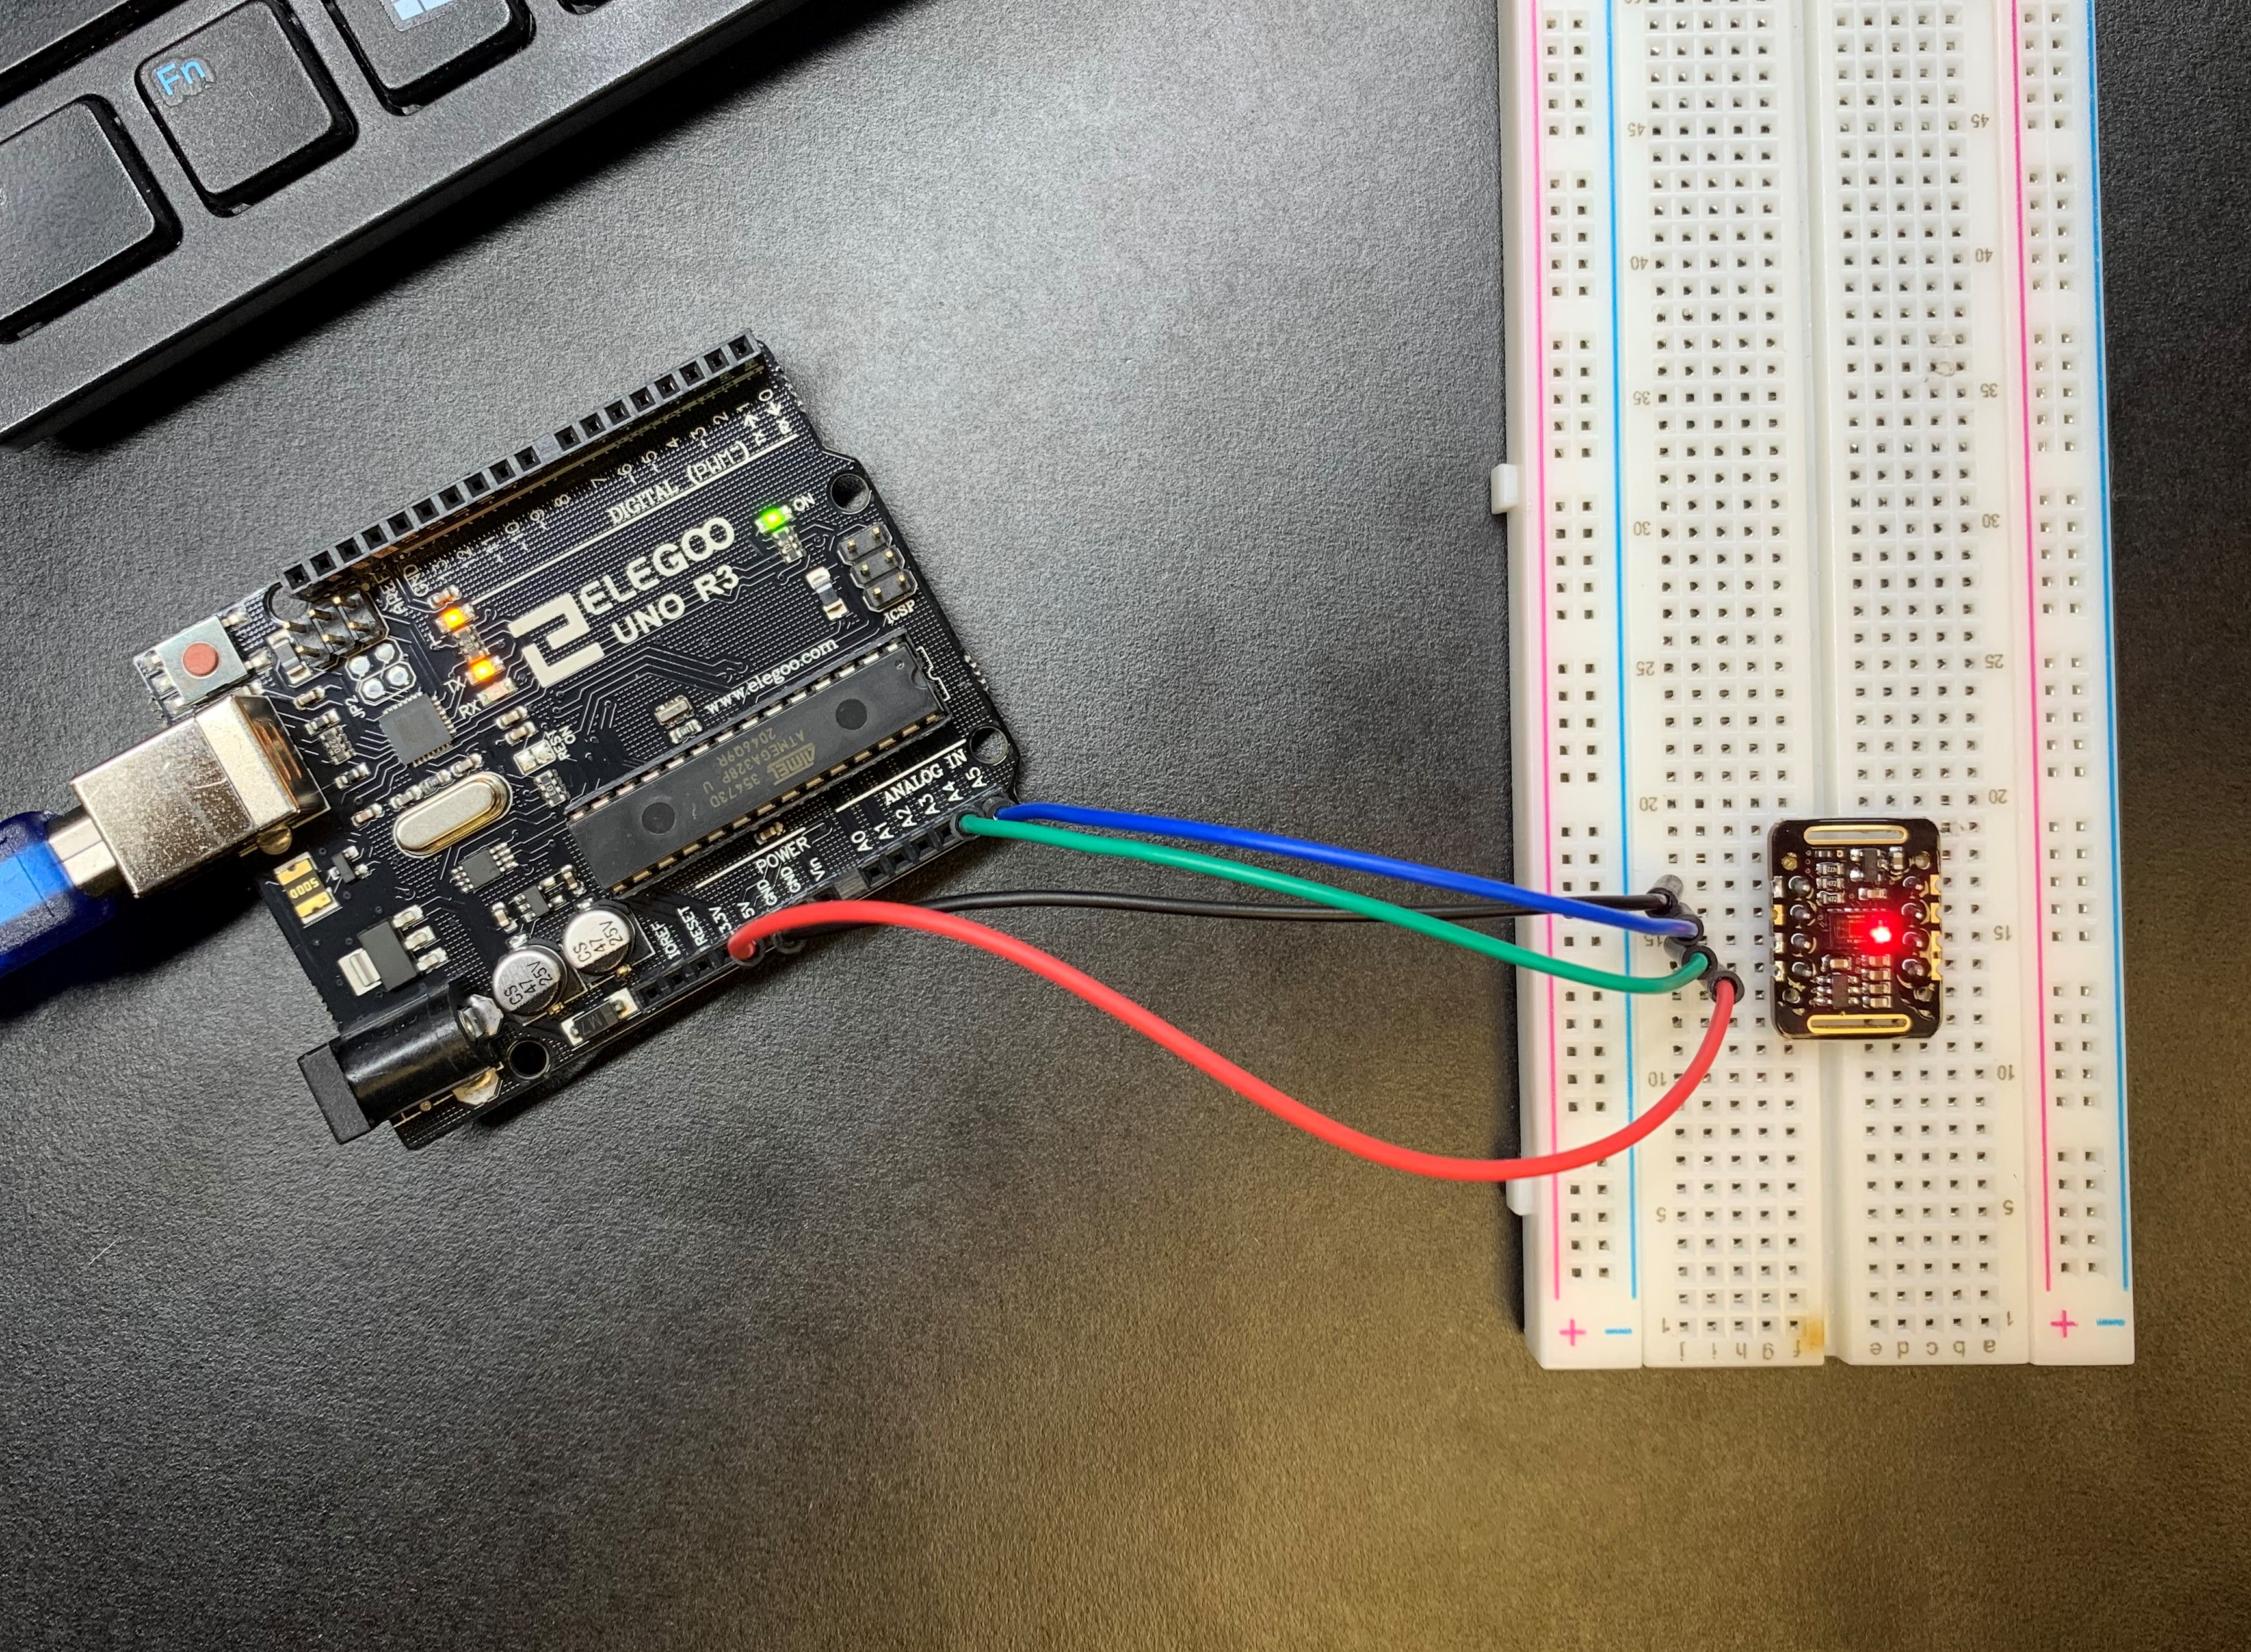
Figure 04: Jumper wiring between the ATMEGA328P Elegoo R3 Uno and the MAX30102 sensor
Example 1 - Reading Red and IR
lights:
I uploaded the following code from the lastminuteengineers.com website to the Arduino Uno R3 board::
#include <Wire.h>
#include "MAX30105.h"

MAX30105 particleSensor;

void setup() {
	Serial.begin(9600);

	// Initialize sensor
	if (particleSensor.begin() == false) {
		Serial.println("MAX30102 was not found. Please check wiring/power.");
		while (1);
	}

	particleSensor.setup(); //Configure sensor. Use 6.4mA for LED drive
}
Lab02_1-images
void loop() {
	Serial.print(" R[");
	Serial.print(particleSensor.getRed());
	Serial.print("] IR[");
	Serial.print(particleSensor.getIR());
	Serial.println("]");
}
After uploading the code to the Arduino, I opened the Serial Monitor
then tested the MAX30102 module by waving my hand over the sensor. I
saw the Serial Monitor record my movements by increasing or decreasing
the R and IR values.
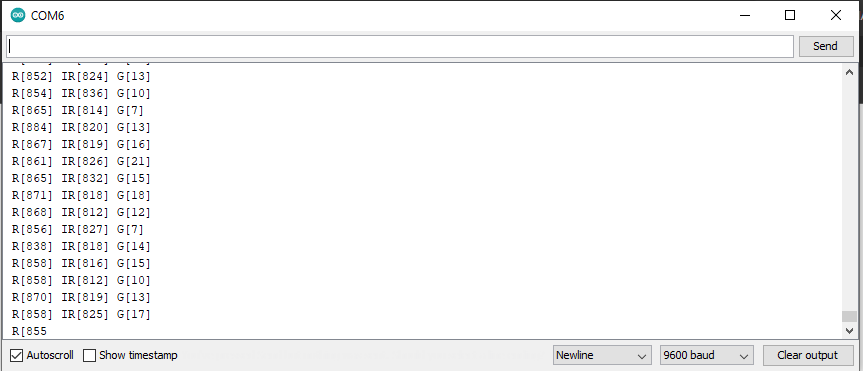
Figure 05: Arduino Serial Monitor of the R and IR values
Example 2 - Presence Sensing:
I uploaded the following code from the lastminuteengineers.com website to the Arduino Uno R3 board:
#include <Wire.h>
#include "MAX30105.h"

MAX30105 particleSensor;

long samplesTaken = 0; //Counter for calculating the Hz or read rate
long unblockedValue; //Average IR at power up
long startTime; //Used to calculate measurement rate

void setup() {
  Serial.begin(9600);

  // Initialize sensor
  if (particleSensor.begin() == false) { //Use default I2C port, 400kHz speed
    Serial.println("MAX30102 was not found. Please check wiring/power. ");
    while (1);
  }

  //Setup to sense up to 18 inches, max LED brightness
  byte ledBrightness = 0xFF; //Options: 0=Off to 255=50mA
  byte sampleAverage = 4; //Options: 1, 2, 4, 8, 16, 32
  byte ledMode = 2; //Options: 1 = Red only, 2 = Red + IR, 3 = Red + IR + Green
  int sampleRate = 400; //Options: 50, 100, 200, 400, 800, 1000, 1600, 3200
  int pulseWidth = 411; //Options: 69, 118, 215, 411
  int adcRange = 2048; //Options: 2048, 4096, 8192, 16384

  //Configure sensor with these settings
  particleSensor.setup(ledBrightness, sampleAverage, ledMode, sampleRate, pulseWidth, adcRange);

  particleSensor.setPulseAmplitudeRed(0); //Turn off Red LED
  particleSensor.setPulseAmplitudeGreen(0); //Turn off Green LED

  //Take an average of IR readings at power up
  unblockedValue = 0;
  for (byte x = 0 ; x < 32 ; x++) {
    unblockedValue += particleSensor.getIR(); //Read the IR value
  }
  unblockedValue /= 32;

  startTime = millis();
}

void loop() {
  samplesTaken++;

  Serial.print("IR[");
  Serial.print(particleSensor.getIR());
  Serial.print("] Hz[");
  Serial.print((float)samplesTaken / ((millis() - startTime) / 1000.0), 2);
  Serial.print("]");

  long currentDelta = particleSensor.getIR() - unblockedValue;

  Serial.print(" delta[");
  Serial.print(currentDelta);
  Serial.print("]");

  if (currentDelta > (long)100) {
    Serial.print(" Something is there!");
  }

  Serial.println();
}
I
ran the serial monitor and I swiped my hand over the sensor to test the
range. If the MAX30102 sensor picks up my hand movements, then it
prints "Something is there!" on the serial monitor.
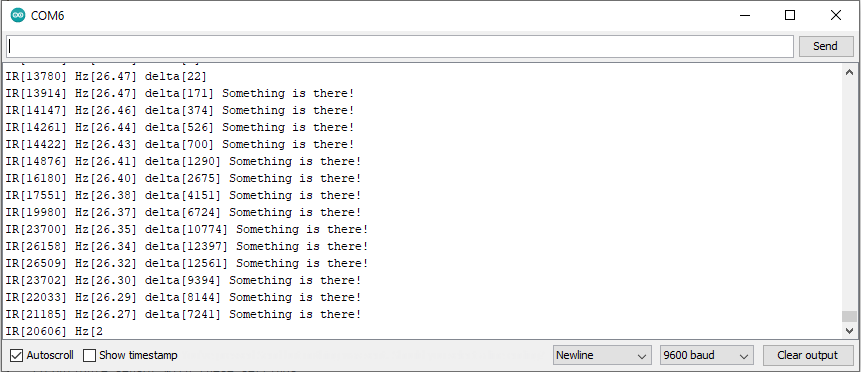
Figure 06: Arduino Serial Monitor of the hand movements, "Something is there!"
Example 3 - Reading Temperature:
I uploaded the following code from the lastminuteengineers.com website to the Arduino Uno R3 board:
#include <Wire.h>

#include "MAX30105.h"
MAX30105 particleSensor;

void setup() {
  Serial.begin(9600);
  Serial.println("Initializing...");

  // Initialize sensor
  if (particleSensor.begin() == false) { //Use default I2C port, 400kHz speed
    Serial.println("MAX30102 was not found. Please check wiring/power. ");
    while (1);
  }

  //The LEDs are very low power and won't affect the temp reading much but
  //you may want to turn off the LEDs to avoid any local heating
  particleSensor.setup(0); //Configure sensor. Turn off LEDs

  particleSensor.enableDIETEMPRDY(); //Enable the temp ready interrupt. This is required.
}

void loop() {
  float temperature = particleSensor.readTemperature();

  Serial.print("temperatureC=");
  Serial.print(temperature, 4);

  float temperatureF = particleSensor.readTemperatureF();

  Serial.print(" temperatureF=");
  Serial.print(temperatureF, 4);

  Serial.println();
}
Lightly pressed my finger against the sensor and the serial monitor displayed the following temperature readings:
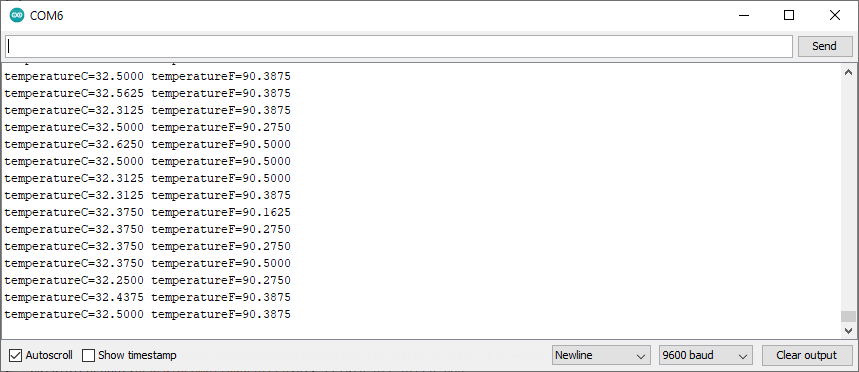
Figure 07: Arduino Serial Monitor of the temperature readings
Example 4 - Measuring Heart-Rate (BPM):
I uploaded the following code from the lastminuteengineers.com website to the Arduino Uno R3 board::
#include <Wire.h>
#include "MAX30105.h"
#include "heartRate.h"

MAX30105 particleSensor;

const byte RATE_SIZE = 4; //Increase this for more averaging. 4 is good.
byte rates[RATE_SIZE]; //Array of heart rates
byte rateSpot = 0;
long lastBeat = 0; //Time at which the last beat occurred

float beatsPerMinute;
int beatAvg;

void setup() {
  Serial.begin(115200);
  Serial.println("Initializing...");

  // Initialize sensor
  if (!particleSensor.begin()) {
    Serial.println("MAX30102 was not found. Please check wiring/power. ");
    while (1);
  }
  Serial.println("Place your index finger on the sensor with steady pressure.");

  particleSensor.setup(); //Configure sensor with default settings
  particleSensor.setPulseAmplitudeRed(0x0A); //Turn Red LED to low to indicate sensor is running
  particleSensor.setPulseAmplitudeGreen(0); //Turn off Green LED
}

void loop() {
  long irValue = particleSensor.getIR();

  if (checkForBeat(irValue) == true) {
    //We sensed a beat!
    long delta = millis() - lastBeat;
    lastBeat = millis();

    beatsPerMinute = 60 / (delta / 1000.0);

    if (beatsPerMinute < 255 && beatsPerMinute > 20) {
      rates[rateSpot++] = (byte)beatsPerMinute; //Store this reading in the array
      rateSpot %= RATE_SIZE; //Wrap variable

      //Take average of readings
      beatAvg = 0;
      for (byte x = 0 ; x < RATE_SIZE ; x++)
        beatAvg += rates[x];
      beatAvg /= RATE_SIZE;
    }
  }

  Serial.print("IR=");
  Serial.print(irValue);
  Serial.print(", BPM=");
  Serial.print(beatsPerMinute);
  Serial.print(", Avg BPM=");
  Serial.print(beatAvg);

  if (irValue < 50000)
    Serial.print(" No finger?");

  Serial.println();
}
I
lightly pressed my index finger to the IR sensor and waited for the
serial monitor to record my average BPM. The following picture is the
initial listing of my BPM readings (it was "warming up"):
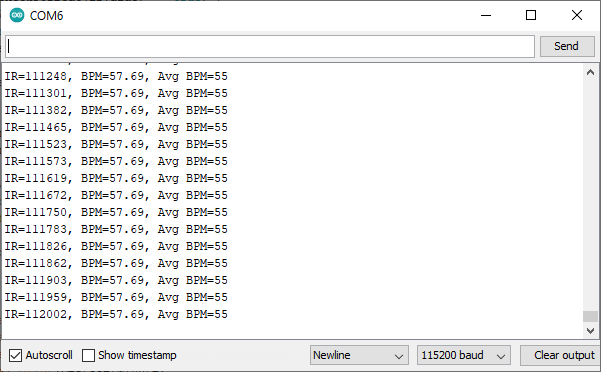
Figure 08: Arduino Serial Monitor BPM readings
Example 5 - Measuring Oxygen Saturation (SpO2):
I uploaded the following code from the lastminuteengineers.com website to the Arduino Uno R3 board::
#include <Wire.h>
#include "MAX30105.h"
#include "spo2_algorithm.h"

MAX30105 particleSensor;

#define MAX_BRIGHTNESS 255

#if defined(__AVR_ATmega328P__) || defined(__AVR_ATmega168__)
//Arduino Uno doesn't have enough SRAM to store 100 samples of IR led data and red led data in 32-bit format
//To solve this problem, 16-bit MSB of the sampled data will be truncated. Samples become 16-bit data.
uint16_t irBuffer[100]; //infrared LED sensor data
uint16_t redBuffer[100];  //red LED sensor data
#else
uint32_t irBuffer[100]; //infrared LED sensor data
uint32_t redBuffer[100];  //red LED sensor data
#endif

int32_t bufferLength; //data length
int32_t spo2; //SPO2 value
int8_t validSPO2; //indicator to show if the SPO2 calculation is valid
int32_t heartRate; //heart rate value
int8_t validHeartRate; //indicator to show if the heart rate calculation is valid

byte pulseLED = 11; //Must be on PWM pin
byte readLED = 13; //Blinks with each data read

void setup()
{
  Serial.begin(115200); // initialize serial communication at 115200 bits per second:

  pinMode(pulseLED, OUTPUT);
  pinMode(readLED, OUTPUT);

  // Initialize sensor
  if (!particleSensor.begin()) //Use default I2C port, 400kHz speed
  {
    Serial.println(F("MAX30105 was not found. Please check wiring/power."));
    while (1);
  }

  Serial.println(F("Attach sensor to finger with rubber band. Press any key to start conversion"));
  while (Serial.available() == 0) ; //wait until user presses a key
  Serial.read();

  byte ledBrightness = 60; //Options: 0=Off to 255=50mA
  byte sampleAverage = 4; //Options: 1, 2, 4, 8, 16, 32
  byte ledMode = 2; //Options: 1 = Red only, 2 = Red + IR, 3 = Red + IR + Green
  byte sampleRate = 100; //Options: 50, 100, 200, 400, 800, 1000, 1600, 3200
  int pulseWidth = 411; //Options: 69, 118, 215, 411
  int adcRange = 4096; //Options: 2048, 4096, 8192, 16384

  particleSensor.setup(ledBrightness, sampleAverage, ledMode, sampleRate, pulseWidth, adcRange); //Configure sensor with these settings
}

void loop()
{
  bufferLength = 100; //buffer length of 100 stores 4 seconds of samples running at 25sps

  //read the first 100 samples, and determine the signal range
  for (byte i = 0 ; i < bufferLength ; i++)
  {
    while (particleSensor.available() == false) //do we have new data?
      particleSensor.check(); //Check the sensor for new data

    redBuffer[i] = particleSensor.getRed();
    irBuffer[i] = particleSensor.getIR();
    particleSensor.nextSample(); //We're finished with this sample so move to next sample

    Serial.print(F("red="));
    Serial.print(redBuffer[i], DEC);
    Serial.print(F(", ir="));
    Serial.println(irBuffer[i], DEC);
  }

  //calculate heart rate and SpO2 after first 100 samples (first 4 seconds of samples)
  maxim_heart_rate_and_oxygen_saturation(irBuffer, bufferLength, redBuffer, &spo2, &validSPO2, &heartRate, &validHeartRate);

  //Continuously taking samples from MAX30102.  Heart rate and SpO2 are calculated every 1 second
  while (1)
  {
    //dumping the first 25 sets of samples in the memory and shift the last 75 sets of samples to the top
    for (byte i = 25; i < 100; i++)
    {
      redBuffer[i - 25] = redBuffer[i];
      irBuffer[i - 25] = irBuffer[i];
    }

    //take 25 sets of samples before calculating the heart rate.
    for (byte i = 75; i < 100; i++)
    {
      while (particleSensor.available() == false) //do we have new data?
        particleSensor.check(); //Check the sensor for new data

      digitalWrite(readLED, !digitalRead(readLED)); //Blink onboard LED with every data read

      redBuffer[i] = particleSensor.getRed();
      irBuffer[i] = particleSensor.getIR();
      particleSensor.nextSample(); //We're finished with this sample so move to next sample

      //send samples and calculation result to terminal program through UART
      Serial.print(F("red="));
      Serial.print(redBuffer[i], DEC);
      Serial.print(F(", ir="));
      Serial.print(irBuffer[i], DEC);

      Serial.print(F(", HR="));
      Serial.print(heartRate, DEC);

      Serial.print(F(", HRvalid="));
      Serial.print(validHeartRate, DEC);

      Serial.print(F(", SPO2="));
      Serial.print(spo2, DEC);

      Serial.print(F(", SPO2Valid="));
      Serial.println(validSPO2, DEC);
    }

    //After gathering 25 new samples recalculate HR and SP02
    maxim_heart_rate_and_oxygen_saturation(irBuffer, bufferLength, redBuffer, &spo2, &validSPO2, &heartRate, &validHeartRate);
  }
}
4. Results
The
MAX30102 sensor is a great sensor for making estimations on the oxygen
in a person's blood and the average beats per minute (BPM) of a
person's heart.
5. Discussion
The MAX30102 sensor
is not recommended for medical usage because it has inconsistencies
while calculating the average BPM where pressing against the IR sensor
too
softly or too hard can give very different readings. Also, the Arduino
code provided within the SparkFun MAX3010x Pulse and
Proximity Sensor Library
was very unreliable and
tended to have multiple errors which is why I copied code directly from
the Interfacing MAX30102 Pulse Oximeter and Heart Rate Sensor with Arduino (lastminuteengineers.com) website. Overall, it was a fun introduction to the usefulness of IR sensors in the medical field.