For this project we used the ESP32-CAM board to take pictures and have them sent to different places and develop a webserver to control the cameras funtionality. We stared by having the camera take five pictures every 10 seconds and saving them to an SD card. One thing that was noticed was that the first picture always had a weird tint/color to it. This automatic functionality was later changed to a button control just like what was done to the flash in the previos tutorial. We also had the picture names changed for just the consecutive picture# to displaying the time and date when they were taken. After this we created a weserver so we could acess the camera and chose when to take a picture, view the moat recent one, delete previously taken pcitures and have them sent to our personal email using a brand new burner email adress. After getting the pictures through email we devolped way to send, and take pictures using an app called Telegram.
Task 1:
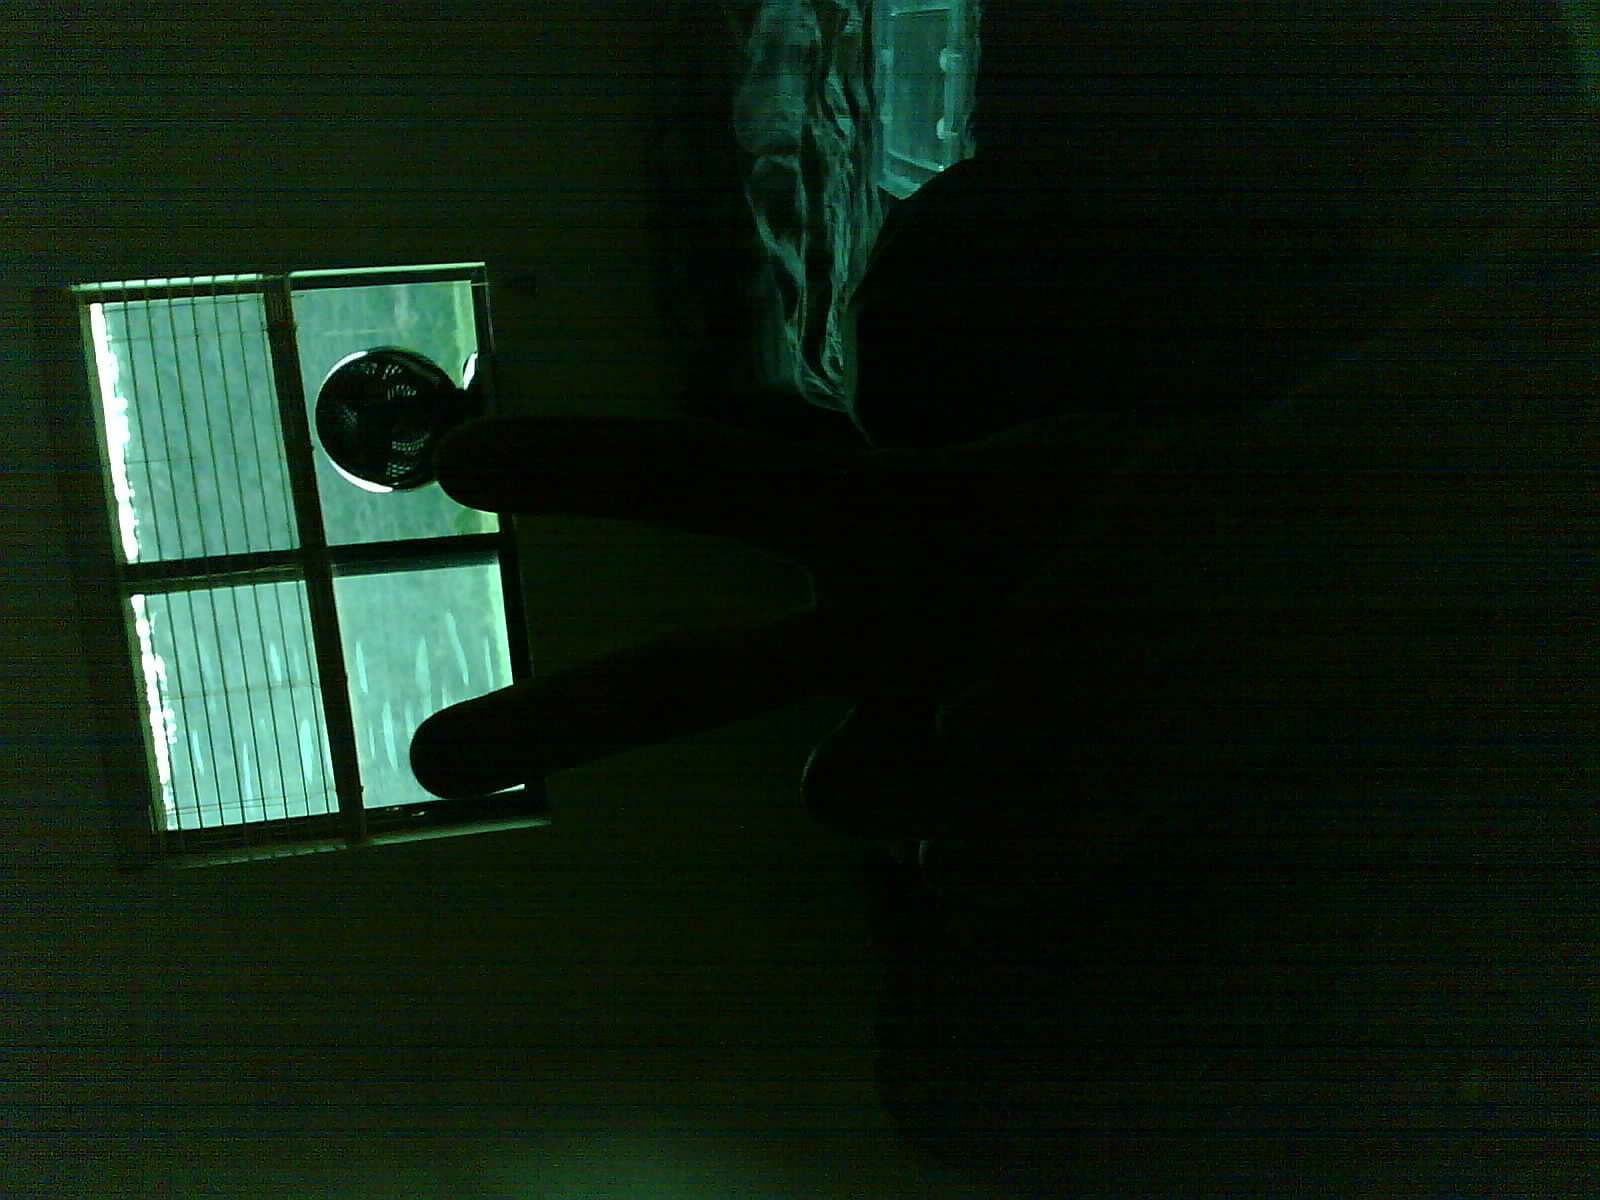
For this task we had the camera take pictures every 10 seconds and save them to the SD card. Within the code the time between each photo could be changed to as small as you liked but the time it takes the processor to develope and save the photo would not be long enough so the picture could come out very distorted or even corupted where the file itself could not open. 10 seconds was the sweet spot for the quality we were using. we also noticed that the first picture (Picture0) alwyas had a weird tint.

Task 2:
In this part of the project we changed the names of the pictures when they were saved. They originaly had the naming convention of picture#, this number would go up counting the number of pictures that had been take. This is usfull in the fact it can take pictures but you would have no idea when the picture was really taken. This was done by changing the code to comunicate with the NTP server and being sent GMT time. This time was then used for naming the photos. The naming was changed to show the date and time the picture was taken (year_month_day__hour_minute_second).

Task 3:
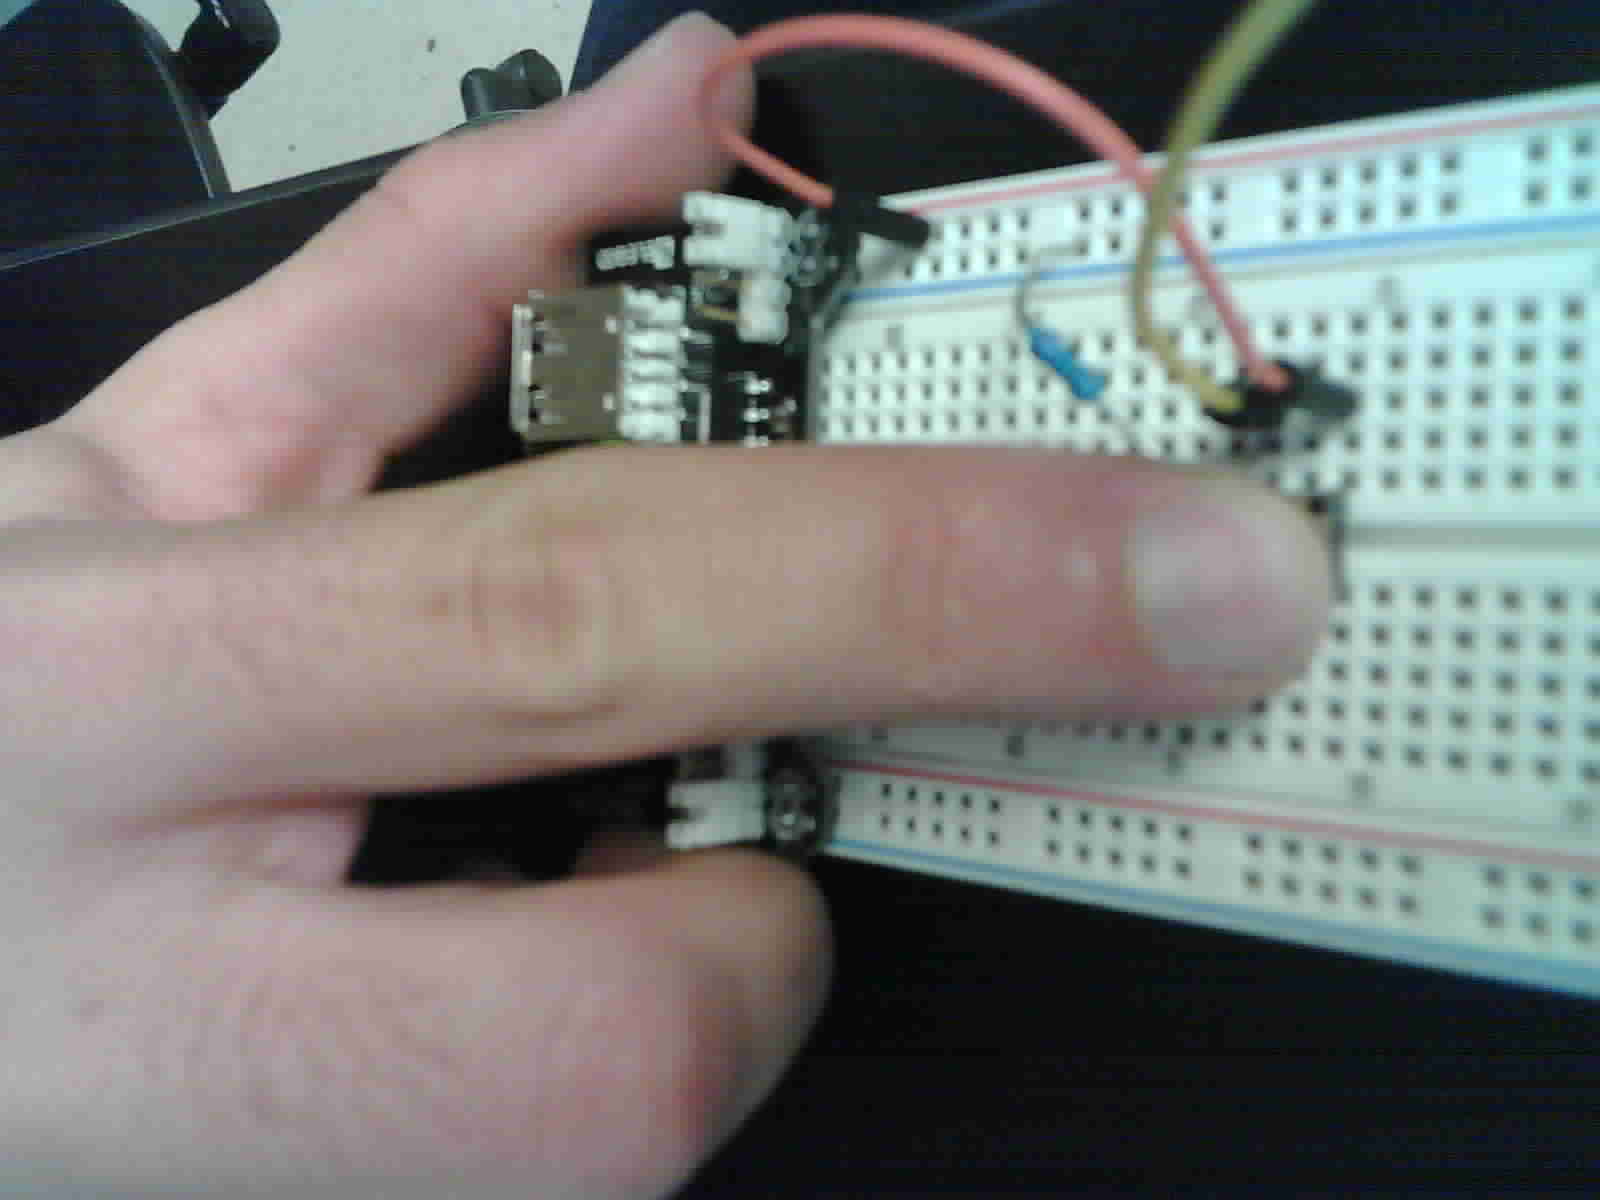
After getting the names sorted out we made the camera funcinality controld phisical more than just a constant set delay counter. This physical control consisted of a button conected to the ESP32 GPIO 16 pin. This was the same idea that was used to control the LED flash in the previous tutorial.
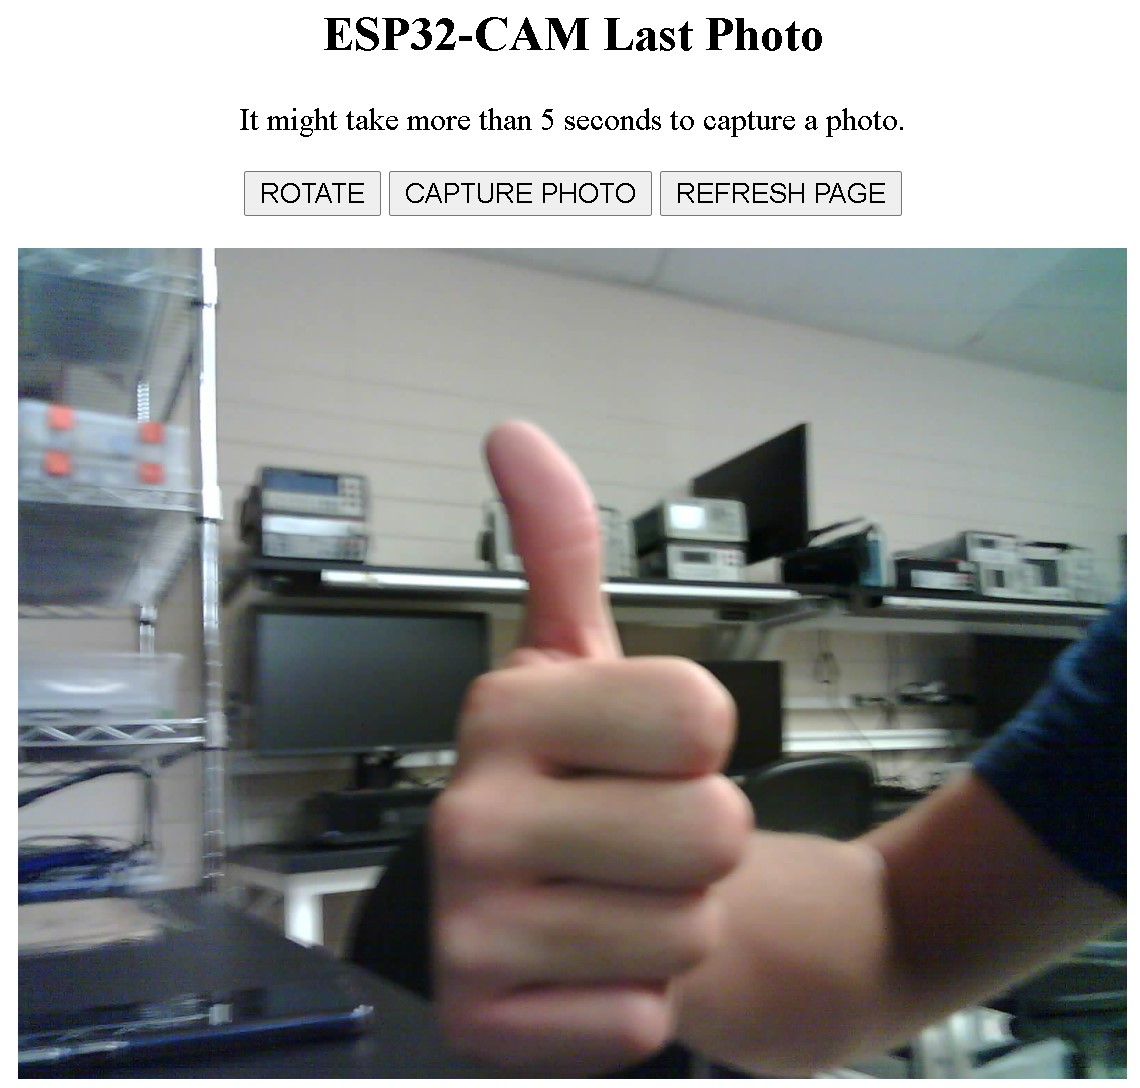
Task 4:
After using a button to acess and control the camera we created a simple Web Server that could contral the camera and capture a photo. The photo could also be rotated if it wasn't corrected with the correct orintation. This photo could be seen in real time with just refreshing the page.
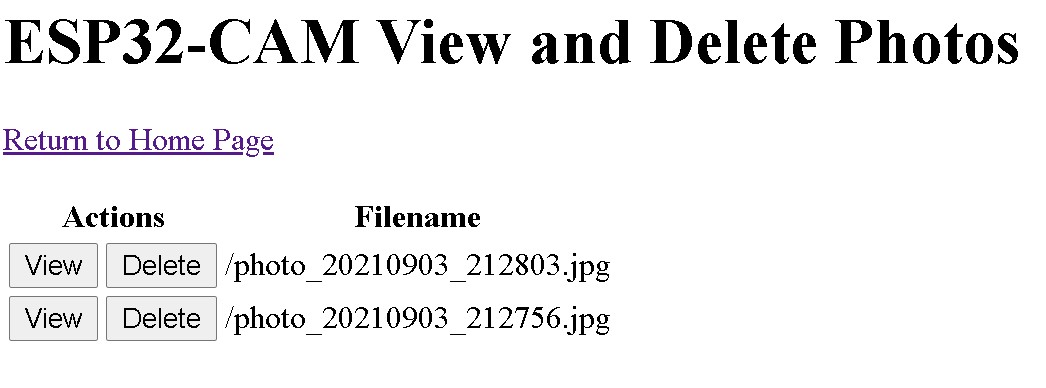
Task 5:
Knowing that the Web Server can control the camera we added more functionality to it. We were now able to view the cameras saved/stored files and chose which files we would like to delete or keep. The pictures kept the same naming convention with date and time.
Task 6:
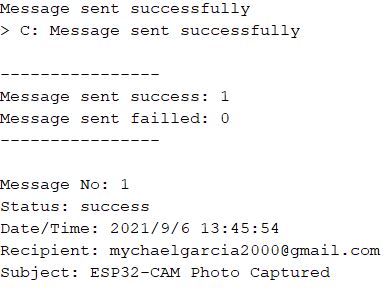
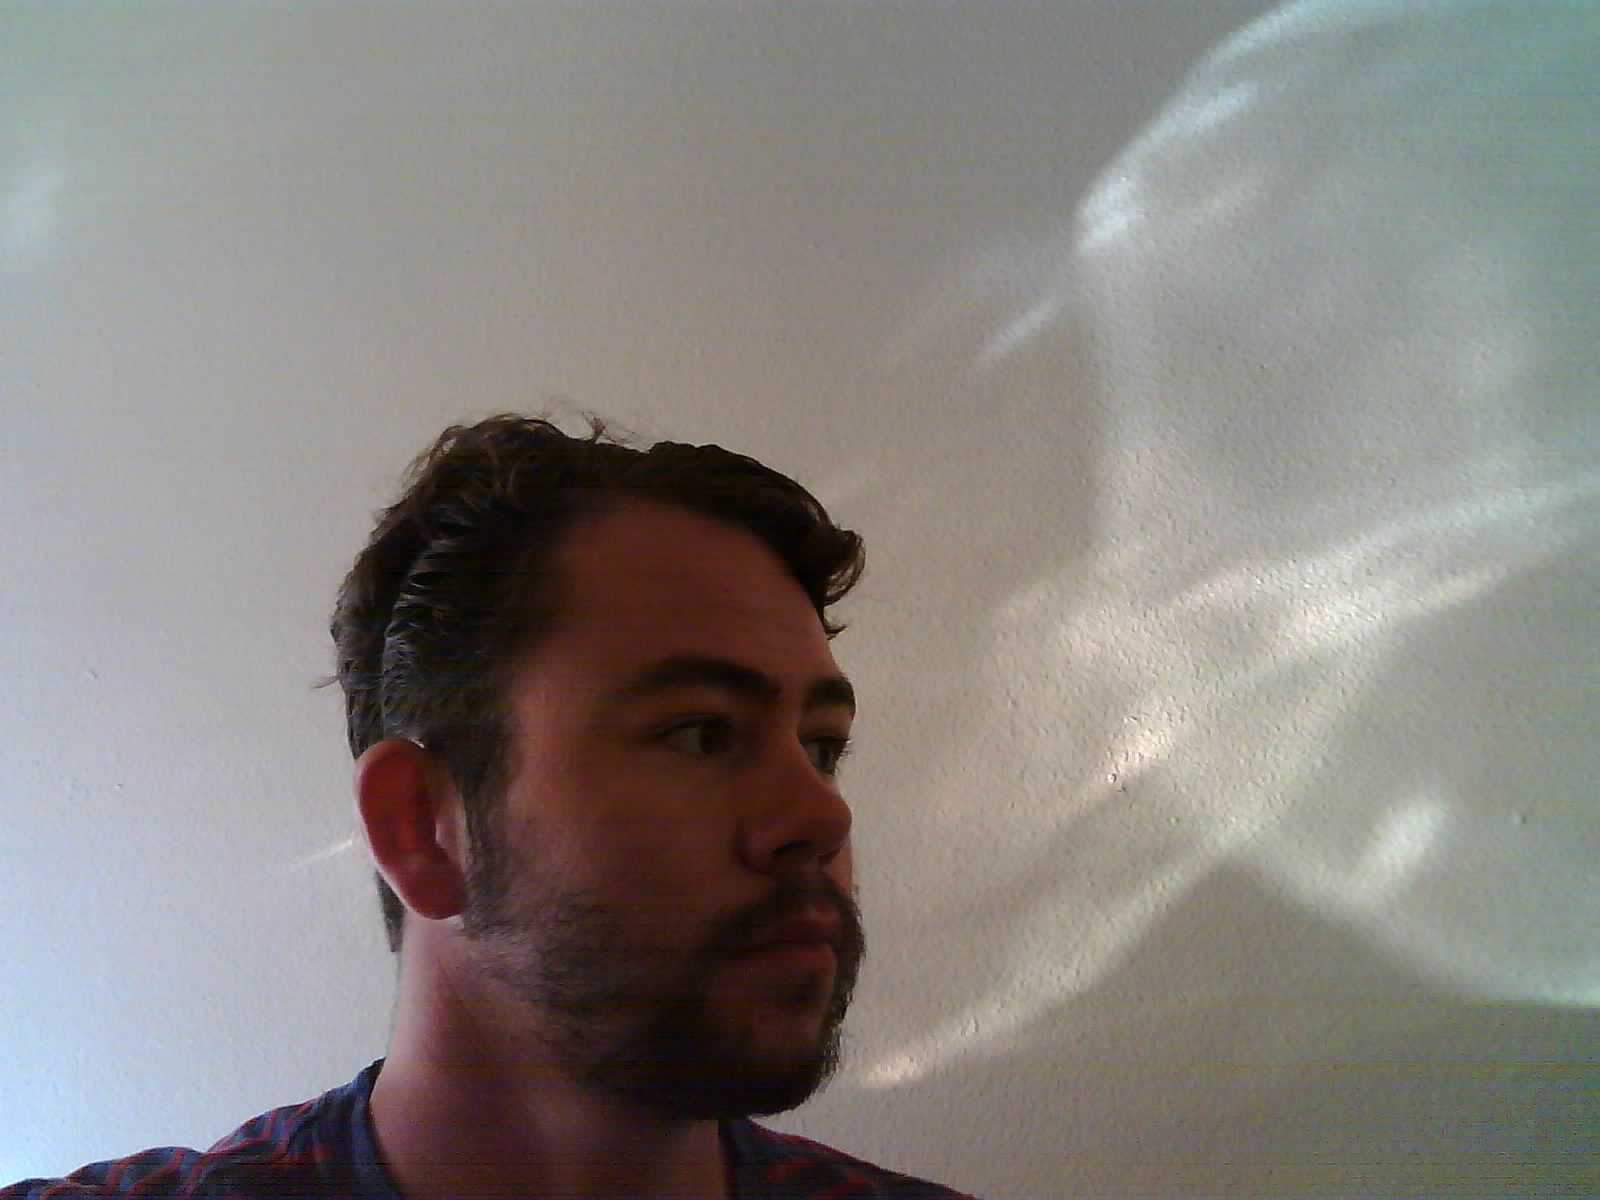
For this task we made the camera send us the pictures it was takeing. For this we had to create a burner email adress that aloud acess for outside applications to use it. This would sometimes send warning that the account could be blocked by Google if something went wrong or an error occured. IN other words we would no longer have to be phisicly conected to the camera or using the same Wifi conection, we could get the photos sent anywhere in the world as long we have acess to internet and