CE432-1 Robotics II 2021
Fall
Tutorial 1
Name: Mychael Garcia
Email:
mhgarcia@fortlewis.edu
Materials:
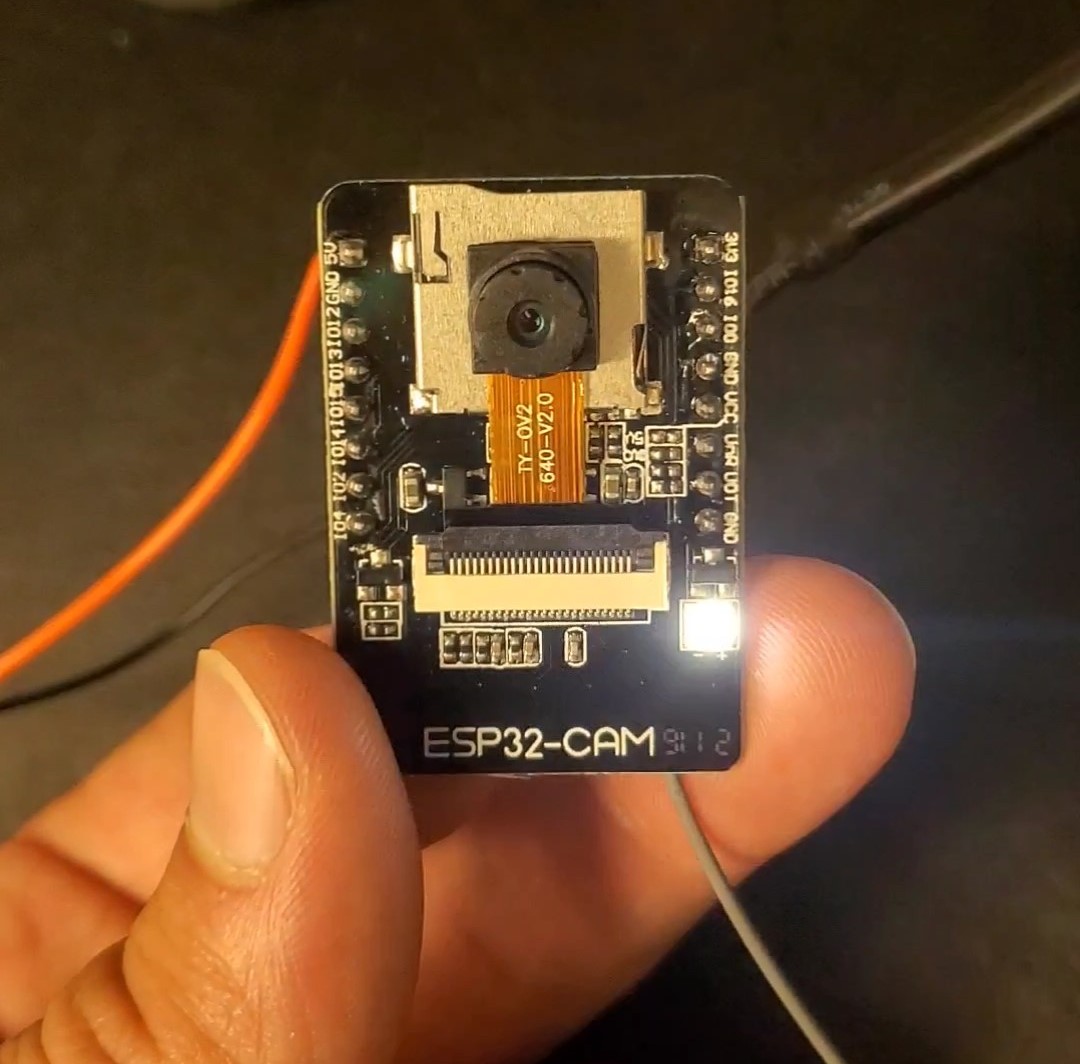
- ESP32-CAM module
- External Wifi antenna
- USB to 3 pin programming cable
- Breadboard
- Jumperwires (M to M, M to F)
- DC to DC power supply (3.3, 5V)
- Push button
- Resistor
Tutorial 1
For this project we learned and devolped some ways to use the ESP32-CAM
board most of this code was pulled form the Rondom Nerd Tutorials
textbook but some thing were changed for our own configurations. The
first task was to turn on the camera and conect it
Wifi and be able to acess it from a remote device. For task two
we learned how to control the flashlight and use external GPIO pins.
the first part was done using softwear to automaticly turn off an on
the light. Second, the light was controled with a button. Lastly, the
brightness was controled using a PWMfunction.
Task 1:
For
this task we powered on and conected our ESP32 to the local Fort Lewis
"Guest" wifi. This was done by desoldering a small resistor on the
board to ignore the onboard antenna and have it connected to an
external one. This created a better signal which was actualy capeable
of streaming live video.
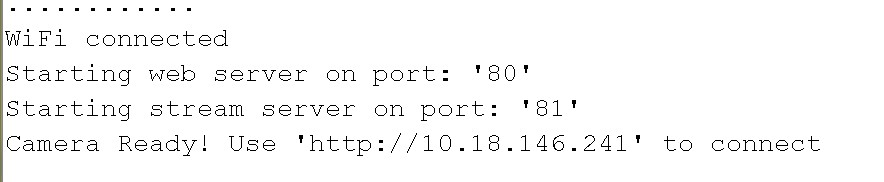
After
establishing a wifi conection and making sure the camera was opperating
correctly we started on some image recognition. Using the camera and
its built in facial recognition softwear we made sure it could finda face in the fram and draw a box around it.This did involve some small code changes as the given
code did not work correctly.
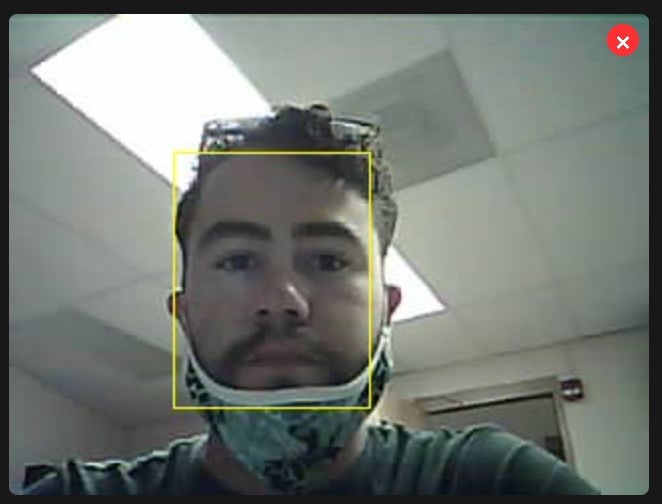
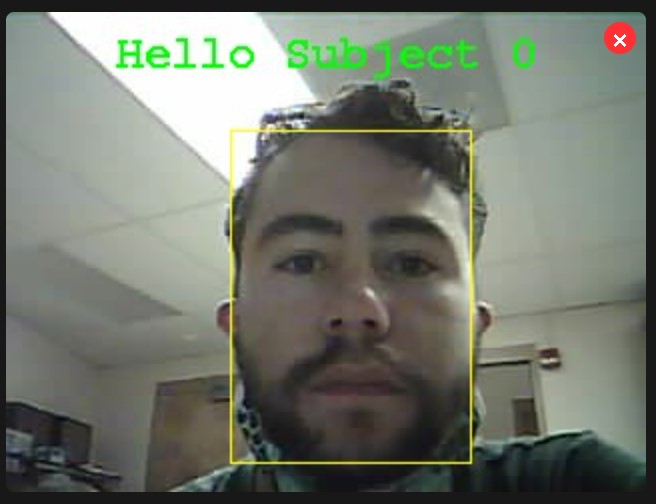
After
knowing it can recognice faces we tested the memory and face comparison
feature. This was done by seeing if it could tell
the difference between a known
and unknow face. After enrolling a face the camera would save a few
frames to do a comparison on. After restarting the steam and having a
face in the shot the camera could tell if the face was similar to the one it previously recorded. If it was we
would get the message "Hello Subject" if it wasnt recognized the
message would read "Intruder Alert!".
Task 2:
For
this task we learned how to use the LED and control the pins
(GPIO) on
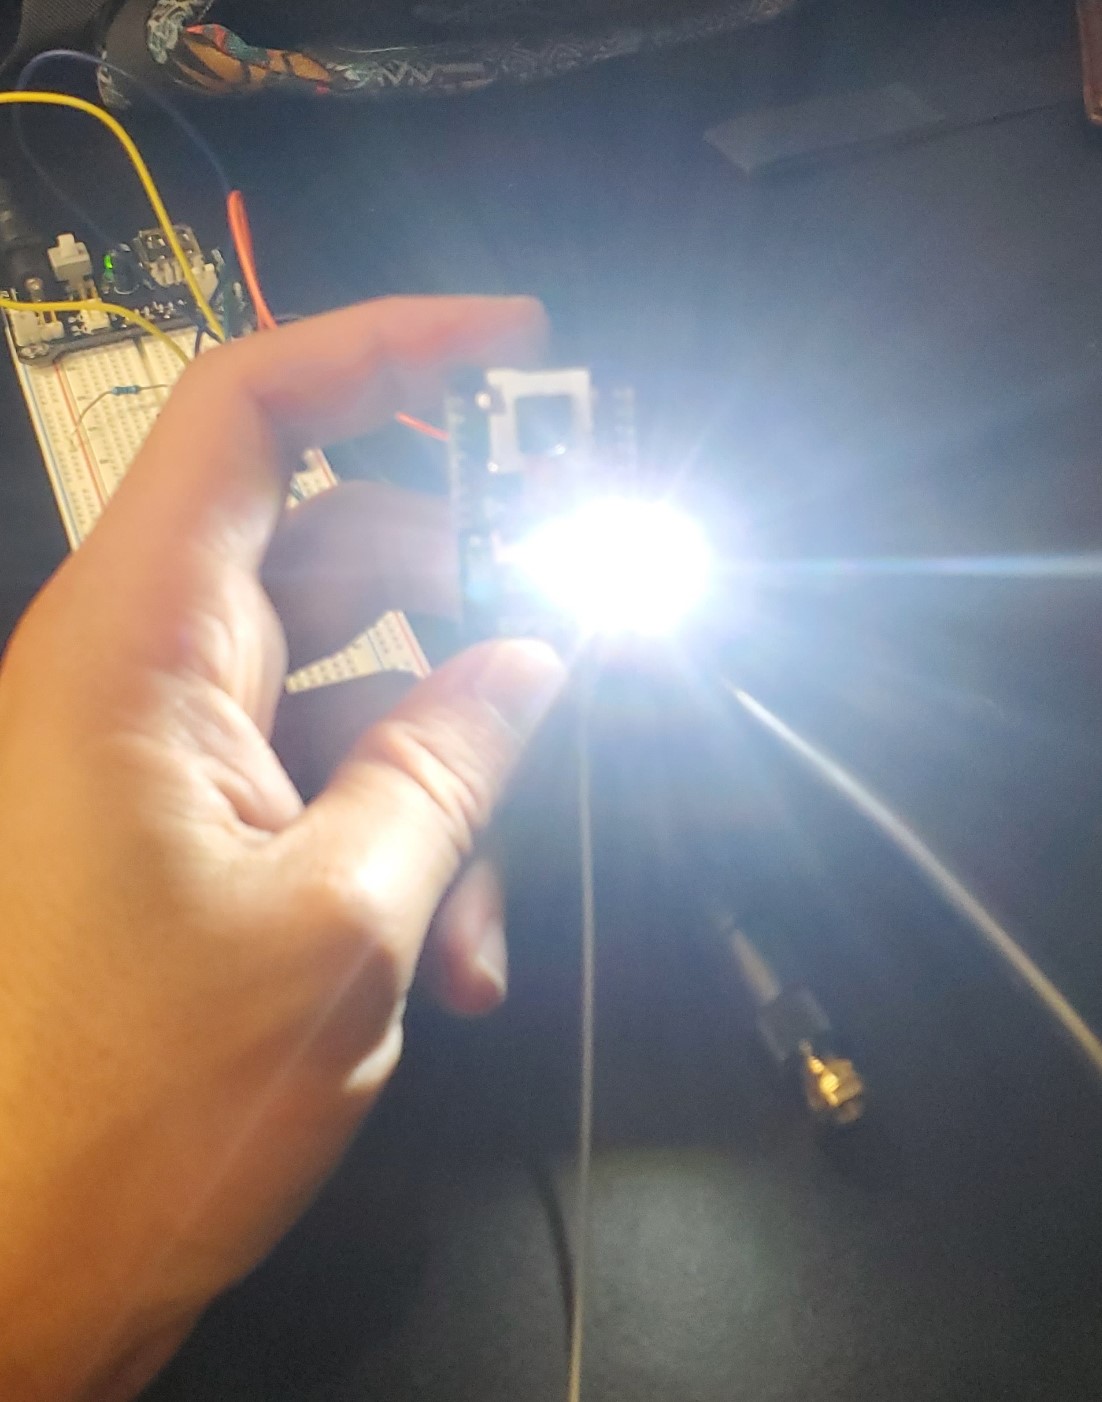
the ESP32 board. This started off by flashing the build in LED. Using
the board schematic the LED is conected to pin GPIO4. Uploading a
simple coad refering to pin 4 as an LED and putting a delay between
actions we could get the flash to blink off and on.

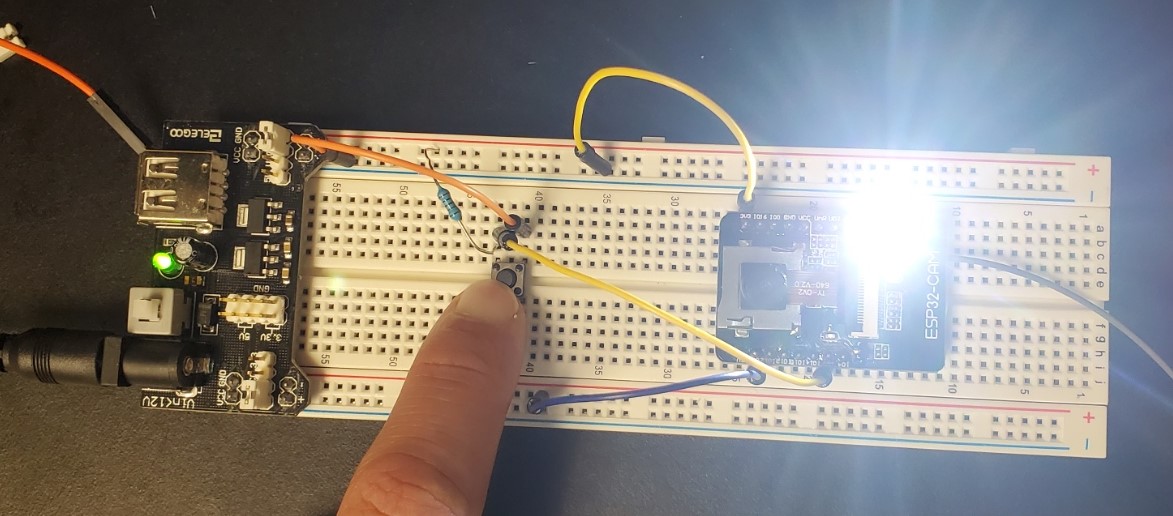
After
getting the flash control working we changed the control over from
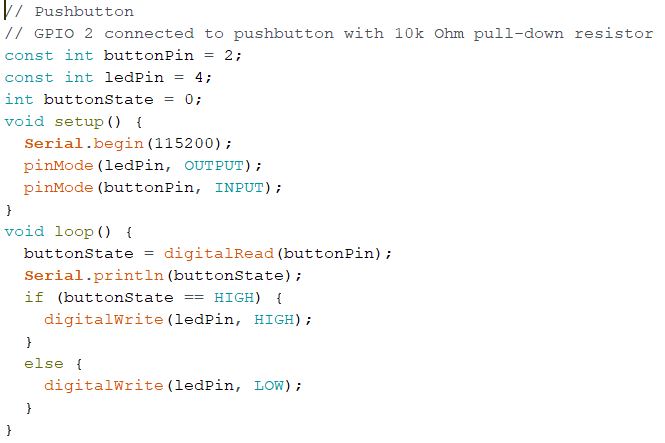
being sofwear based to a physical button. Afetr adding button and
conecting it to pin GPIO2 we could manualy control when to turn the LED
on and off be having the board know if the incoming voltage was higher or lower than the previous state.
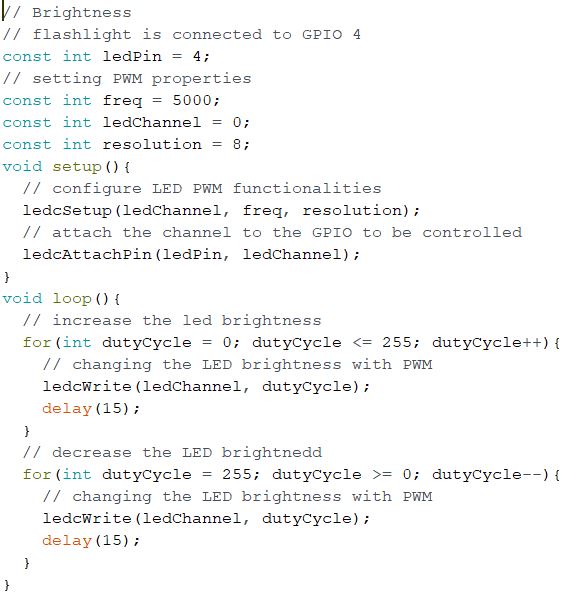
Lastly
we controled the overall brighness of the LED. This was accomplished by
using a PWM function which would sen small pulses of power to the LED
in rapid succession with different frequencies that would control the
brightness. The farther appart the pulses the dimmer the light.
Conclusion:
For
being the first tutorial, it was a good introduction to how the
ESP32-CAM board is going to work and what quirks it has. Its also very
interesting on how the board comunicates using the Arduino IDE
programming softwear. Knwoing ths board exists this gives me future
ideas in how this could be used in my senior seminar project.
-----------------------------------------------------------------------------------------------------
END