CE432-1 Robotics II 2021
Fall
Lab 1
Name: Mychael Garcia Email:
mhgarcia@fortlewis.edu
Materials:
ESP32-CAM module
External Wifi antenna
USB to 3 pin programming cable
Breadboard
Jumperwires (M to M, M to F)
DC to DC power supply (3.3, 5V)
Battery pack
Motor controler
Simple 2WD car chassis
Tutorial 3: For this roject we used
the ESP32-CAM board to stream video using a simple start and stop web
server. For the second part we add a BMP180 board which had three built
in sensors; temperature (deg
C), Pressure (hPa), and Altitude (m). For the last part we created a
webserver and small remote controled (RC) car that could stream video
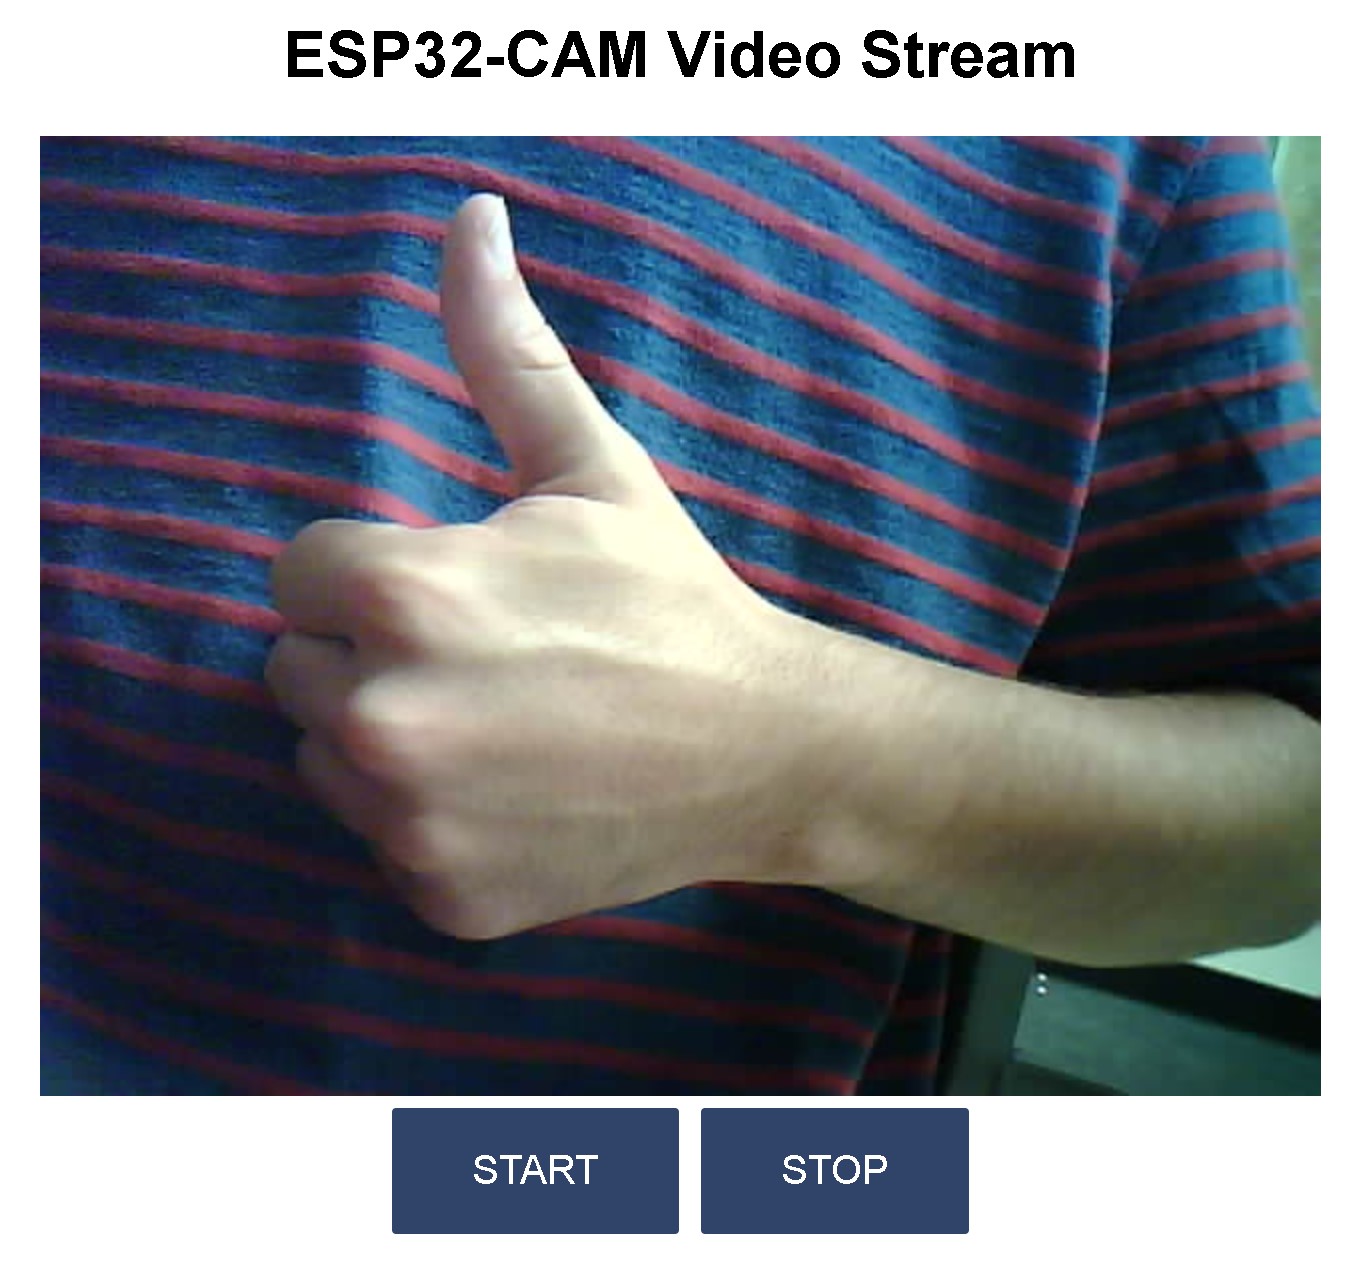
and be driven arround using the server. Task 1: For
this task we streamed video off of a simple web server. We could
control when the video was being sent or not. The video would buffer
some with lower wifi conections but other than that the image quality
was good.
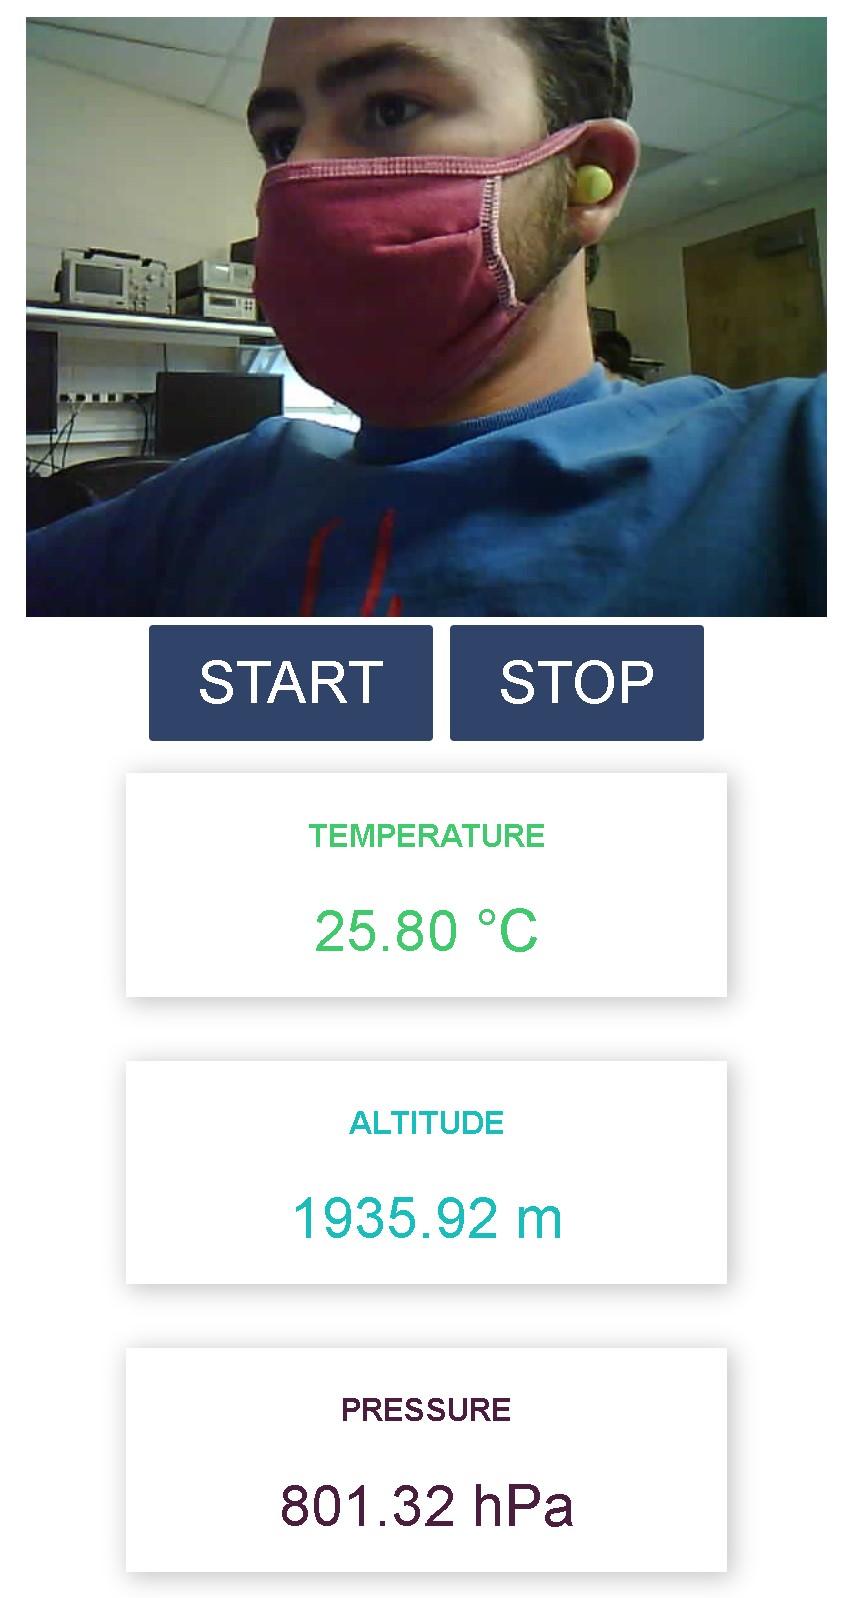
Task 2: For
this task we added a sensor board to the server. The ESP32-CAM would
comunicate with the BMP180 and recieve data readings and output them to
the server so we could stream video and get sensor data. The code used
from the book was originaly designed for a BME280, knowing this we had
to change some of it so the code could work with our module. The main
difference between these two sensors is that the BME has a humidity
sensor and the BMP has a altitude sensor. After changing the code to
disply altitude instead of humidity everything worked. We were getting
readouts of; temperature (deg C), altitude (m), and pressure (hPa), The
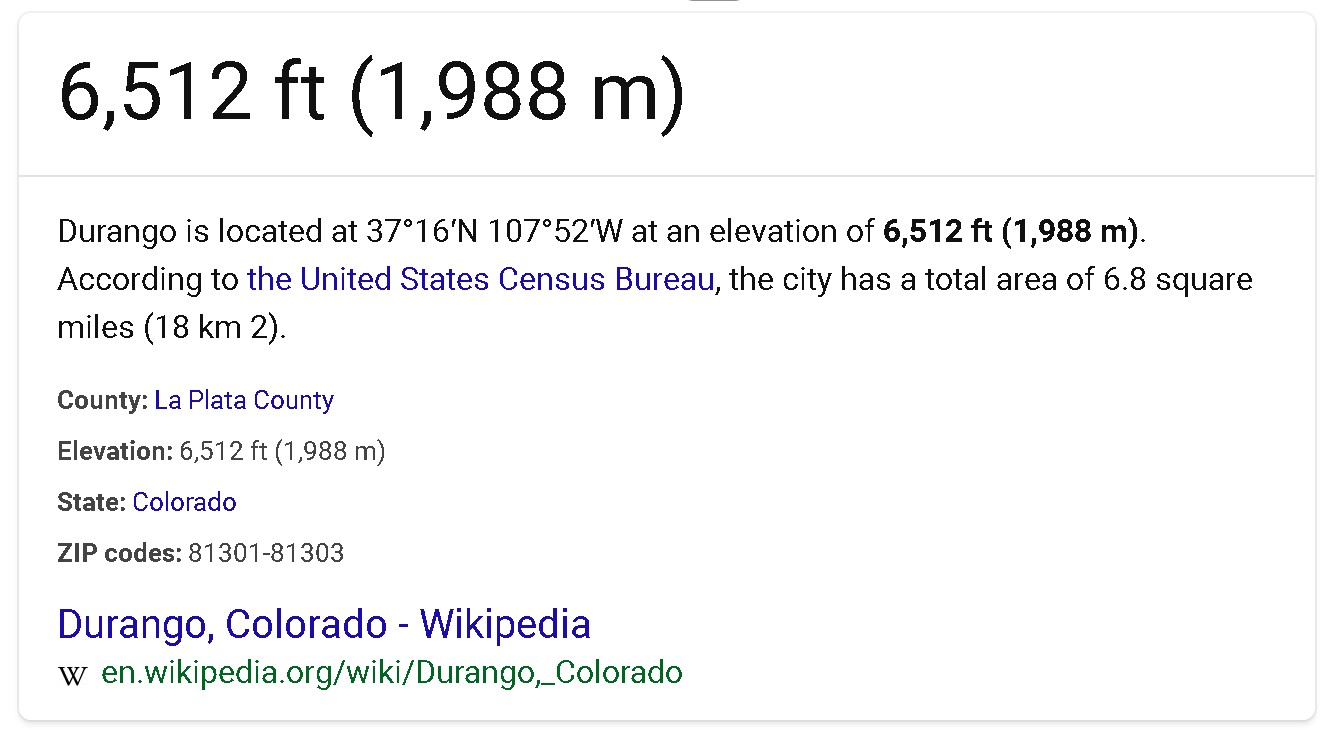
sensor was not perfect but was pretty close to the actual elevation,
only 52.08 m off.
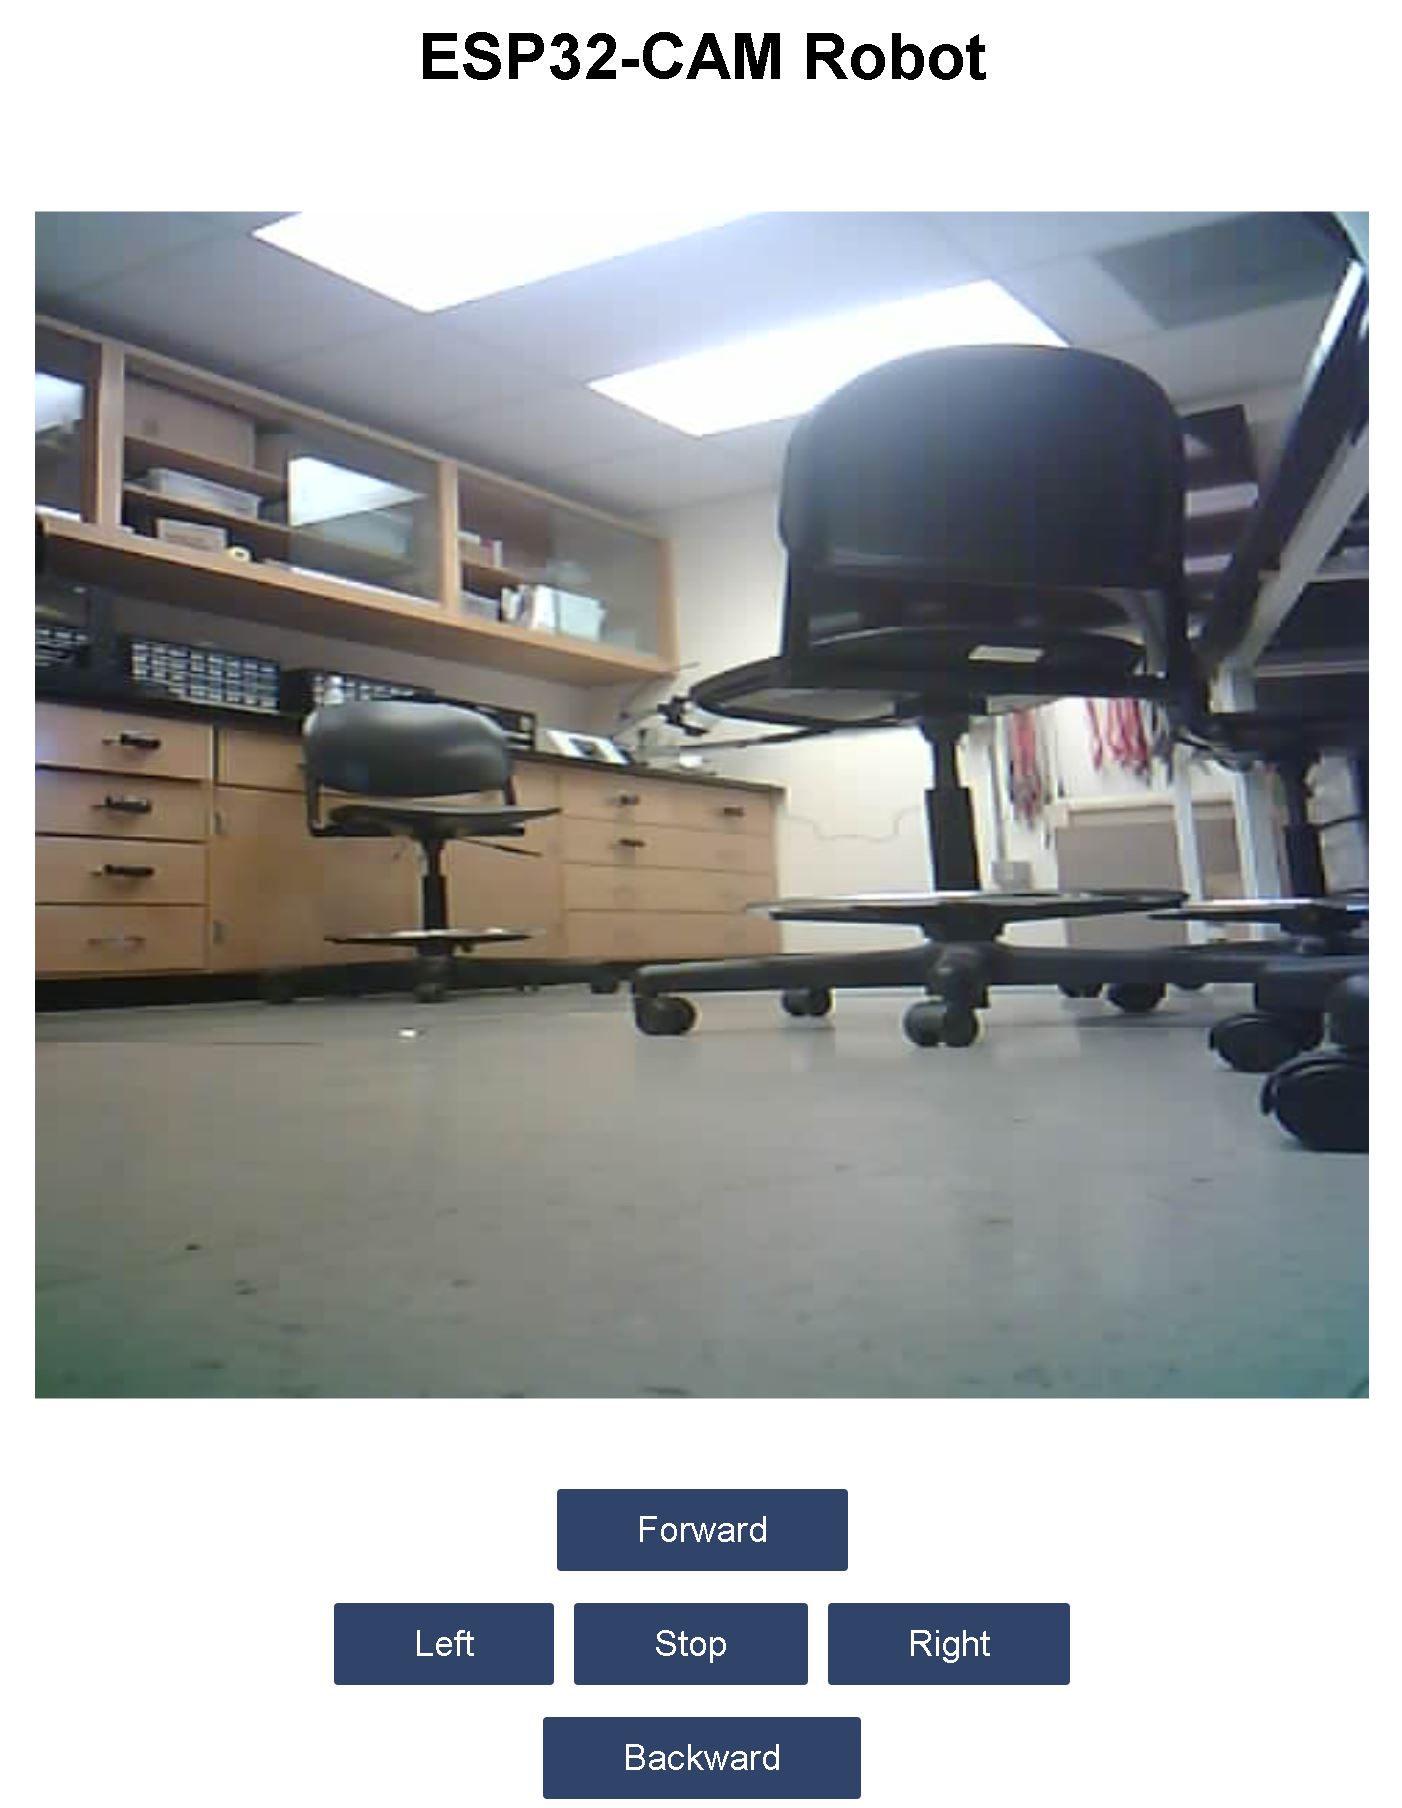
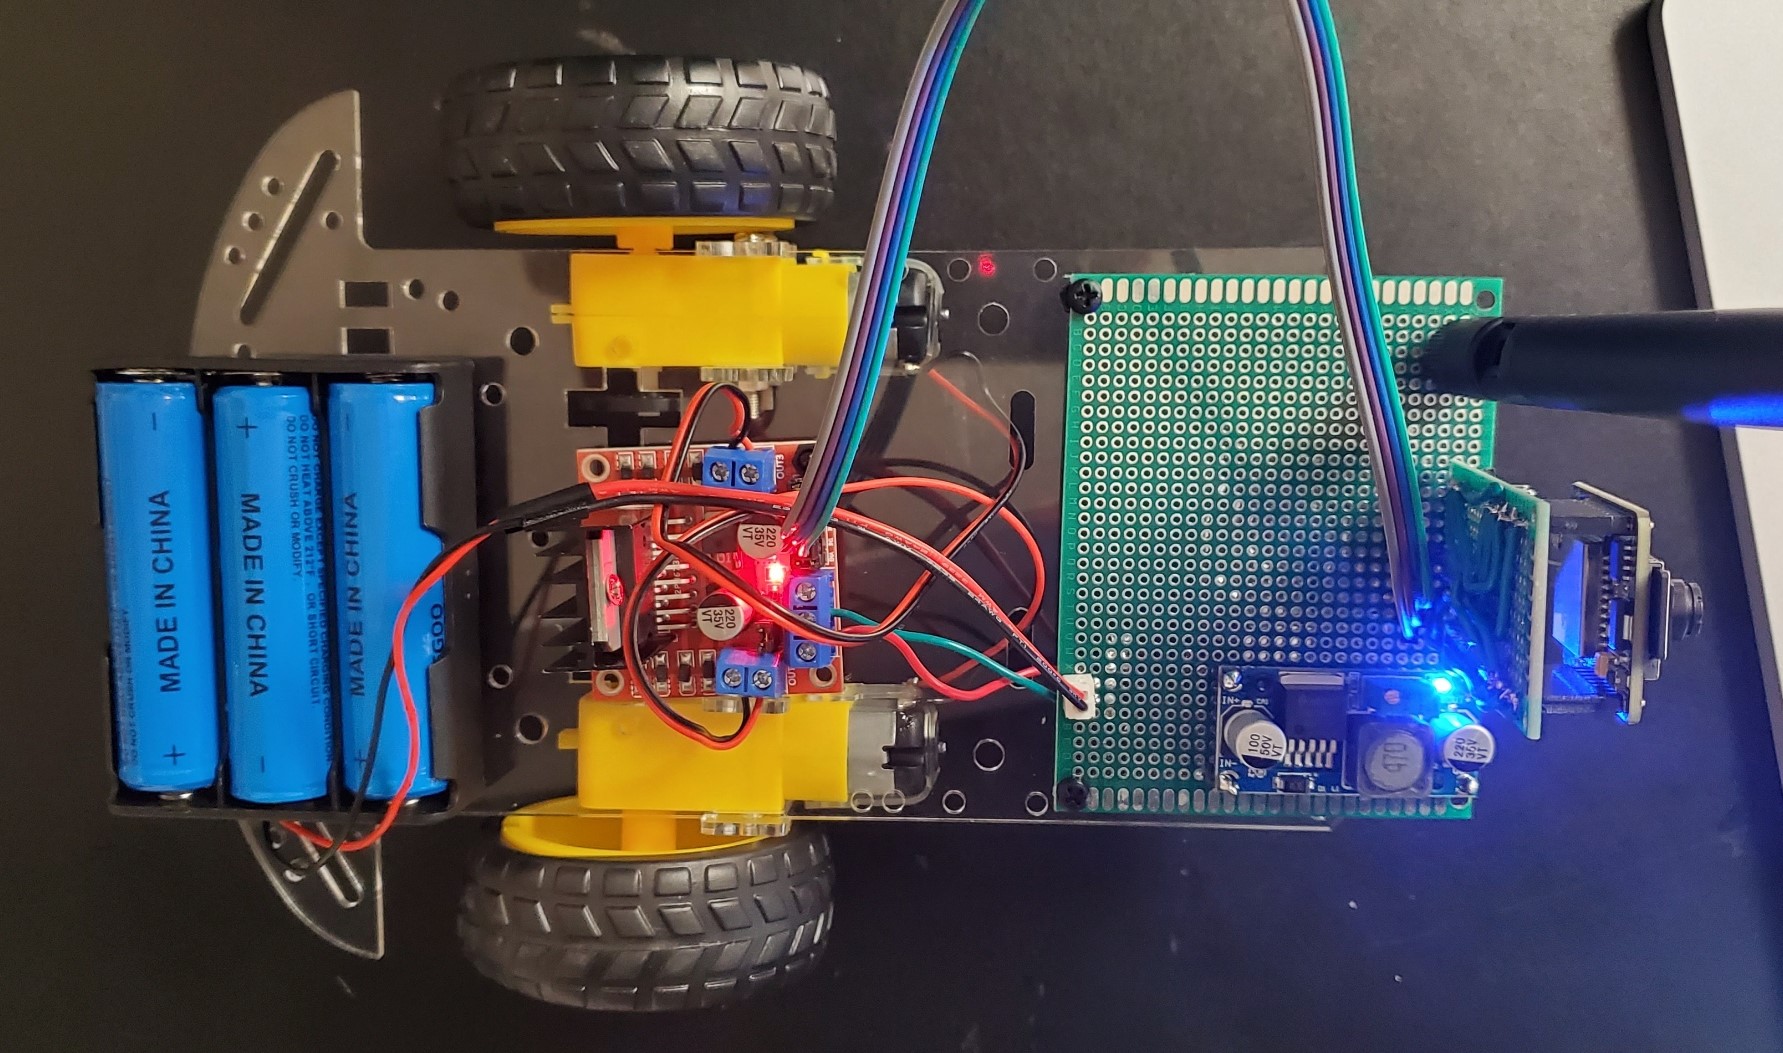
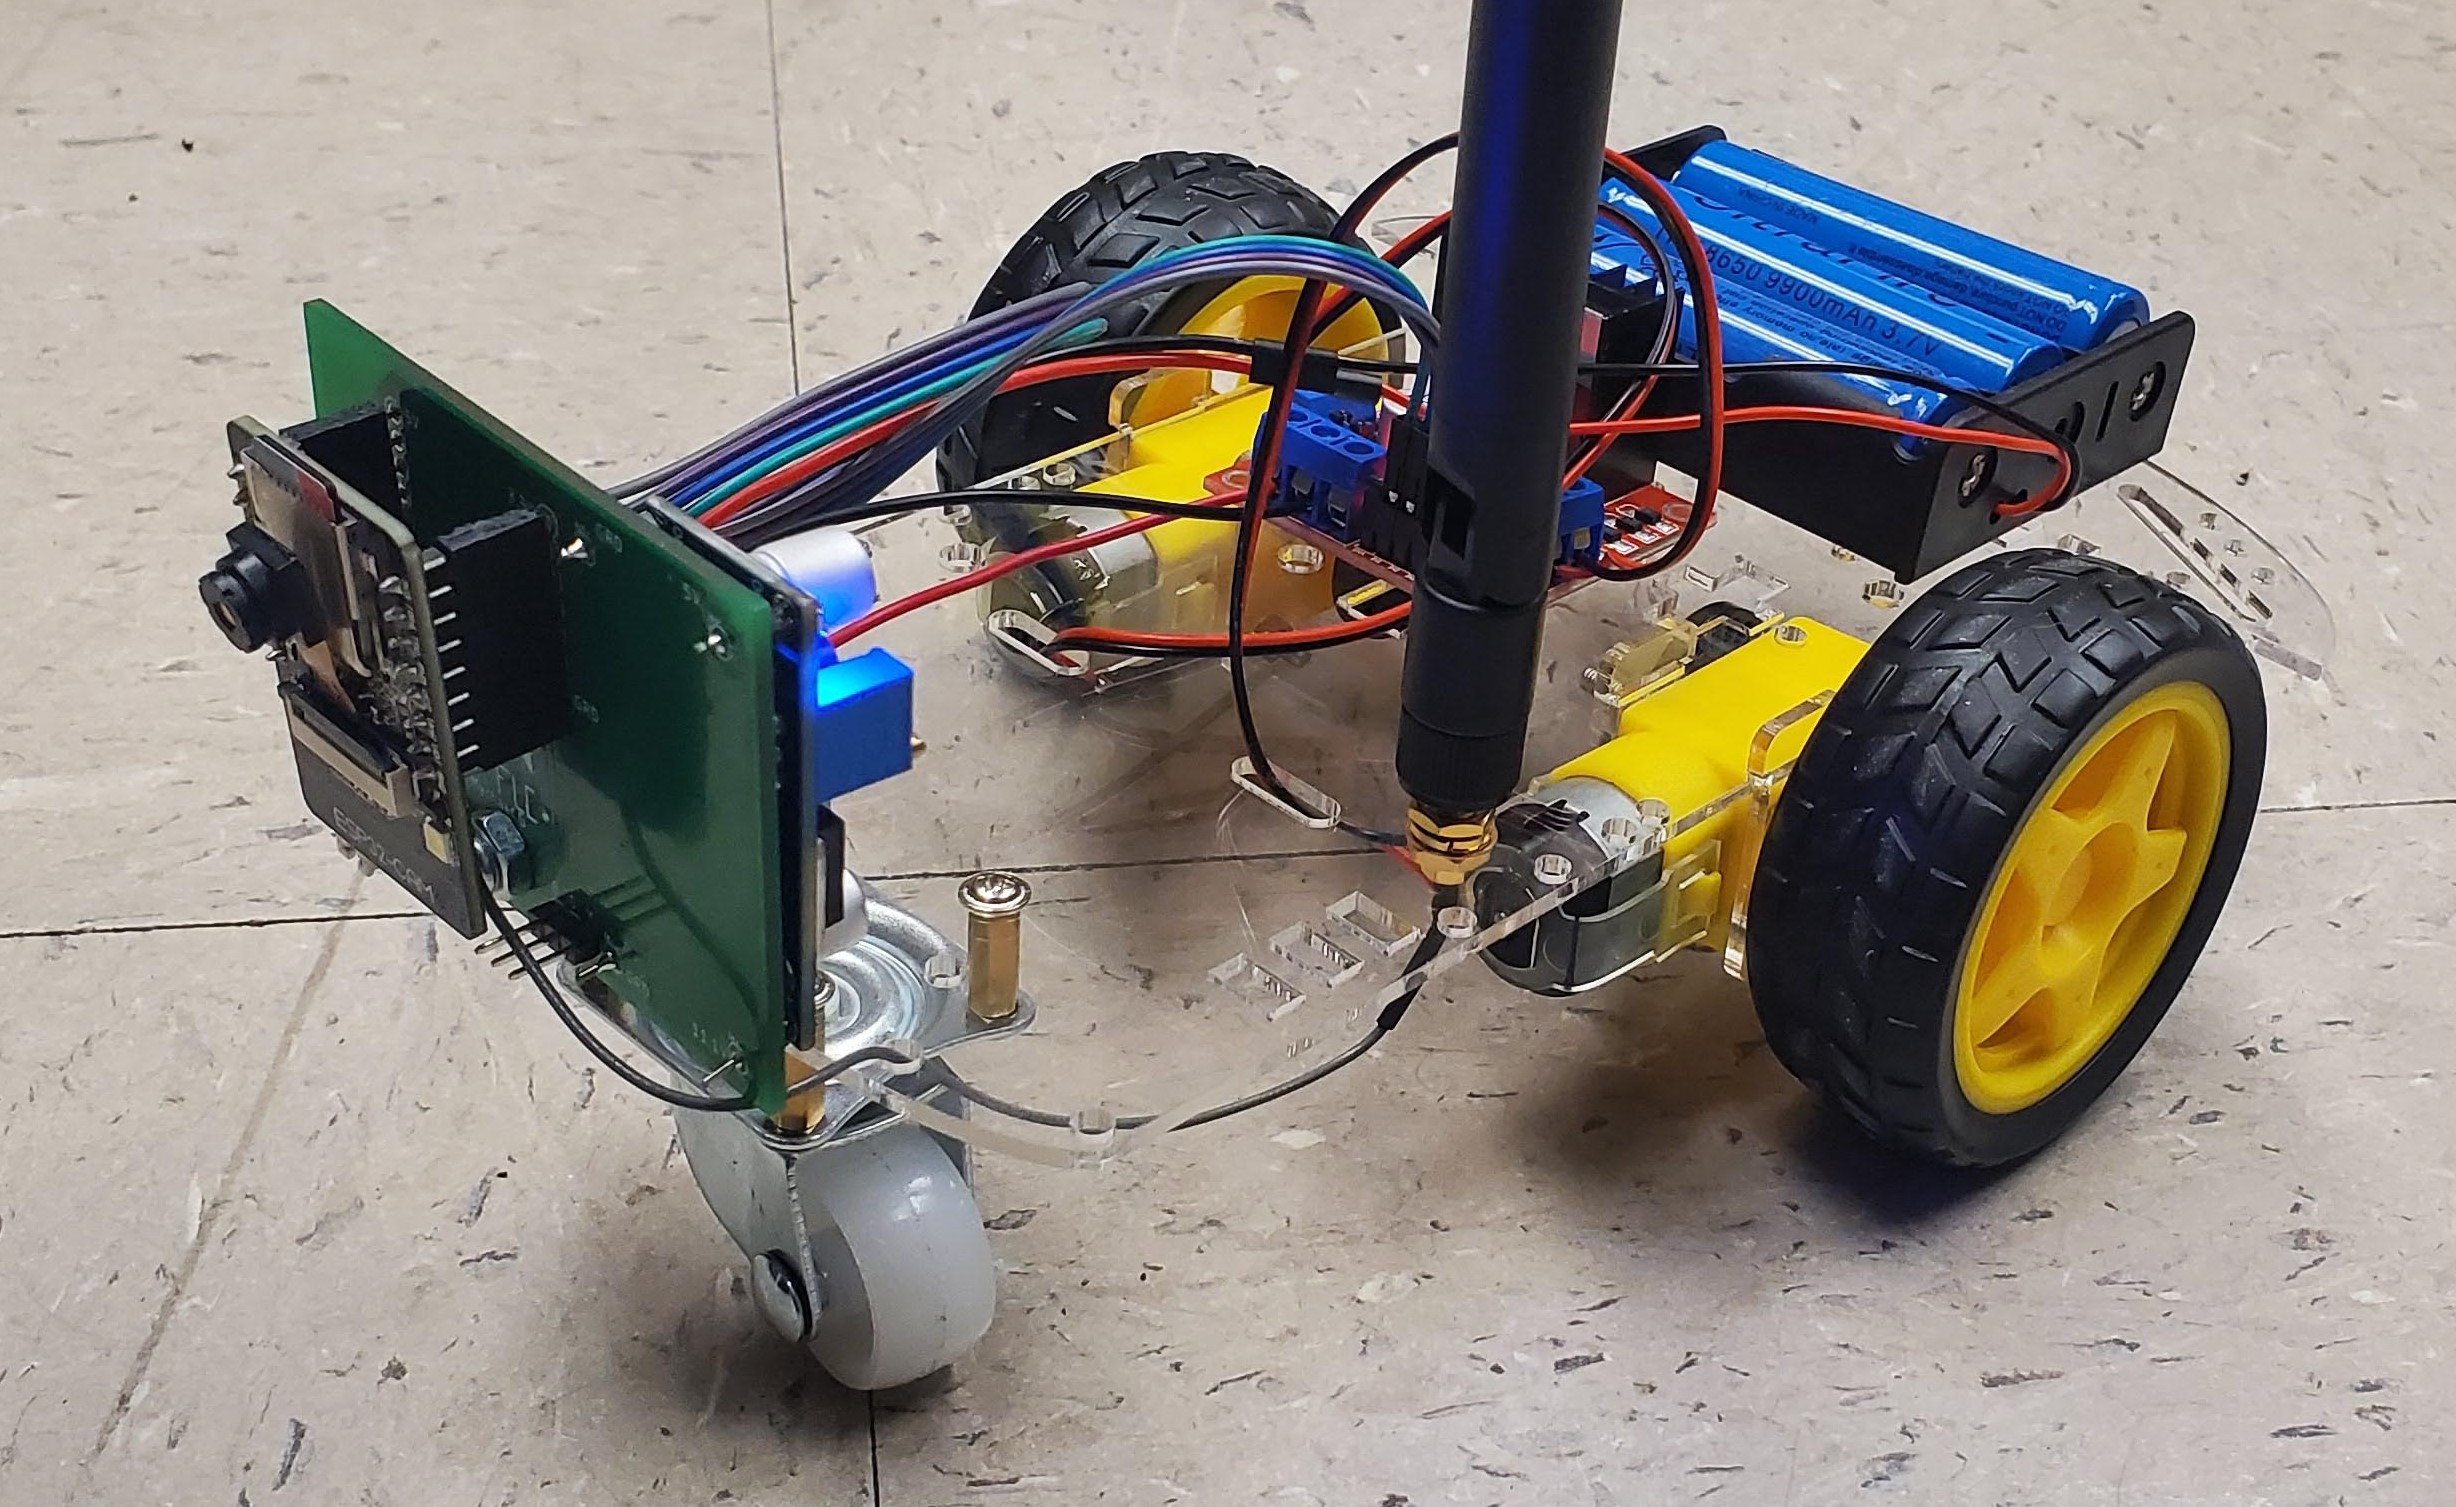
Task 3: This
was the last task in this series and was definitly the funnest. We took
all the functionality of the ESP32-CAM board and made a little car that
we could drive arround. It was connected to the schools "Guest" wifi
and would stream the video as well as 5 functianlity buttons (Forward,
Backward, Left, Right, and Stop). This car composed of a DC to DC power
dilivery that would step the voltage down from 11.1V to around 5V.
There was also a motor controler that was powerd directly from the
batteries 11.1V and had 4 inputs that would control which way the
motors should turn to drive the car. This signal was coming directly
from ESP32-CAM board.
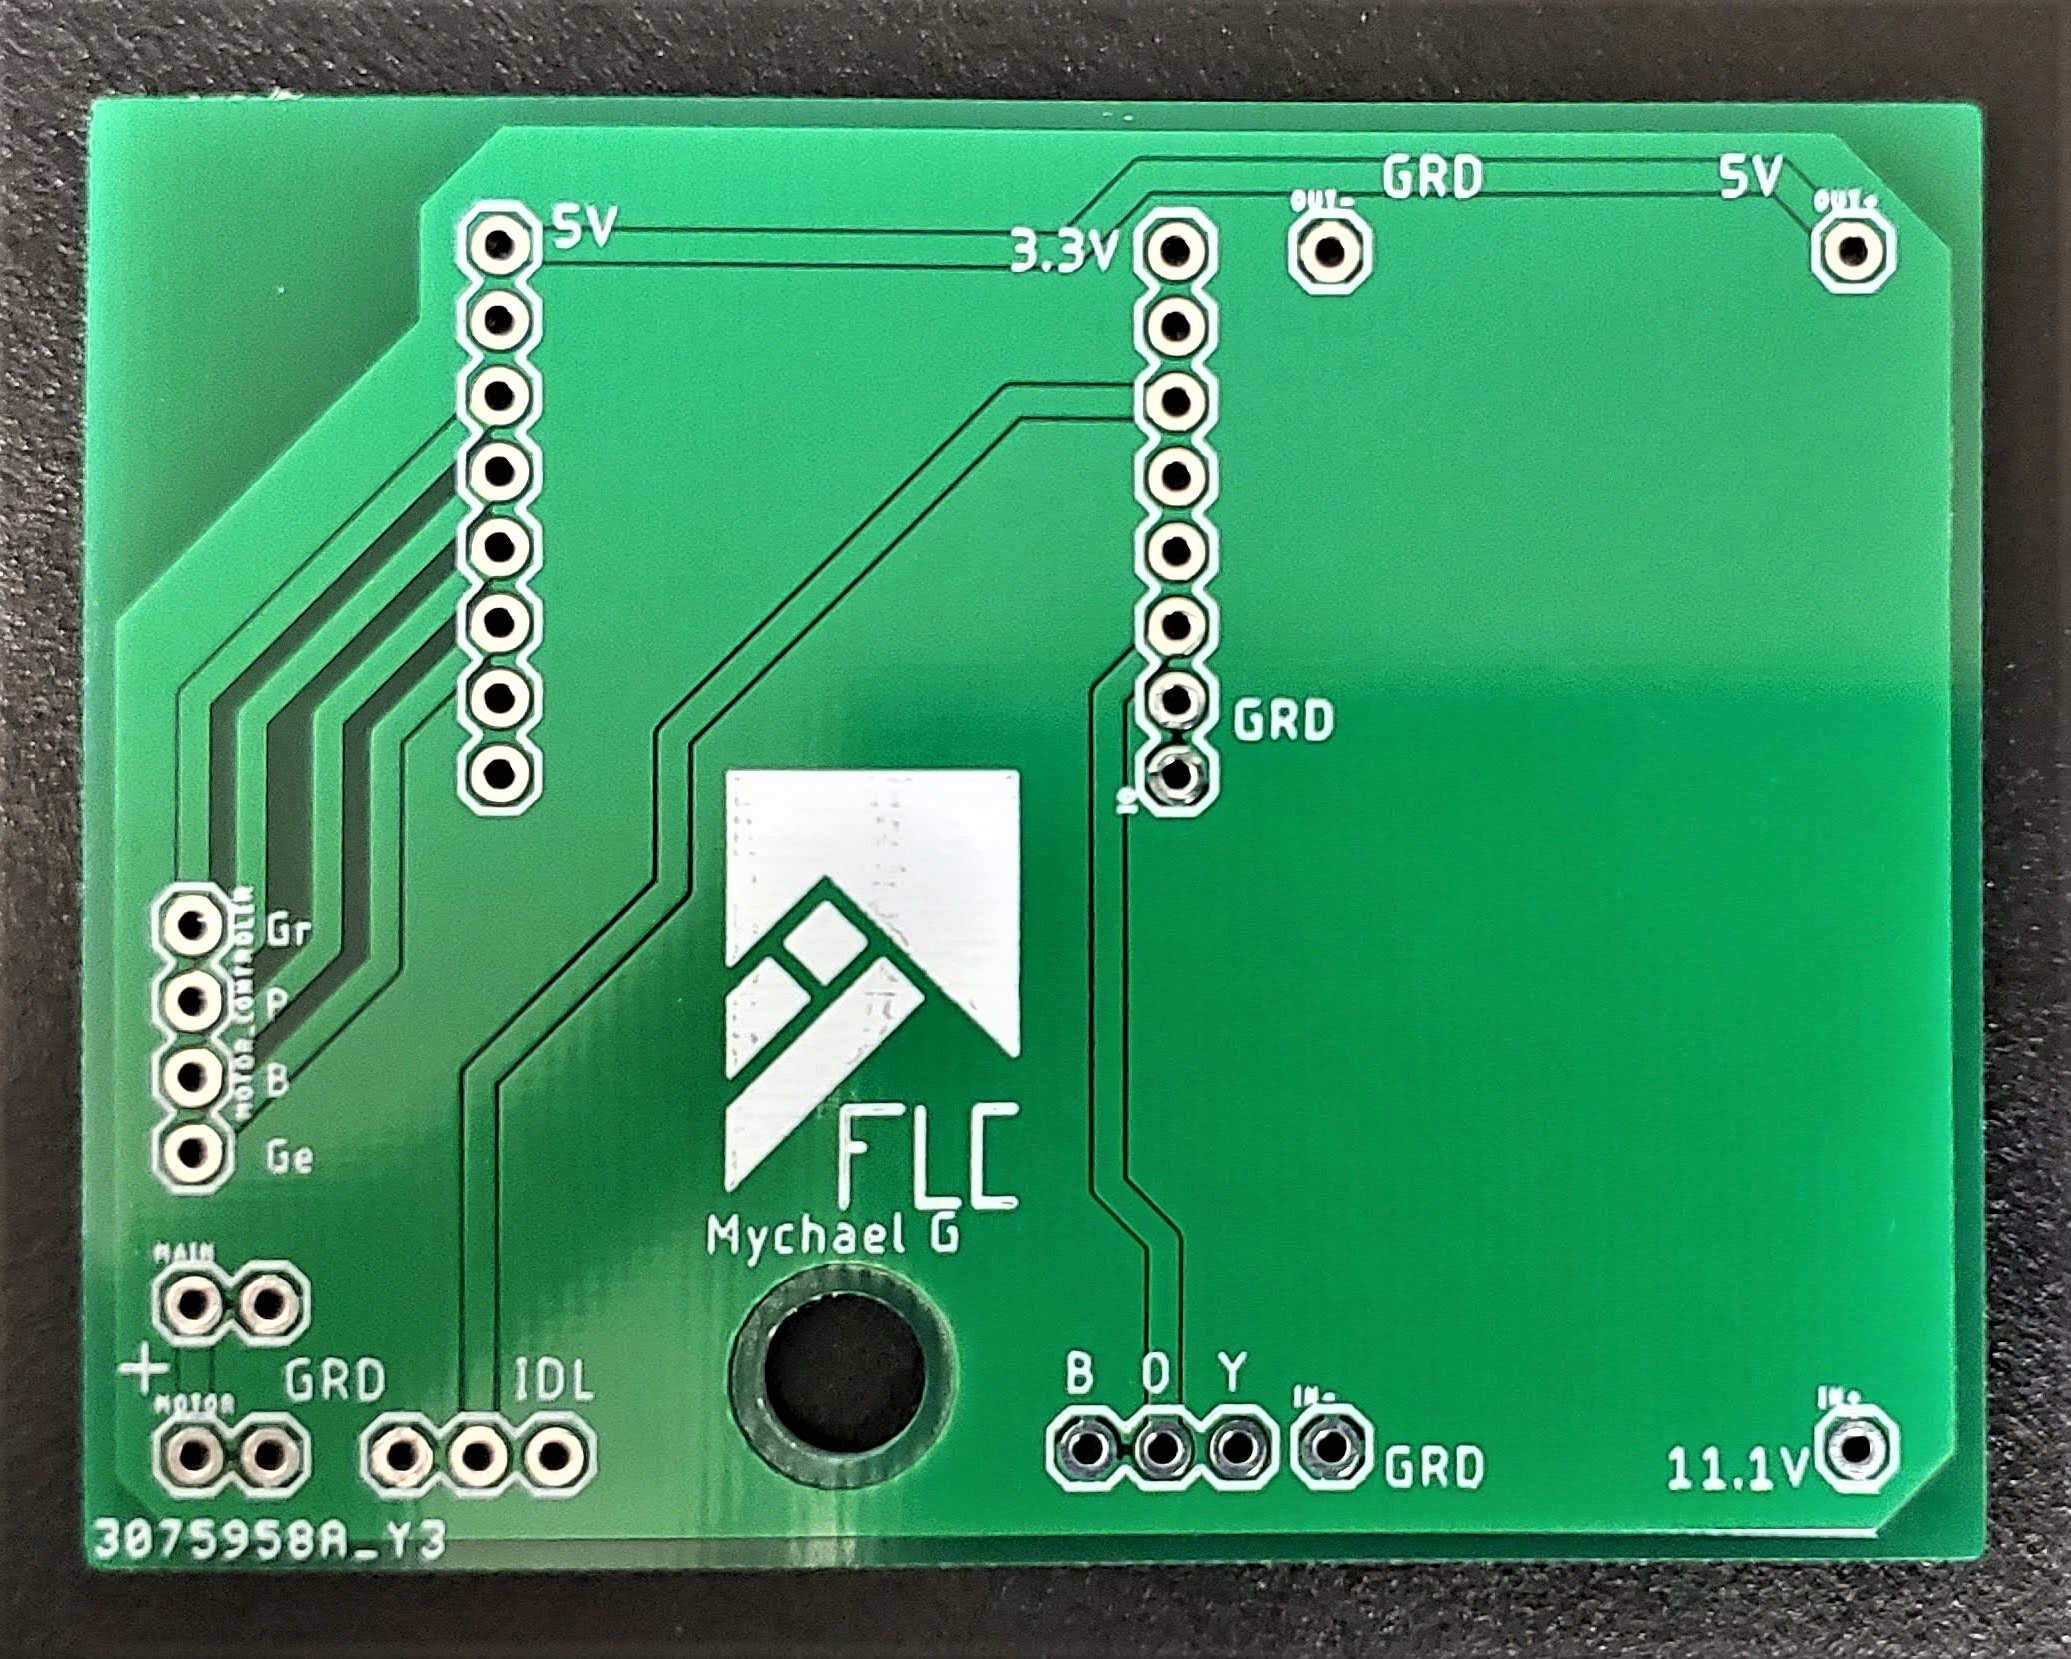
After
getting the car working with a prototype PCB our new task was to design
one using Autodesk EAGLE. This would just be the base PCB with no
surface mounted components on it. We would do that ourselfs in class.
After making sure everything powered on and there were no shortrs or incorect traces, a short video was taken.
Conclusion:
This
tutorial was very helpfull in understanding how well the simple server
that was created works. It can be easily updated to include sensor data
and a video stream. After developing and learning how to edit the
server we attached everything to a simple 2WD car. This was definitely
the funnest part of the project. We put everything we learned from the
previous tutorials/projects into this one, controling the GPIO pins,
conecting to wifi, displaying video, and creating a websere that had
functioning buttons that could be used to see in real time what was
happening to the car. The car obviously worked better with a stronger
wifi signal as the car would somethimes not recieve the comand that we
were no longer holding down one of the movement buttons. This would
cause the car to continue moving till you hit the center stop button. ---------------------------------------------------------------------------------------------------- END