CE-351 Microcontrollers,
2022 Spring
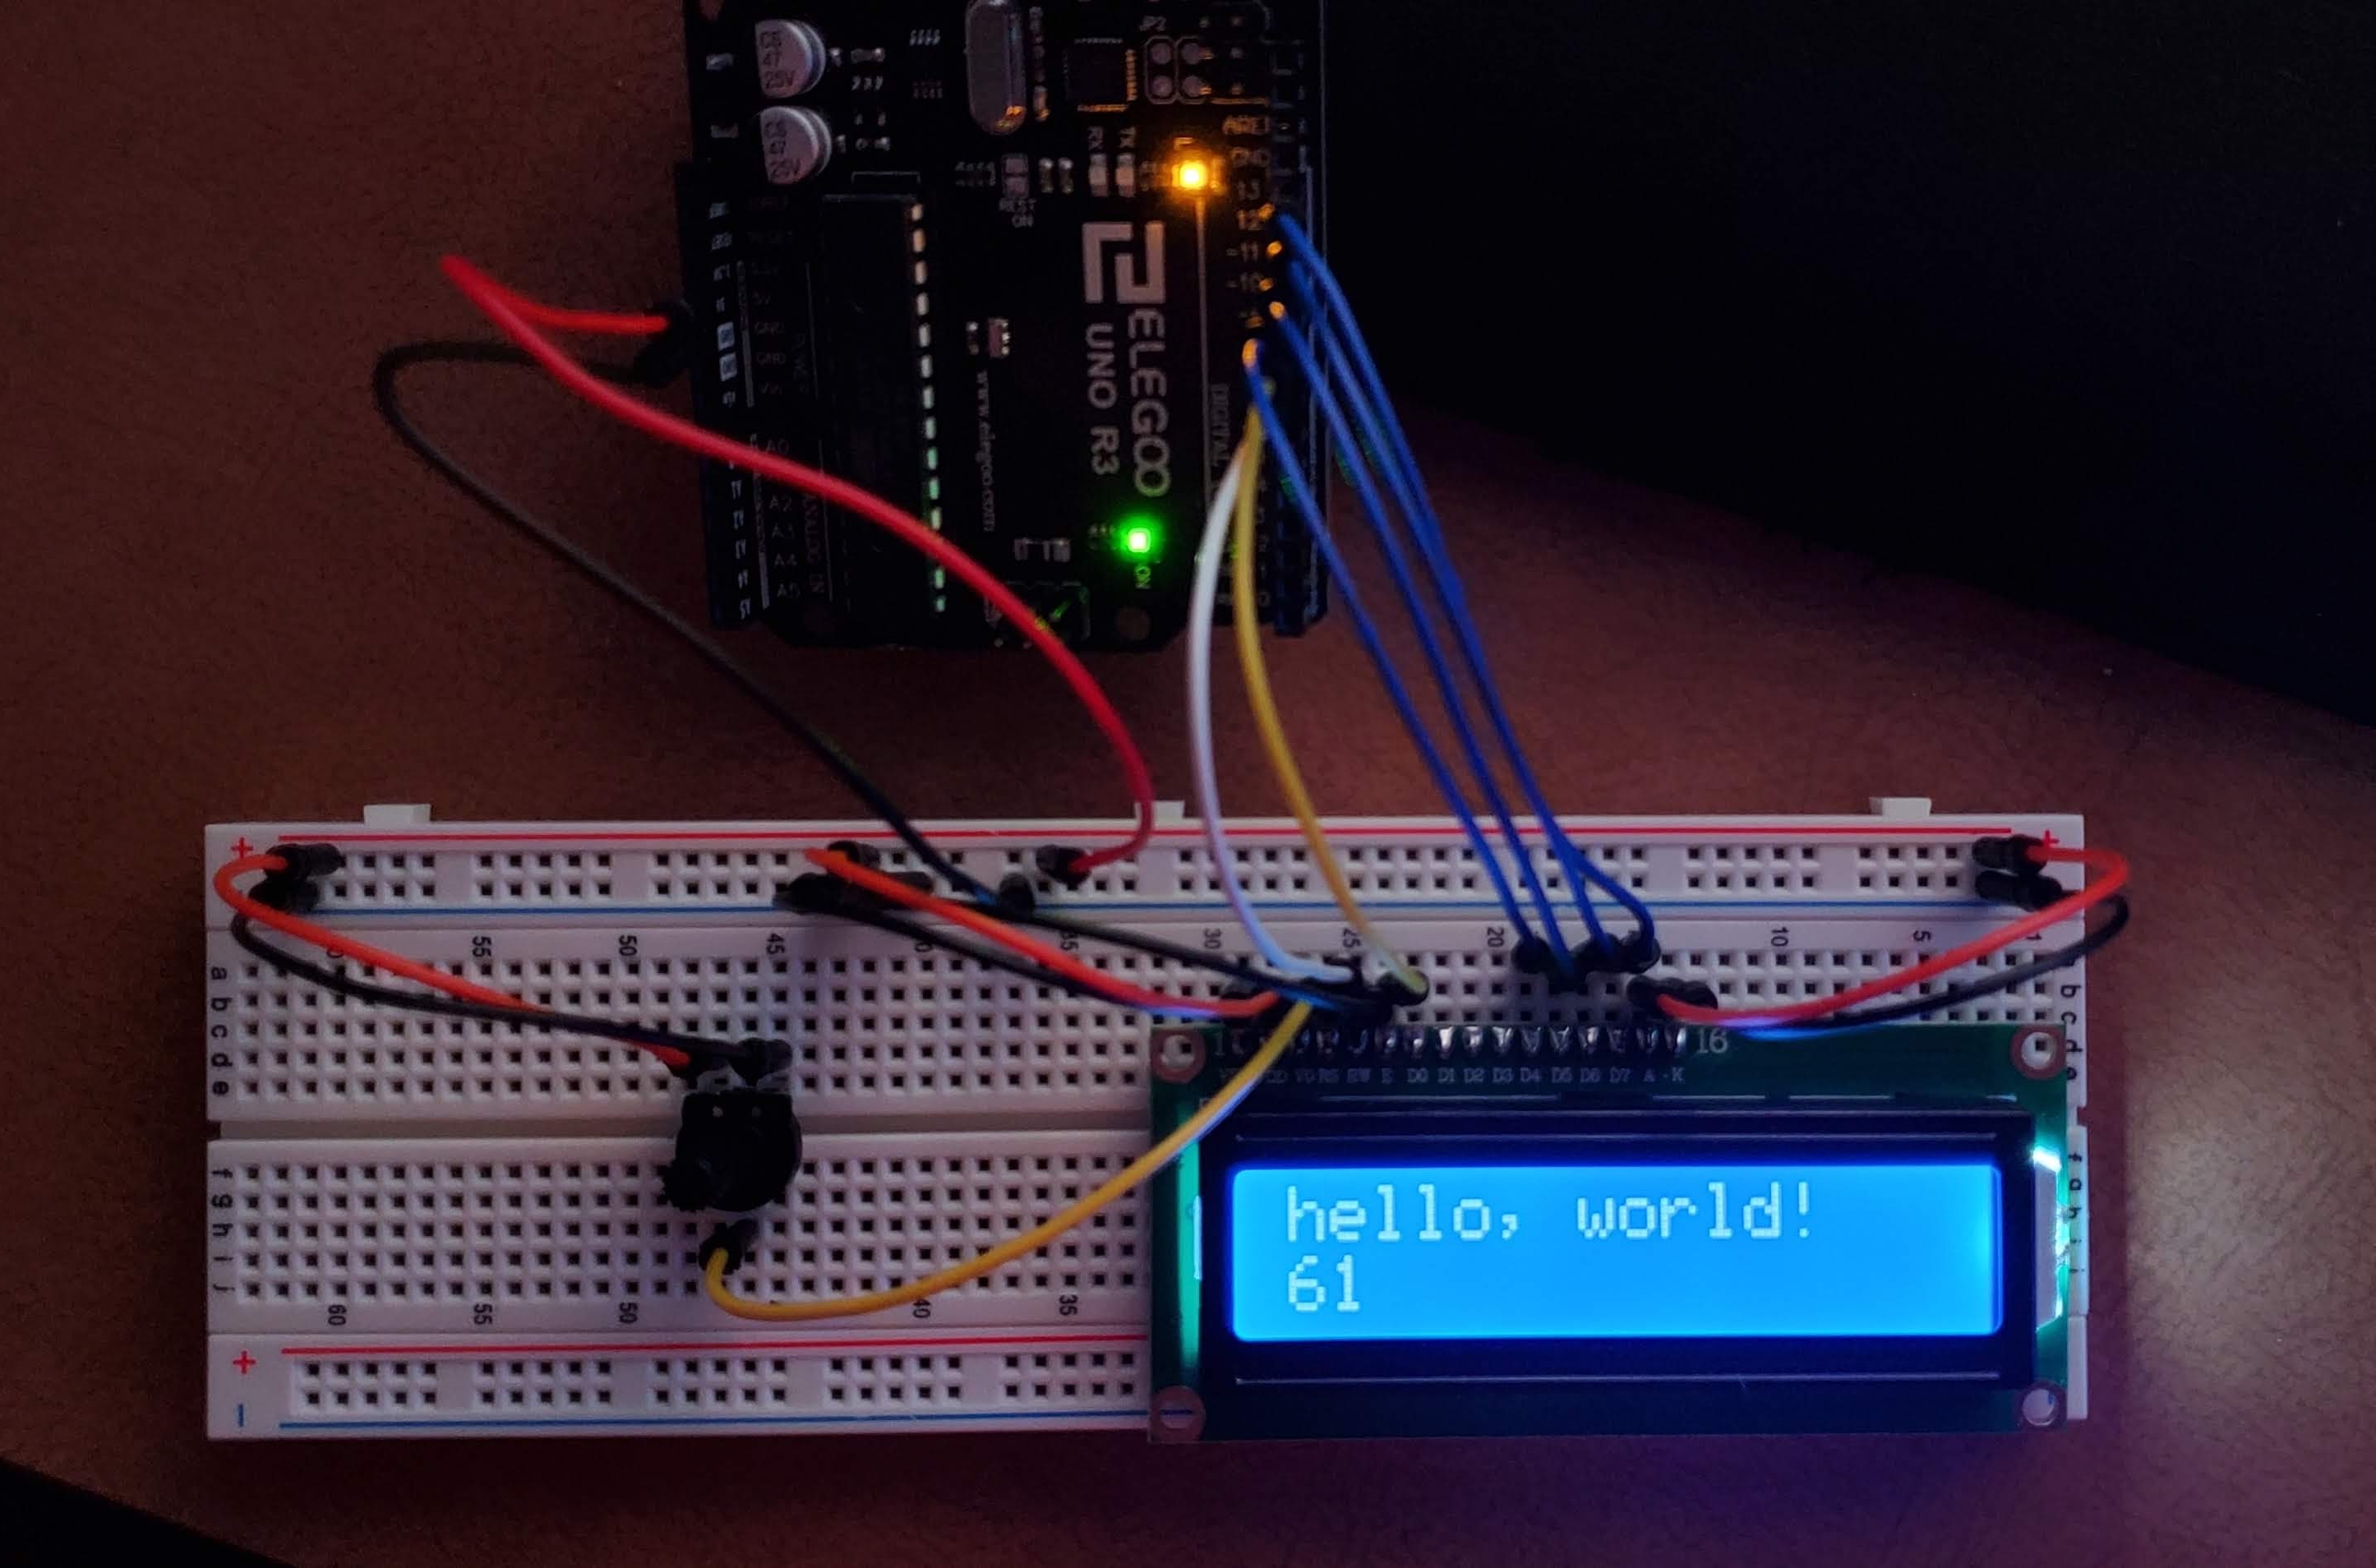
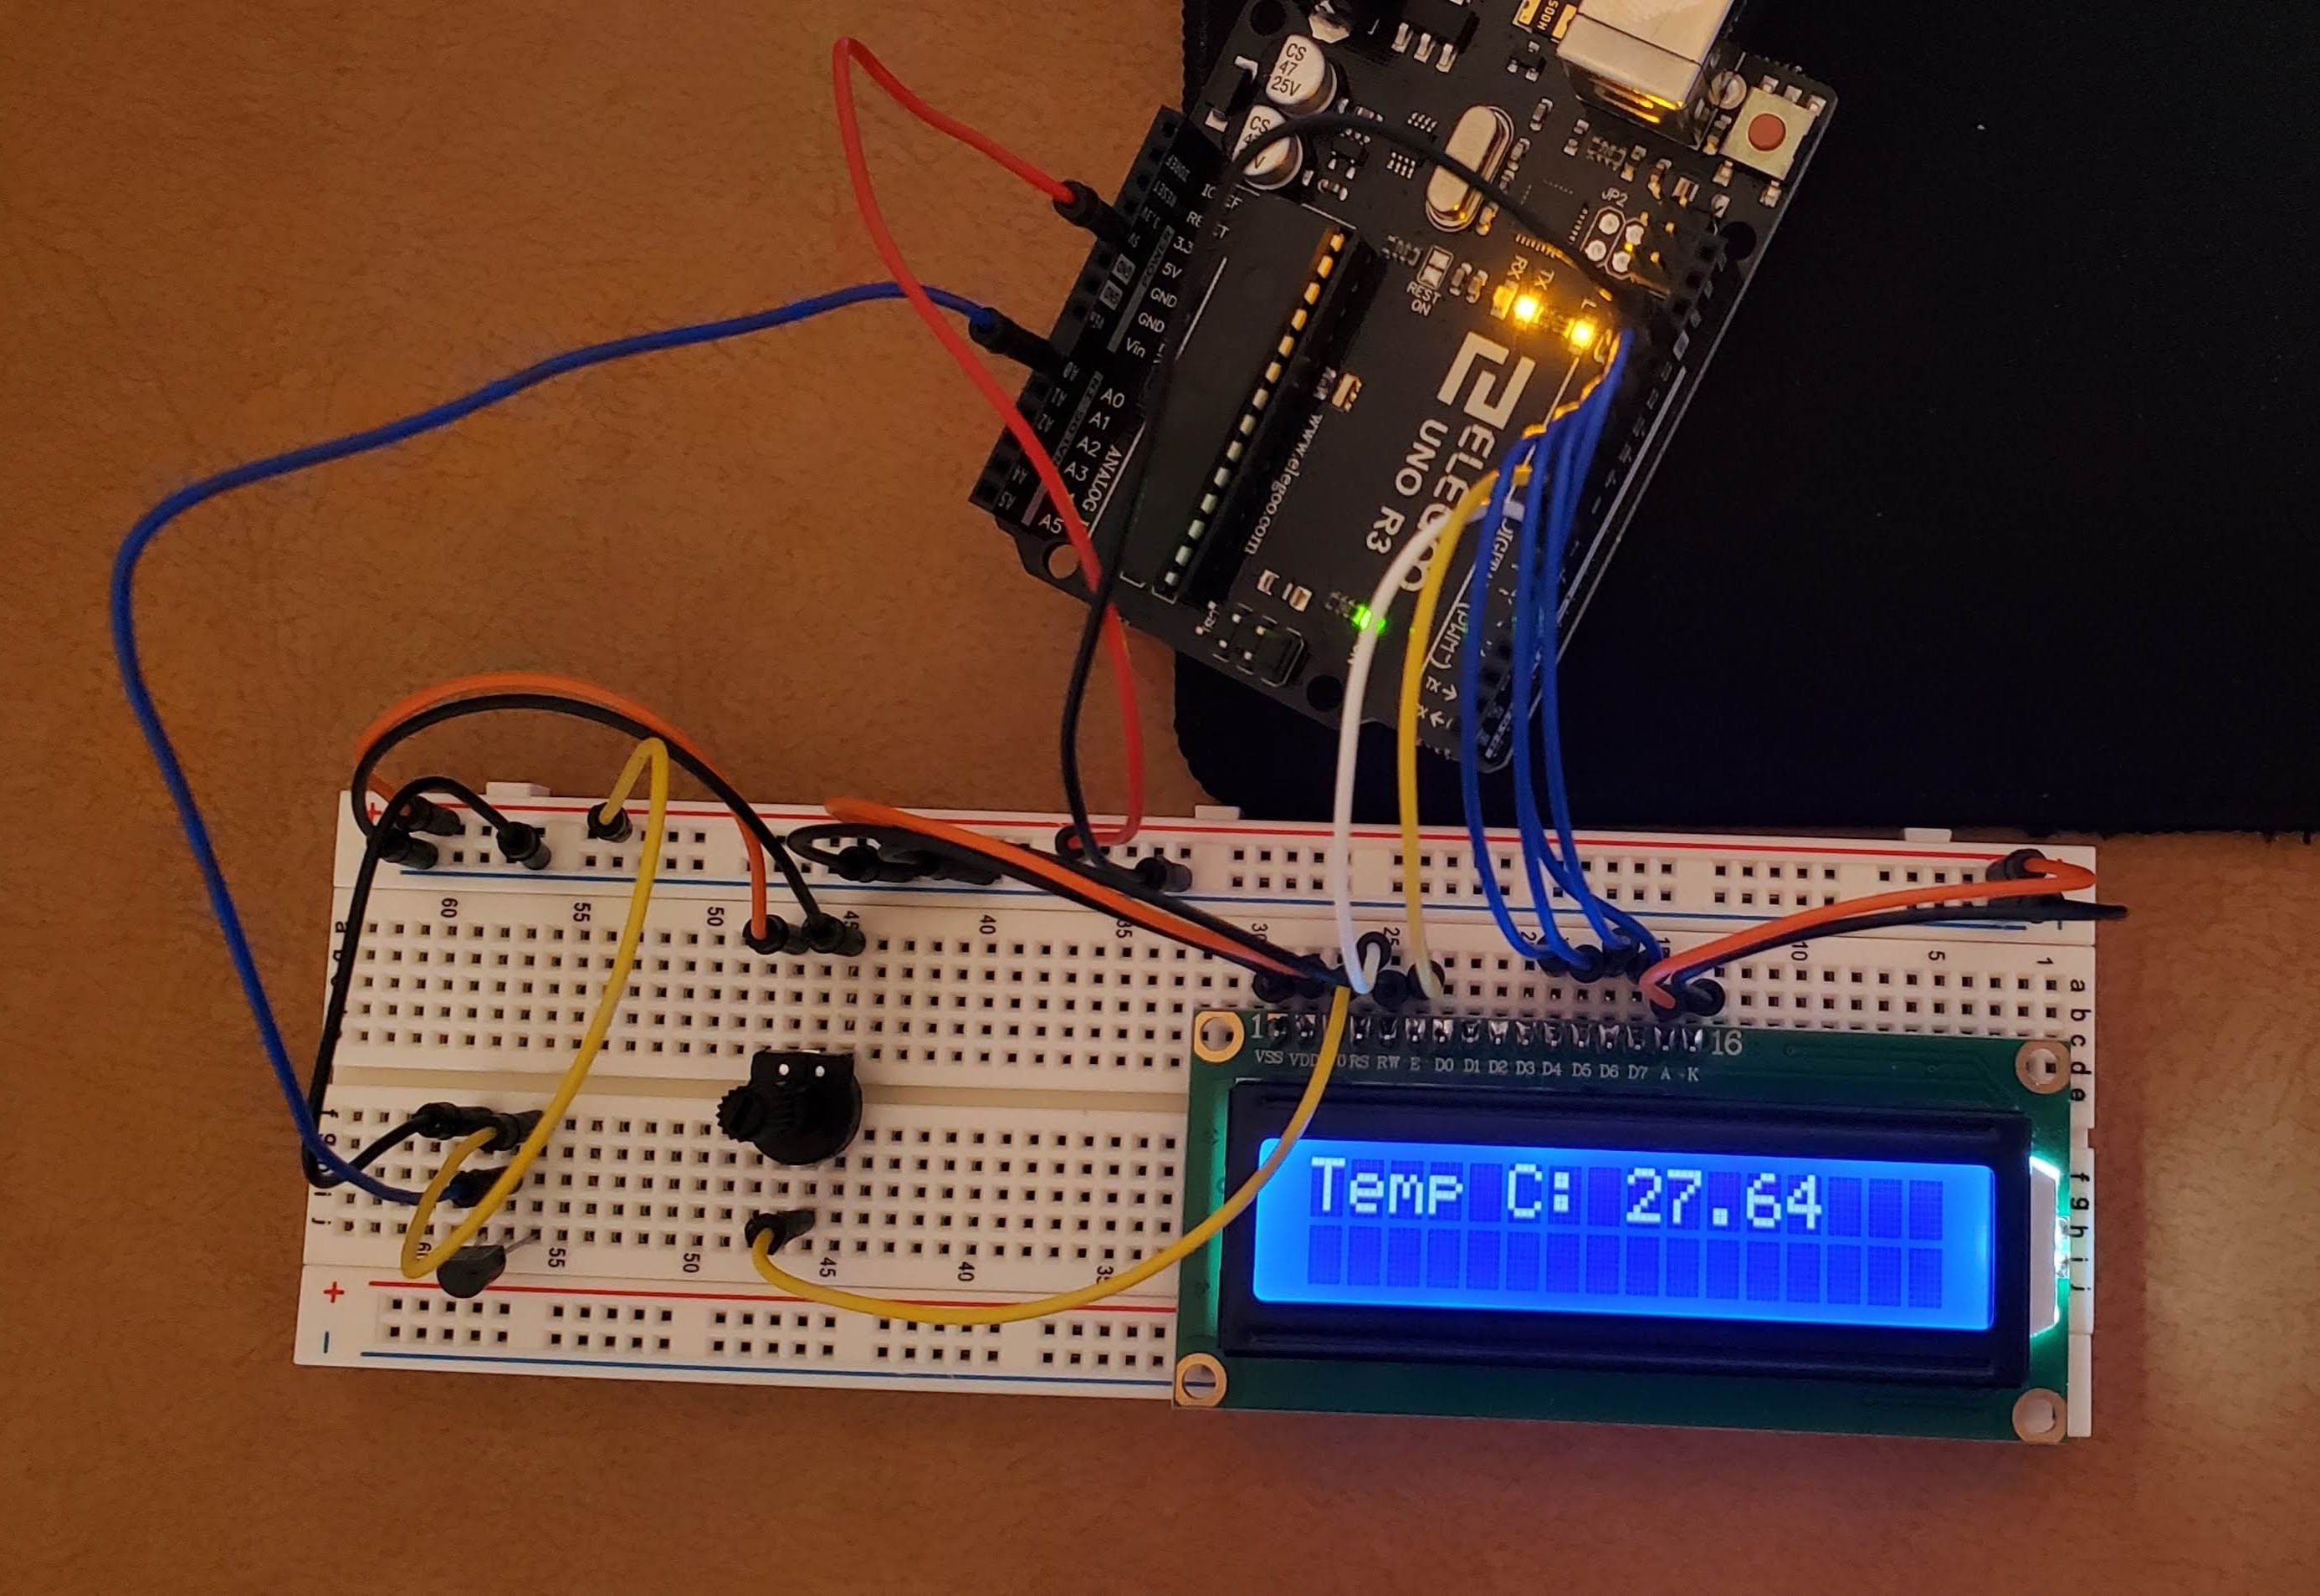
LCD display and some
sensors
Name: Mychael Garcia
Email:
mhgarcia@fortlewis.edu
Materials:
Task 7:
For this task, we were to change the temperature sensor to an IR receiver
module. Using a simple IR remote we wanted to display the output of each button
and its correlating decimal number. The IR receiver reads pulses from the
remote and this pattern correlates to a Hexadecimal number, we then convert
this to decimal with is much easier to understand and read.
Task 8:
This task was completely different than the rest, we were to remove the microcontroller
chip (ATMega 328p) and program the chip on a breadboard. We would not need the Arduino
Uno board to run the chip, just to re-program it and as a power supply.
Task 9:
After removing the microcontroller from the PCB we wanted to implement the use
of interrupts. These would be used to do small parts of the desired program but
be spread out so the display we are using would not cut in and out displaying
information.
Conclusion:
This tutorial was very helpful in understanding how to use an LCD display and what
capabilities it has. We also learned how to integrate sensors into the display
and show changes. This method could be used instead of outputting everything to
the serial monitor on a laptop. We then used an IR receiver and remote, this
was a simple wireless communication but could be implemented to more advanced
uses in the future. After this, we wanted to be able to use a microcontroller
but not on the PCB board. We just needed it to reprogram the device. This
method could be used as a way to decrease the overall size of systems and
create a more professional product. Lastly, we used interrupts to split our
loop into multiple parts. This would keep the display outputting its required
information but in small bursts, we could perform other tasks.
----------------------------------------------------------------------------------------------------
END