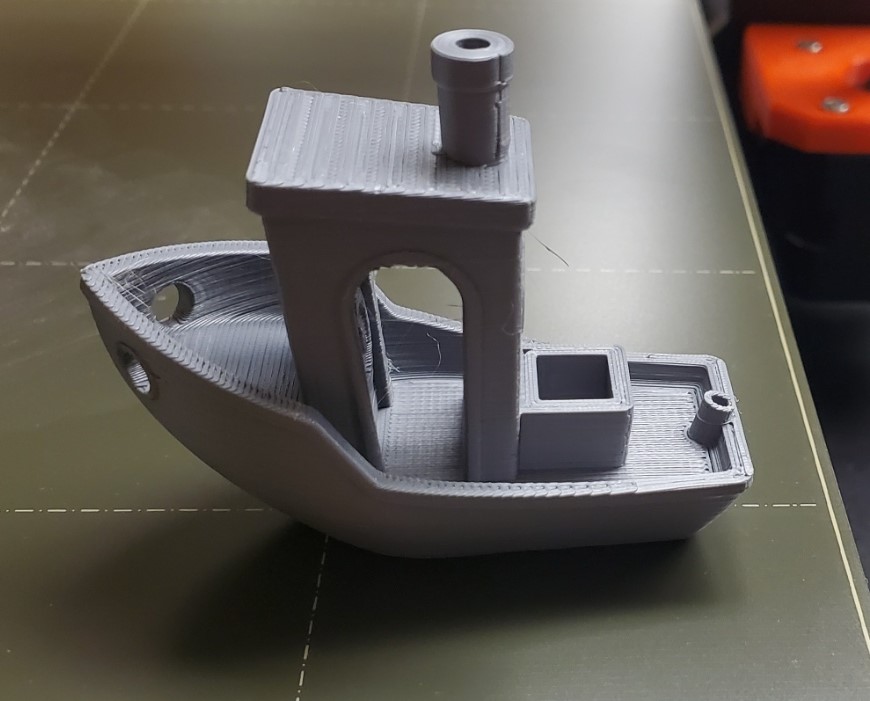
The kit is contained in a single box, this includes an instruction manual and one spool (1 Kg) of PLA filament. Following the instruction manual on how to build the printer is extremely straight forward, the components need for each step are labeled in their own bags (x-axis, y-axis, z-axis, extruder...). After building and wiring everything up selecting the correct print bed is extremely important, this was learned by multiple failed print attempts. The standard heat bed is a slightly textured steel sheet. This worked well for small prints that took very little time, but if the object took longer than an hour or was tall in the z-axis the piece would come dislodged from the print surface. Using a glue stick to help keep the print fixed to the bed helped a little bit but still did not give enough adhesion for the print to finish without missing up.
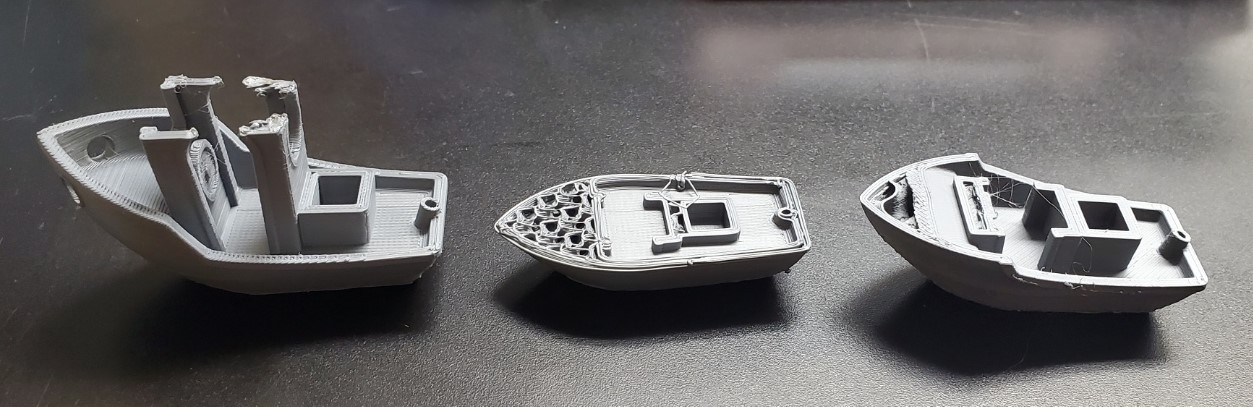
When the printer is initially turned on you are greeted with a setup process, this helps with calibrating the z-axis, and home position for the extruder head. Using the built in "z" calibration the extruder nozzle is supposed to be automatically set 0.2 mm away from the print surface, this is the ideal distance for printing. After measuring the "bottom layer test print" the filament was outputting at a higher layer height (0.43 mm). This was fixed by using the "live z adjustment feature." As seen in this image, three attempts were made using the textured steel bed with a layer height of 0.2 mm but none of them completed.