CE432 Robotics II
HW4: 3D Printing Tutorial
Name: Audra Benally
Email: albenally1@fortlewis.edu
1. Title: 3D Printing Tutorial
2. Introduction: For this homework assignment I followed a tutorial
to print a component that we will be using for our balancing robot car.
I created the simple part in SolidWorks and then used another program
called Ultimaker Cura to create files that the 3D printer could read.
Then a SD card was used to give the 3D printer instructions on how to
print my part.
3. Materials and Methods:
Materials:
- SolidWorks Software
- Computer
- SD card
- Ultimaker Cura Software
- Tutorial References
- 3D Printer
Methods:
Download appropriate software
from the skysoft site. Use Noah's tutorial to brush up on SolidWorks
and design the part needed for the self-balancing robot. Transfer the
files to Ultimaker Cura program and rotate it for a solid base. Slice
the component and place G code files on an SD card. Clean and cover
corner surface with stick glue. Mount SD card and start the 3D printer.
4. Results:
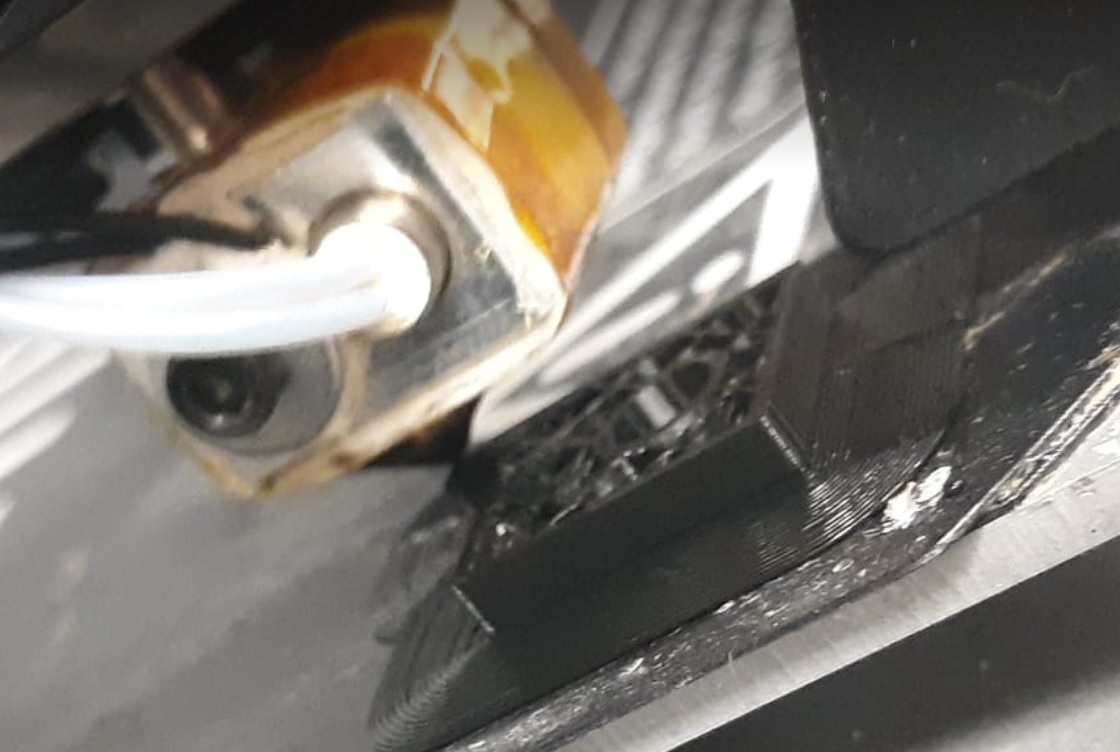
Figure 1. 3D printer in progress.
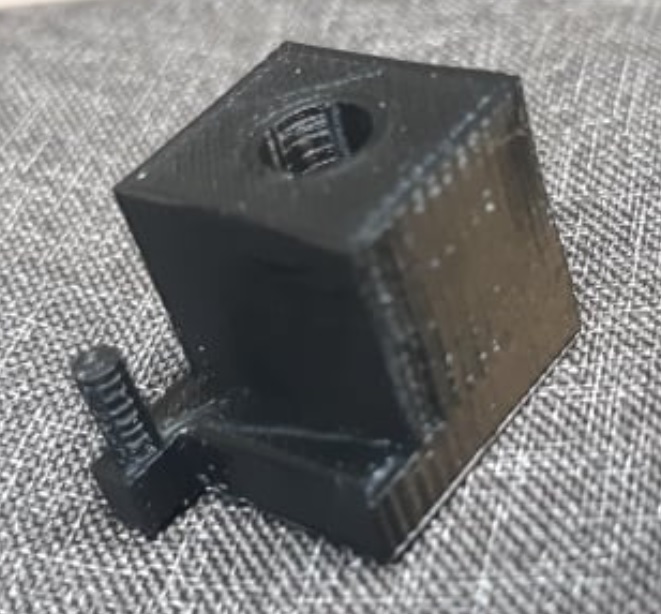
Figure 2. Printed piece.
5. Discussion
In this lab, I printed my first 3D object! I was a little rusty with
SolidWorks but I was able to get the tutorial done with very little
issues. The 3D printer was labeled with the information I needed for
the Ultimaker Cura program. I got worried when the 3D printer said it
would take 2 days but I think that was an estimation for the leftover filament. I had
never 3D printed anything before so I was really excited to watch the
nozzle criss-cross its way around the part I made in SolidWorks. The
process took around 30 minutes and turned out as designed and expected.