Lab 06 Build the schematic
If you haven't installed the SparkFun libraries, please refer to this
link to have it installed.
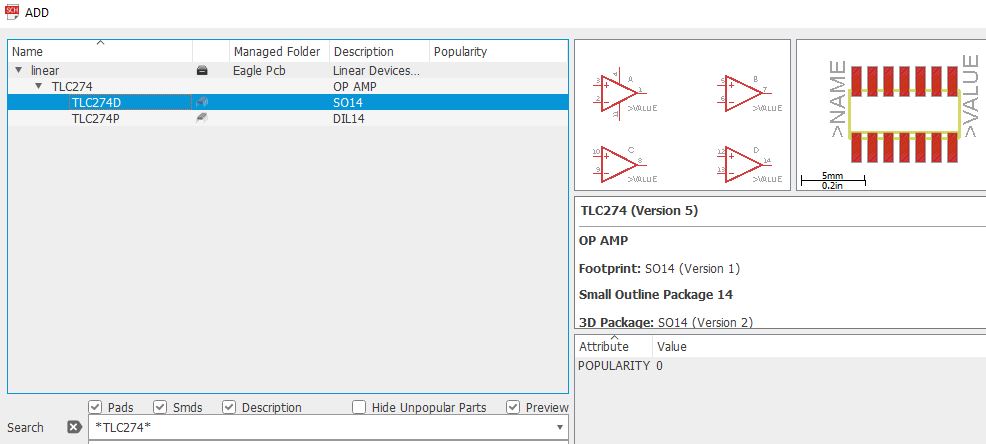
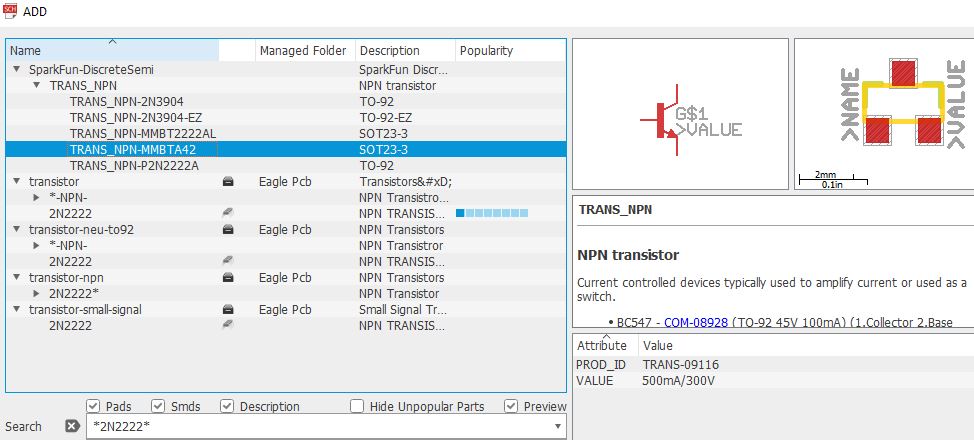
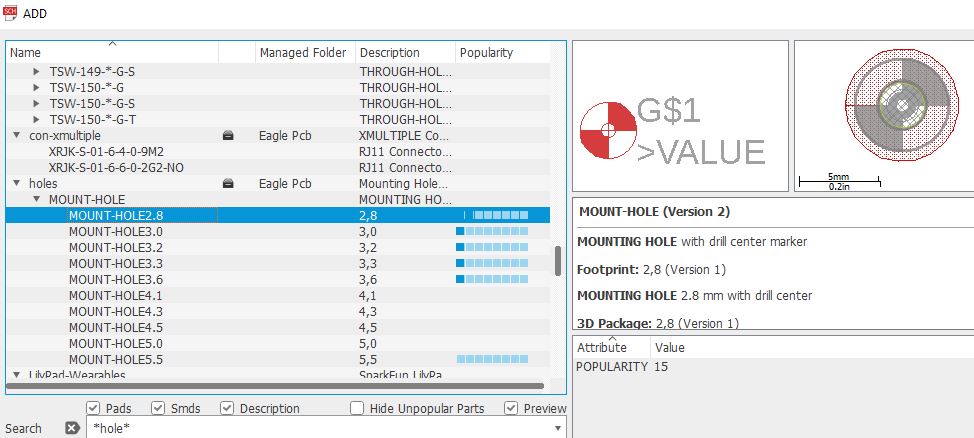
Refer to Dr. Coulston's lab
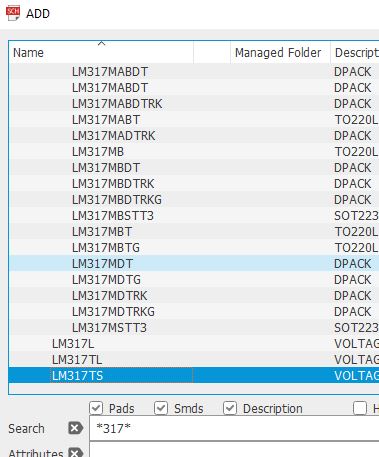
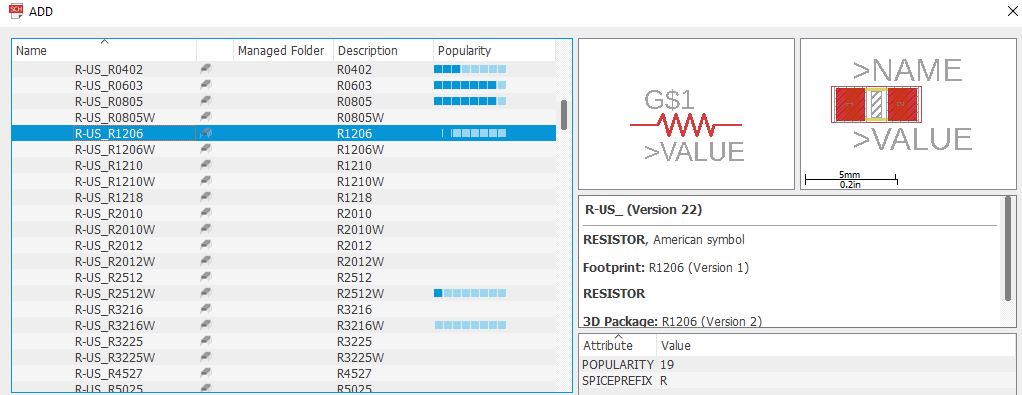
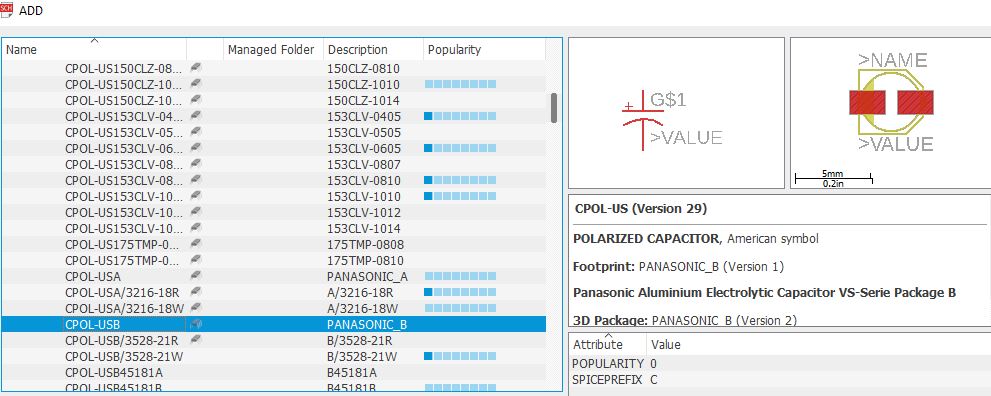
instruction to add all the following parts to your schematic.
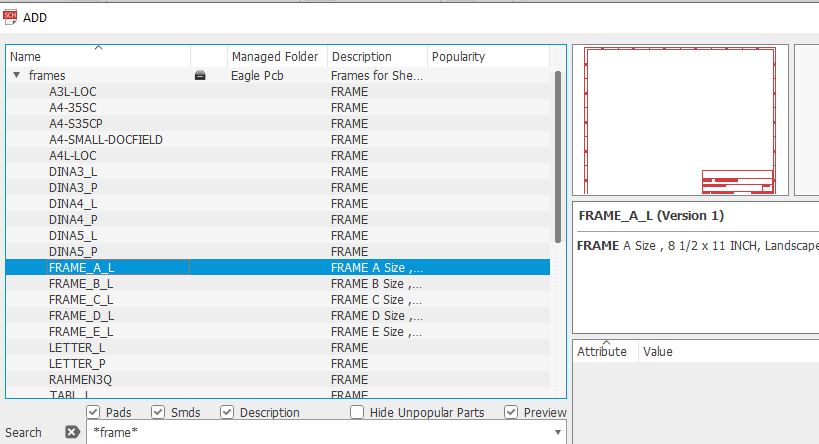
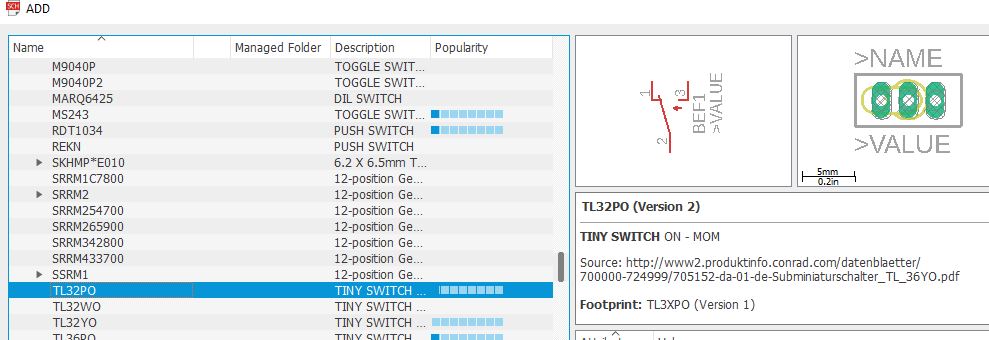
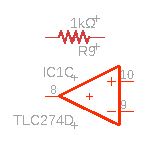
For the ohm's symbol, I directly googled it (ohm's symbol) and
copied/pasted from there.


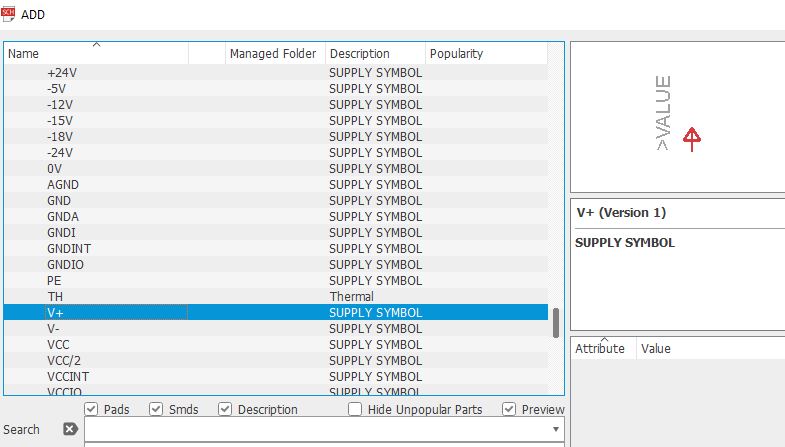


Give the power connector a value.

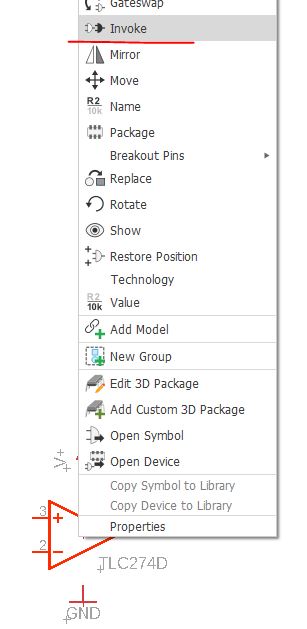
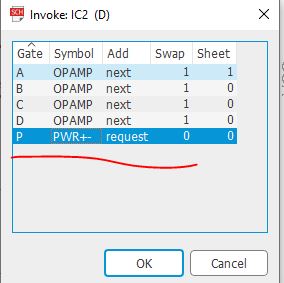
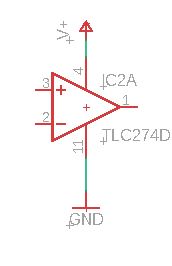
OpAmp has no power/gnd rails?
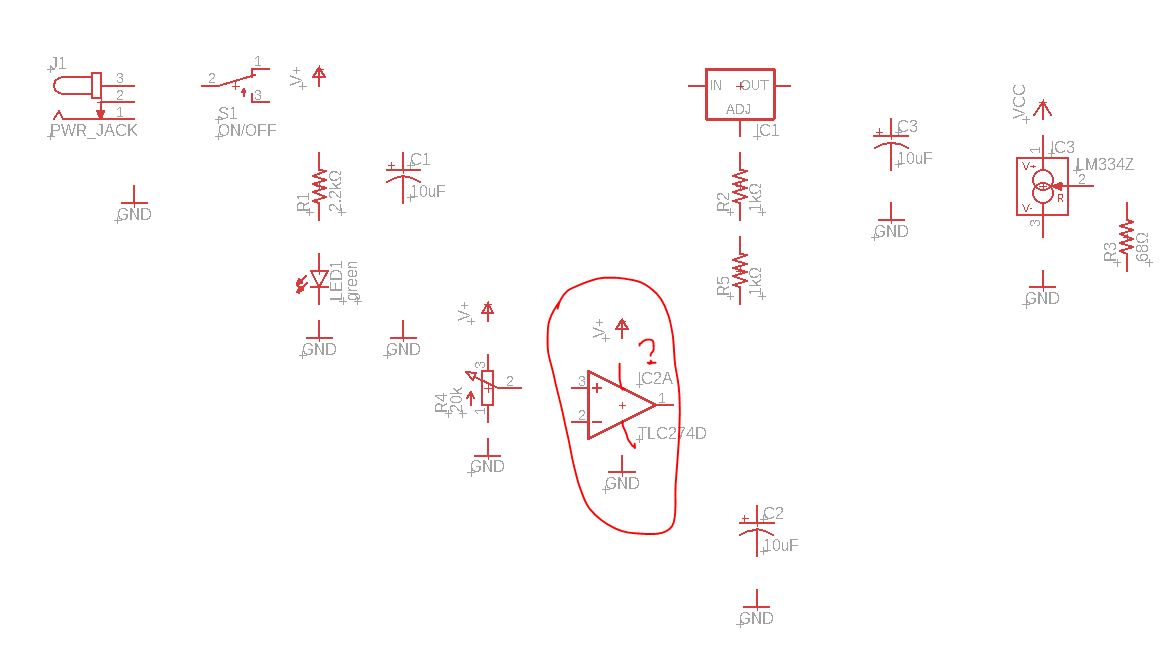
Do the following to add them.


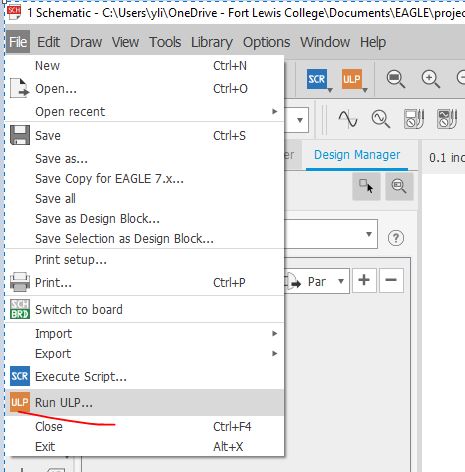
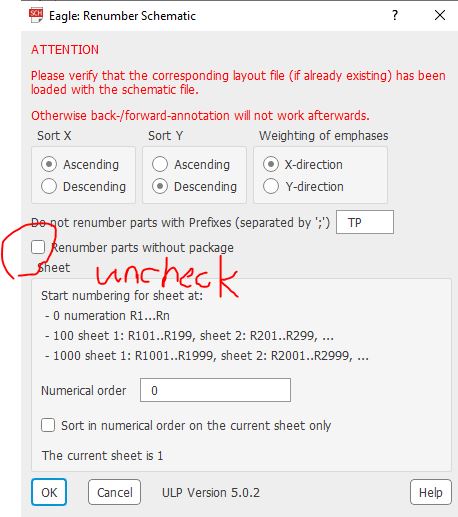
Execute the 'rename' script to correct the numbering of components that
are out of sequence. For instance, if you have R1, R2, R4, R5, this
script will rename them to ensure they follow a consecutive numerical
order.

Add the author and institution inforamtion to the schematic.


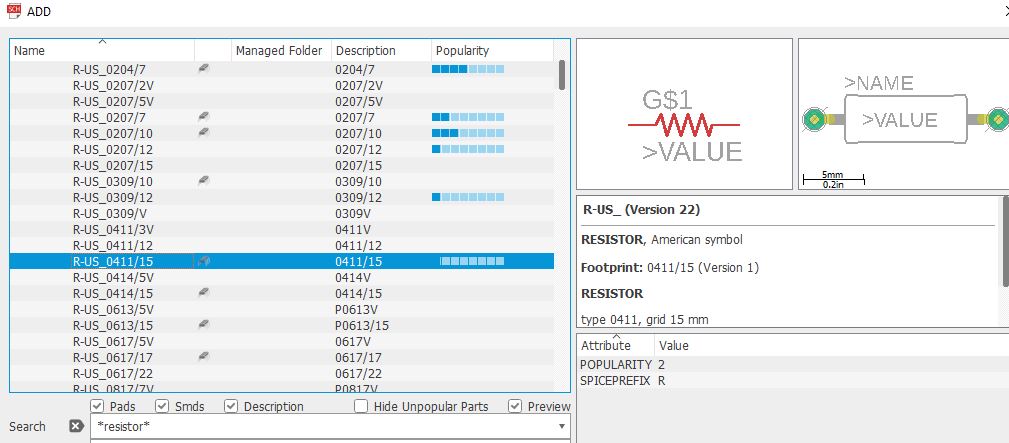
Now move forward to complete the circuit by adding more parts. Please
note that this is the only resistor with the 0411 footprint in this
schematic. It is a big resistor with a very small resistance for higher
power ratings. Low resistance is a heavy load for the circuit and it
draws a lot of current so a big footprint allows more current to get
through.
Make
sure you don't 'copy/paste' these OpAmps. They must be added
consecutively to make sure these are 'A', 'B', 'C', and 'D' sub-modules
of one chip.


Mirror and rotate it so the inverting terminal is on the top.
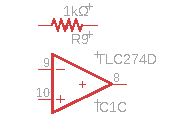
Make all connections.

Print it as a PDF.
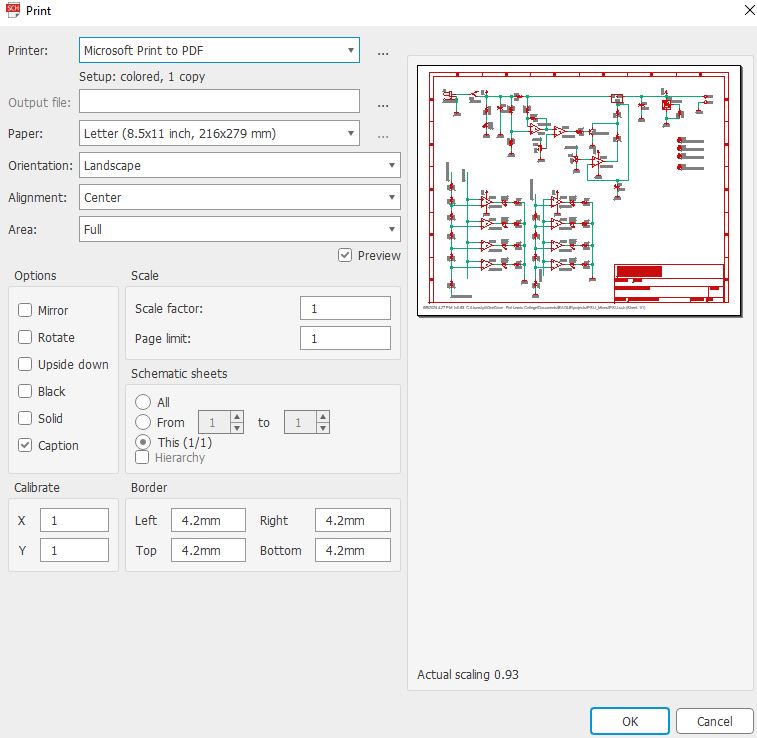
Here is my printed schematic
file.