This tutorial followed instructions from this site.
The .c source files can be found at the end of the page. I changed the
file names to main.c, hdmi_config.c, and hdmi_config.h instead of
main_c.c, hdmi_config_c.c, and hdmi_config_h.h.
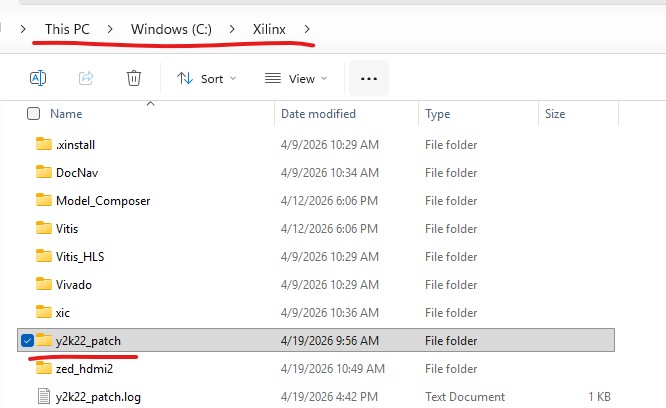
I use Vivado 2020.2 which has a well known bug for the tpg block explained here. The zip file attachment was not found on the page above however I was able to find it somewhere else and it can be downloaded here. Make sure that it is unzipped and placed in C:\Xilinx as follows. Delete the .zip folder after unzipped.
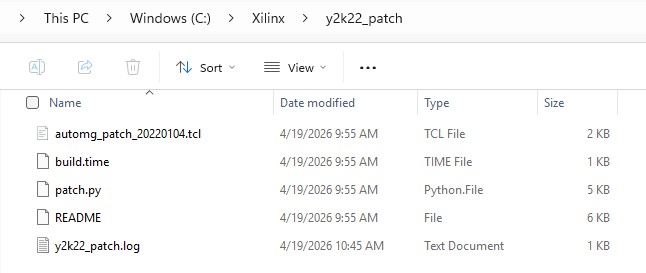
Open
the README file there and find your Vivado version. You must use the
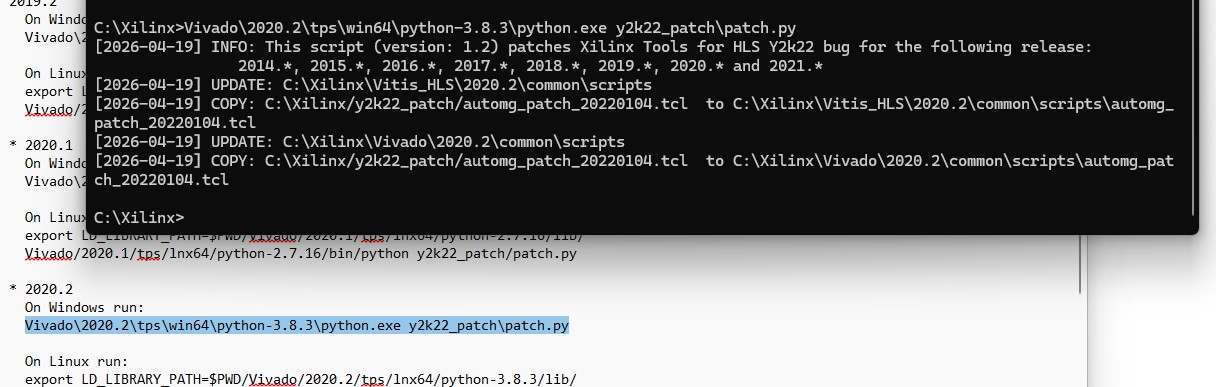
Python version in the specific folder to execute this patch srcipt. You
must see all the messages shown in the snapshot below to ensure that
the patching is successful.
After this is done, you can start following the rest of the tutorial.
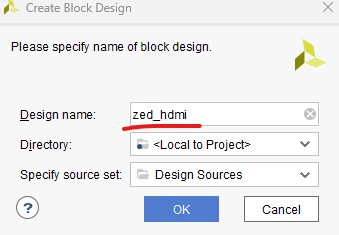
Create a project in Vivado, name it zed_hdmi.
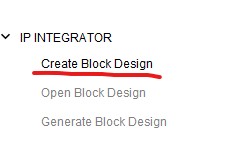
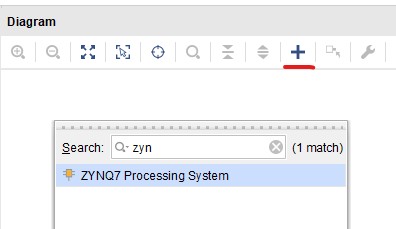
Click 'Create Block Design'.
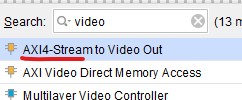
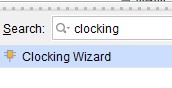
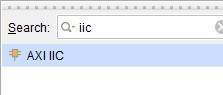
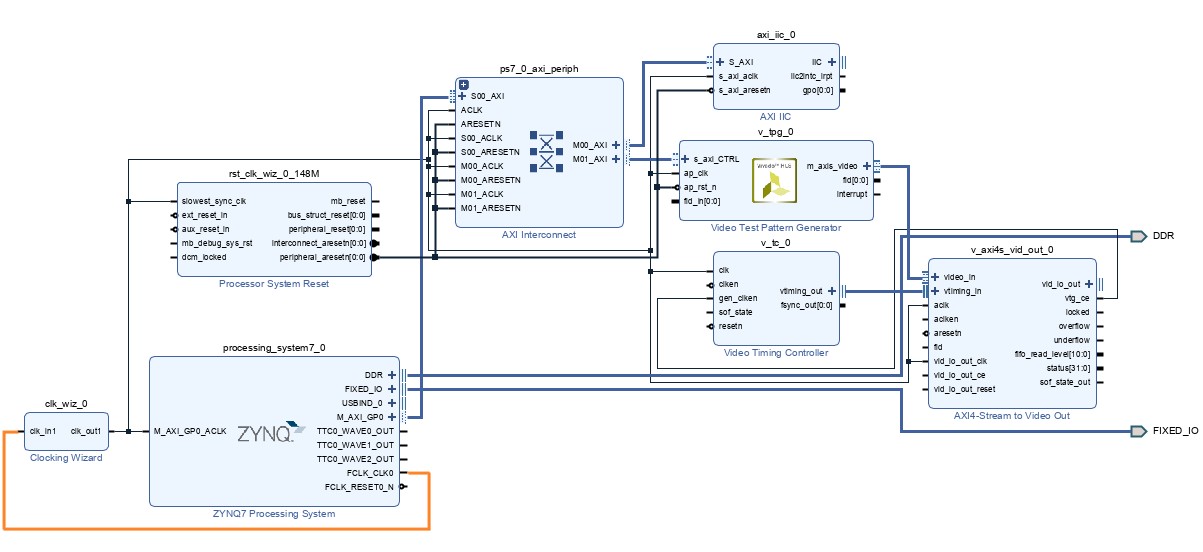
Start adding the Zynq PS, clock, video timing controller, I2C and AXIS2Video modules.
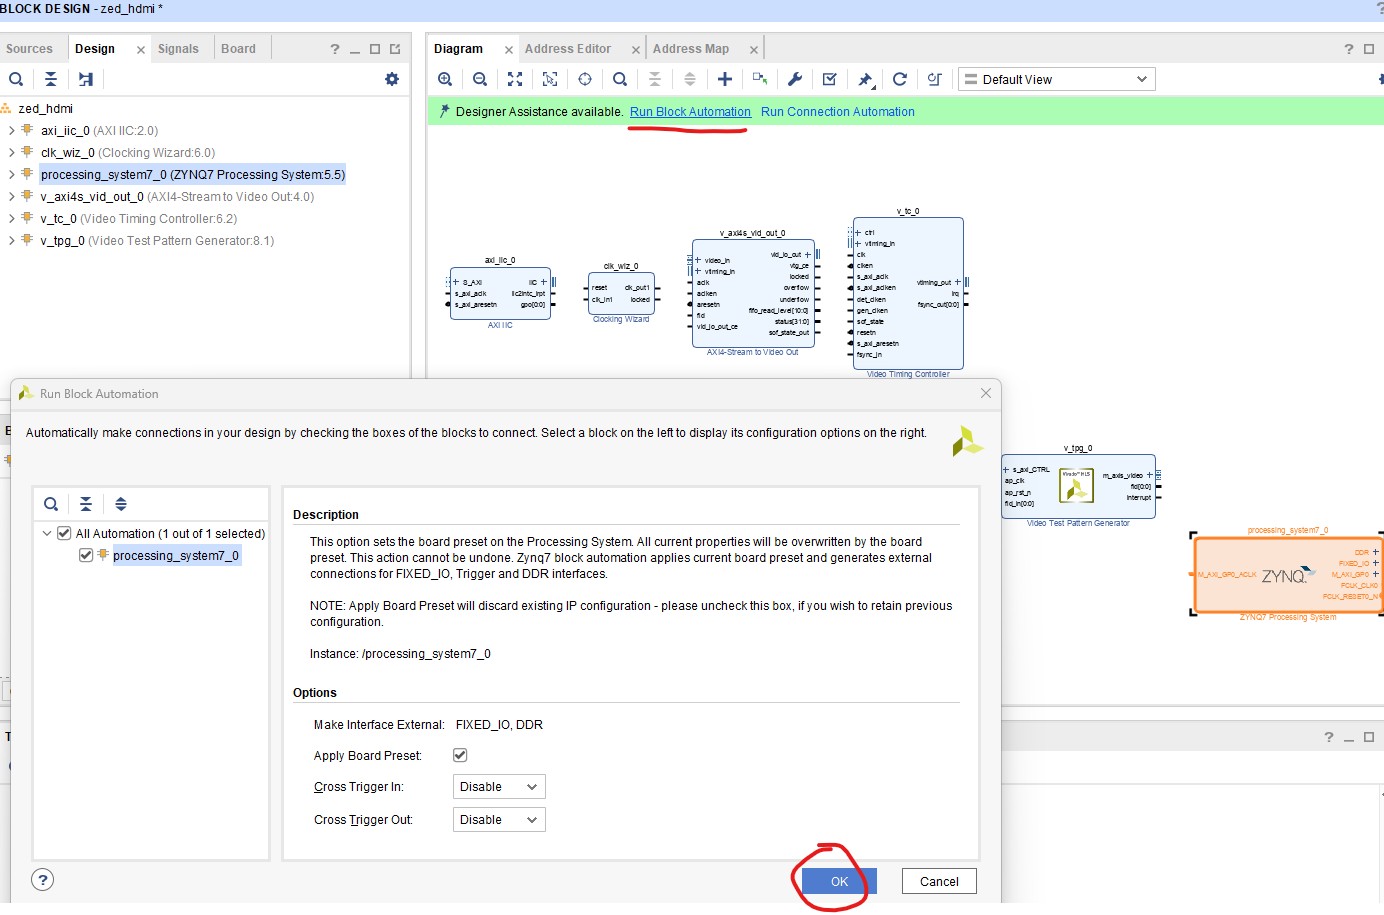
Select the Zynq block and click 'Run Block Automation'.
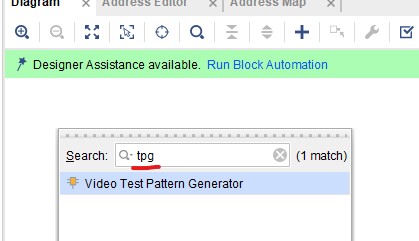
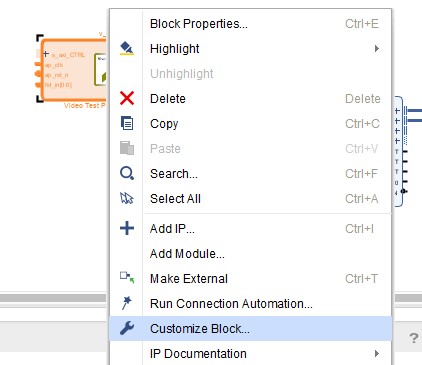
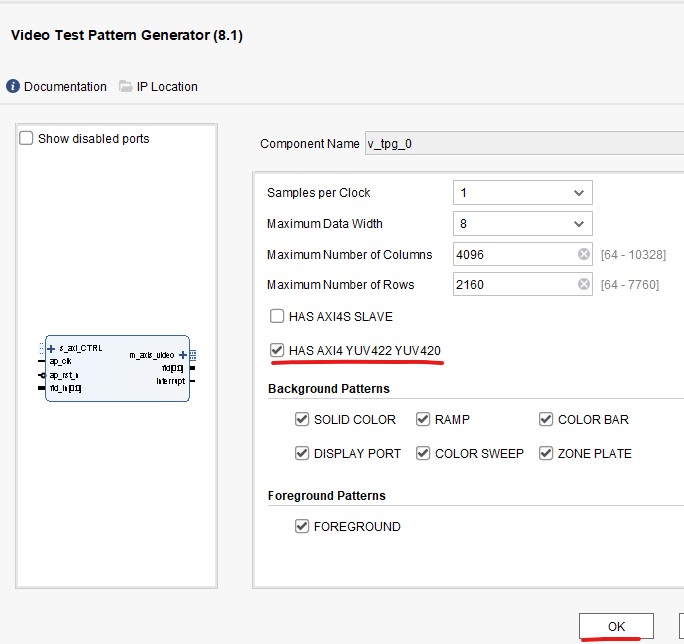
Configure the Video Test Pattern Generation module
Check the following box.
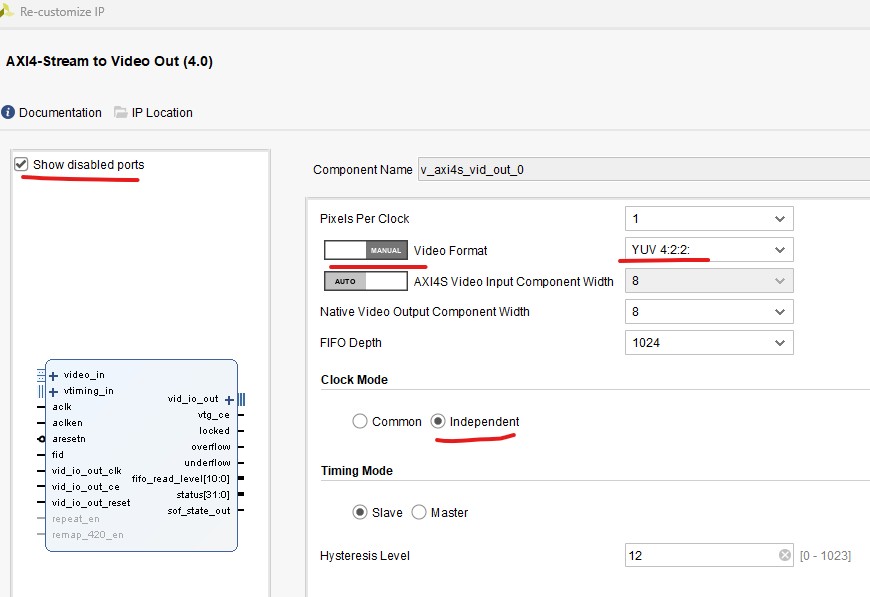
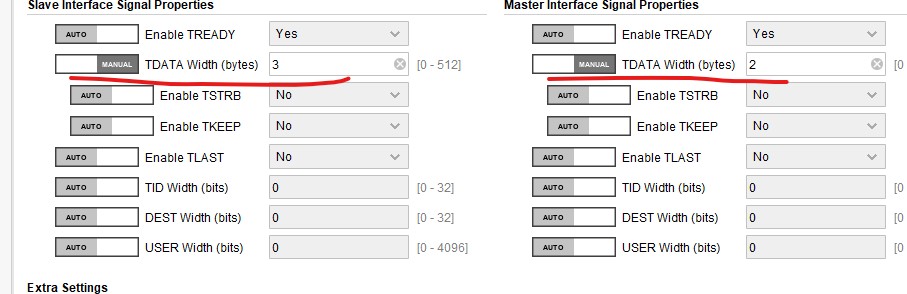
Configure the 'axi4s_vid_out' block.
Make the following changes.
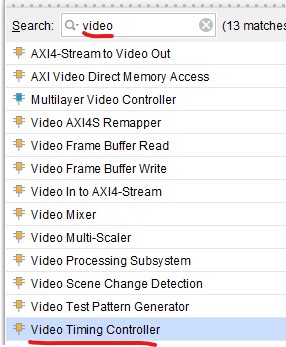
Configure the Video Timing Controller block.
Configure the Clock Wizard block.
Uncheck the following two boxes.
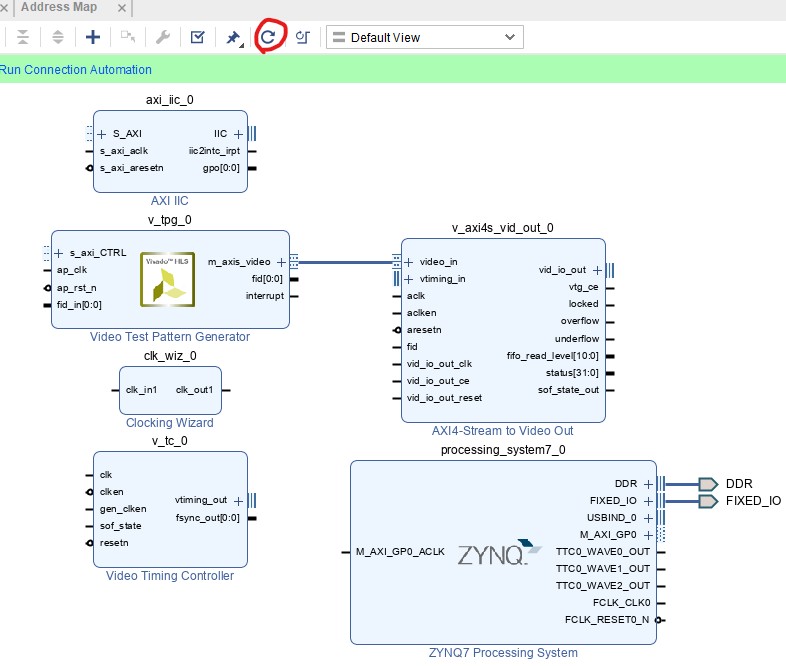
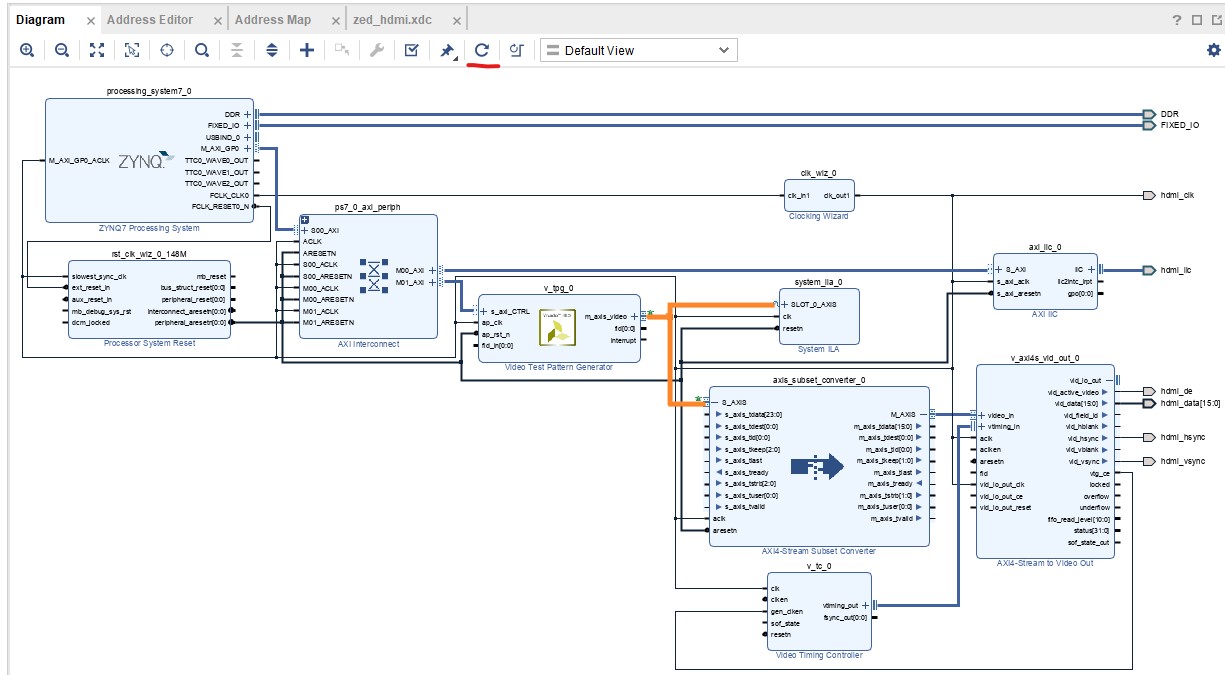
Start making connections.
Make the following ports external ports.
Don't forget to configure 'IIC' as external ports as well.
Don't forget to change the ports names as follows.
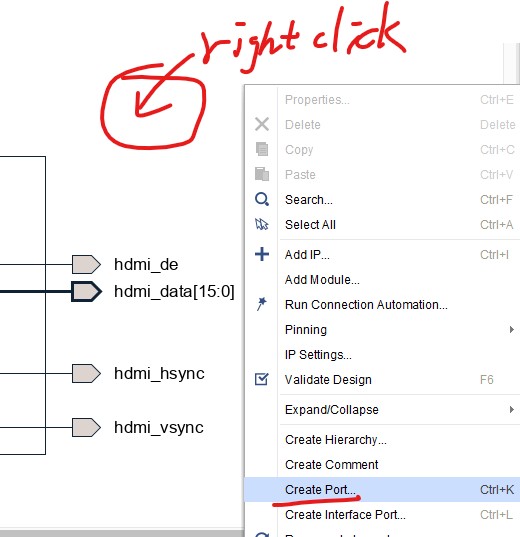
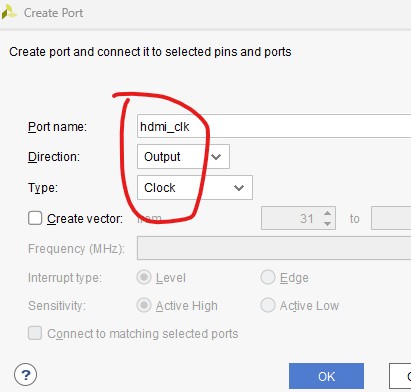
Right click an empty area to create a port 'hdmi_clk'.
Connect it to the clk bus.
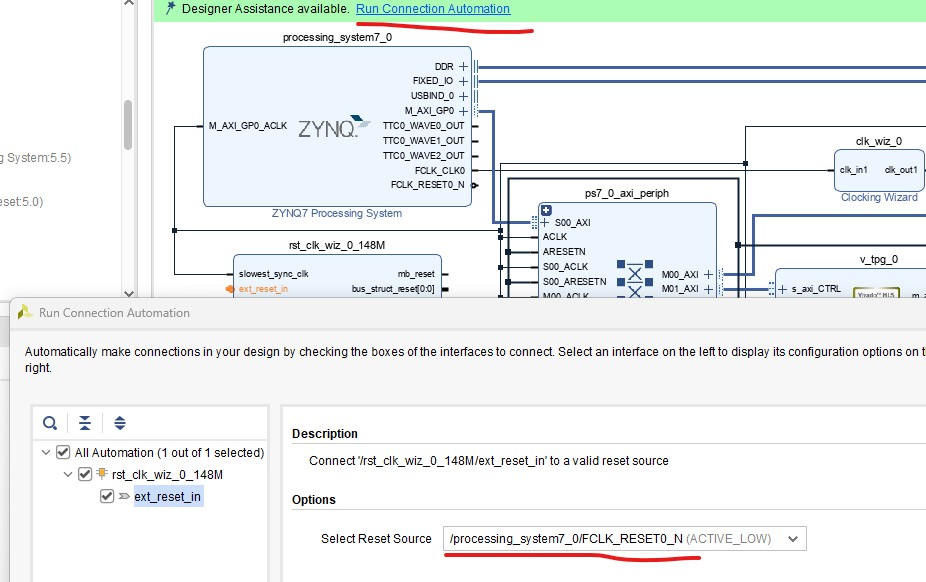
Use 'Run Connection Automation' to add an extra connection between FCLK_RESET0_N to ext_reset_in.
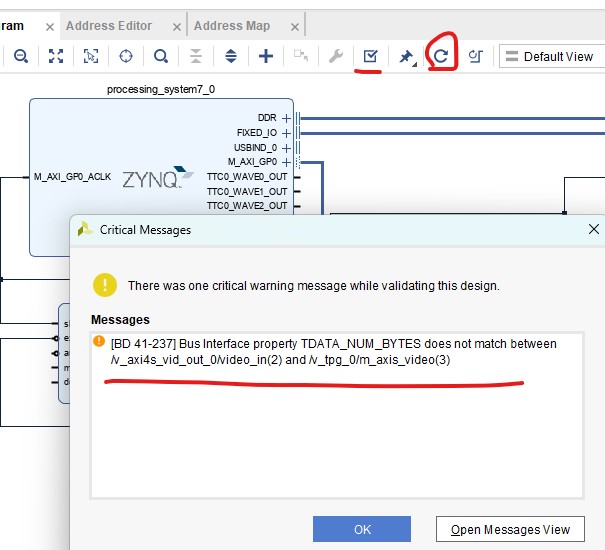
When you click verify circuit, there shows up a warning.
Add the following block and connections to remove the warning.
It basically replaced the connection shown below with the added block.
Select the following connection and right click. Select 'Debug'.
Select the following option.
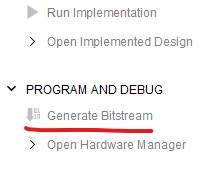
The Bitstream generation should be successful. To program your Zedboard, follow the following steps or refer to this tutorial. Click 'Open Hardware Manager', on that page go to File - Export - Export Hardware. Select 'Include bitstream'. Go to Tools - Launch Vitis IDE Rename the workspace to 'zed_hdmi'. Create Application Project. Select the block design wrapper .xsa file you just generated. Give it a project name, for instance, 'zed_hdmi_test'. Select the Hello World template. Delete the helloworld.c file, add three sources that were downloaded from the original tutorial or from here. Plug in your zedboard - power, two micro USBs, and one HDMI connected to a monitor (important). Power up your Zedboard, open the serial terminal, and build your wrapper and system respectively. In the Assistant tab, right click and Launch Hardware to program your board. It should show the demo animation as follows.
--------------------------------------- Tasks: Repeat the steps in this tutorial.