SoC Construction on the Zedboard Basics
(This tutorial was developed by referring to the videos published by ivslab at National Yang Ming Chiao Tung University)
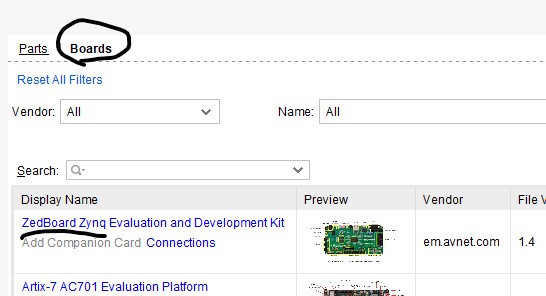
First, start a new project.
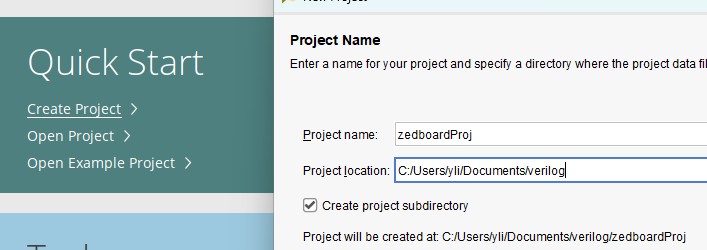
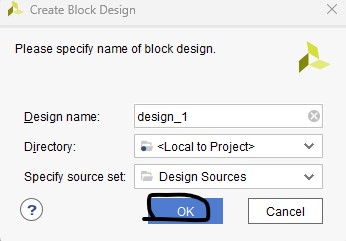
On the left, select 'Create Block Design'.

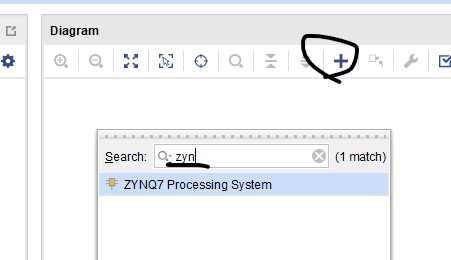
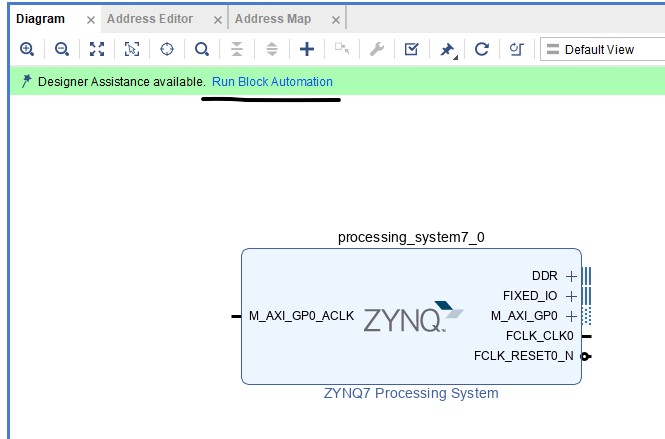
Add the Zynq core to your design.
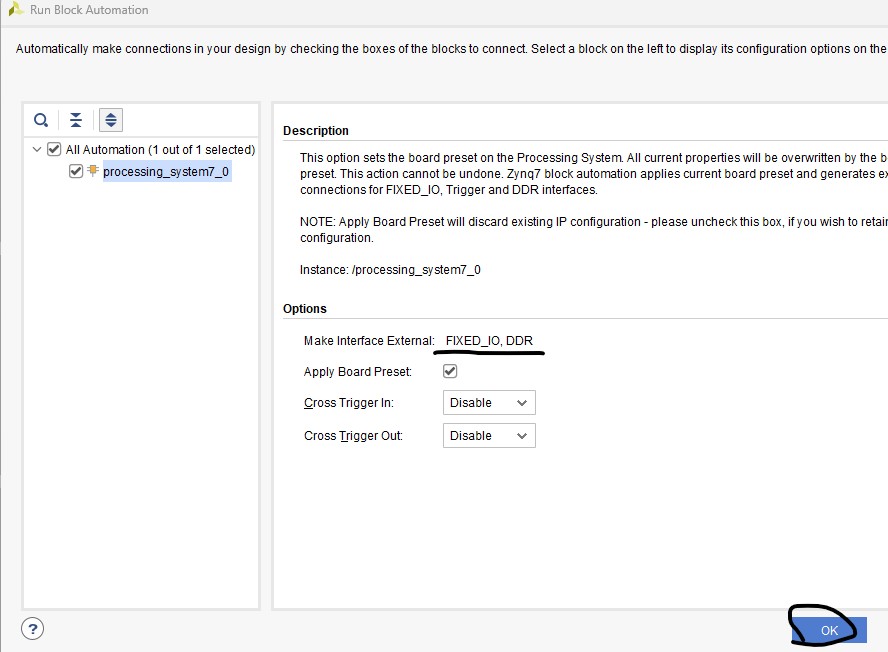
Click 'Run Block Automation'.
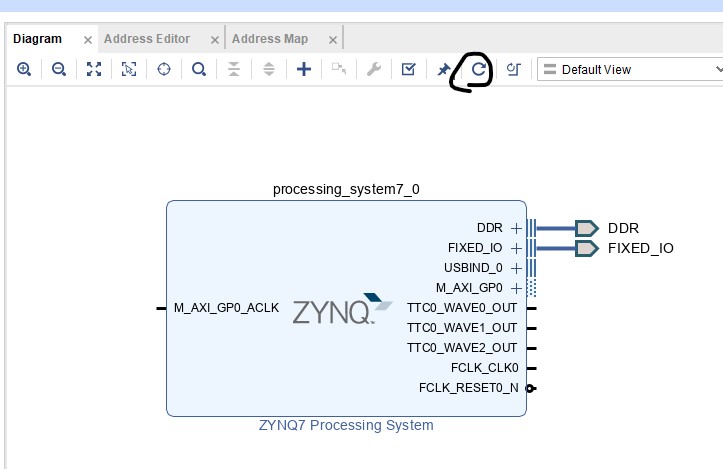
Then click 'Regenerate Layout'.
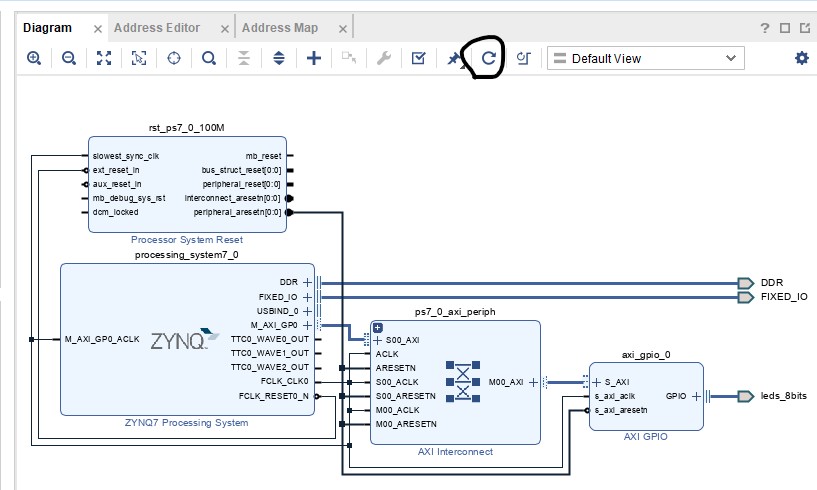
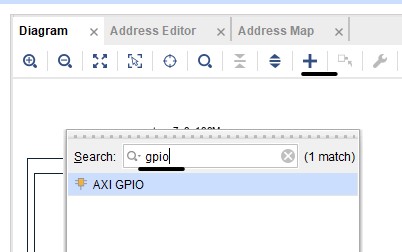
Add a AXI GPIO to your design.

Click 'Run Connection Automation' to wire things up.

Then regenerate the layout again.
Add another AXI GPIO. The last one was for leds and this one is fow sws.


You can go the Address Editor to check the address.

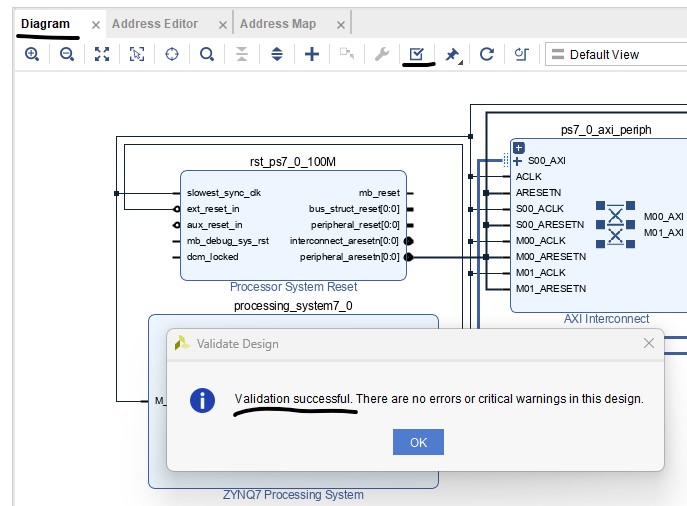
Validate your design.
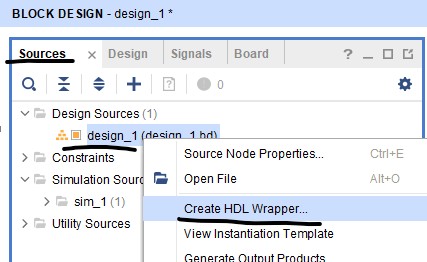
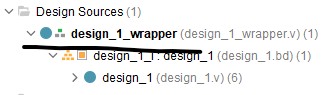
Create the block wrapper.

Add a constraint file to your design by right click the constraint file option and create a new file, then copy/paste this constraint file to it.
Click 'Generate Bitstream' to go through the synthesis and bitstream file generation.
Export the hardware.
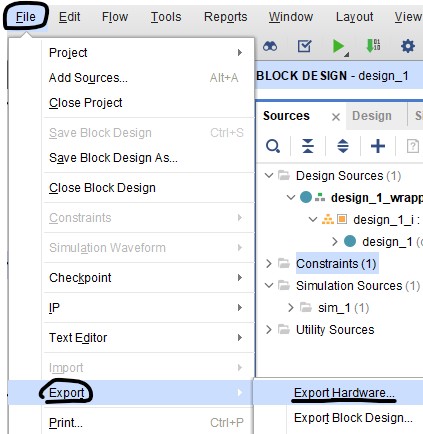
If you don't see the 'Export Hardware' as an option, try the following option:
Project
Configured as Vitis Platform: If "Project is an extensible Vitis
platform" is checked under Project Manager -> Settings, the standard
Export Hardware option is replaced by platform export options.
Include the bitstream when the hardware is exported.

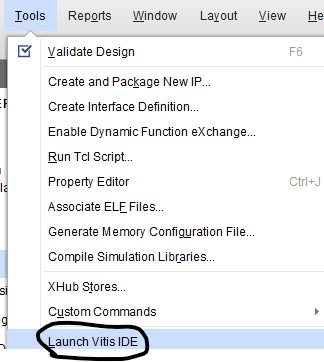
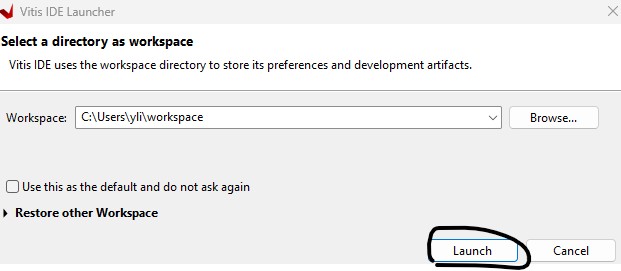
Launch Vitis IDE for C programming.
You may not have Vitis if you only installed Vivado Webpack. You can upgrade it by following these steps:

Open Vivado.
Go to the top menu and select Help > Add Design Tools or Devices.
On the Select Product to Install screen, change your selection from "Vivado" to Vitis
Here is Vitis IDE's interface.

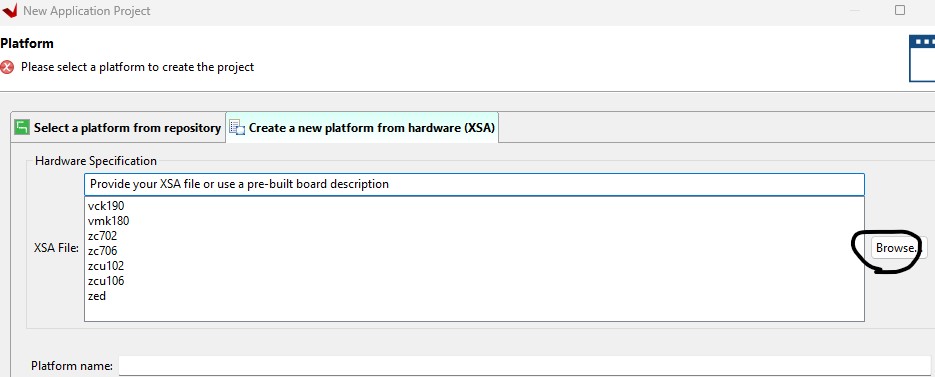
Create Application Project. Browse and add the xsa file here.


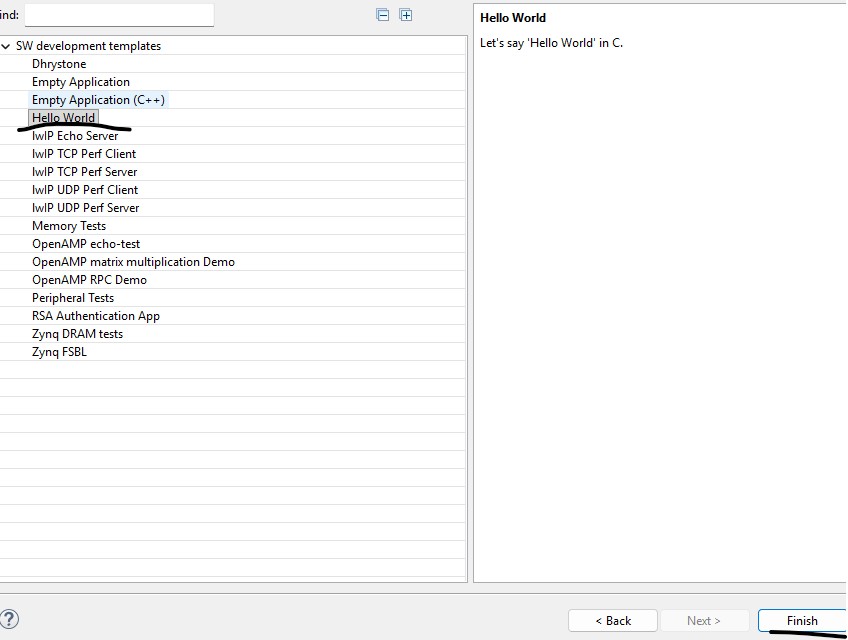
Select the 'Helloworld.c' template.
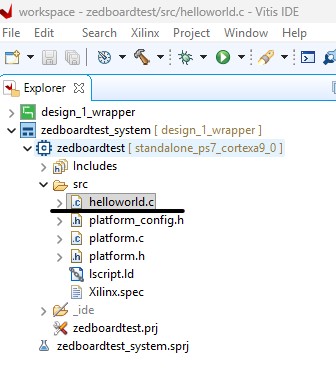
Replace the helloworld.c code with this one.
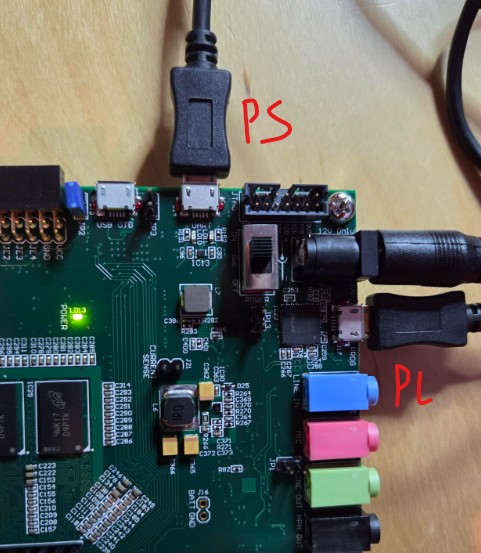
You'll need a 12V DC power supply and two micro USBs to connect to your laptop as follows.
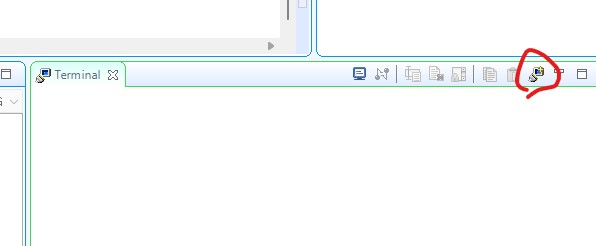
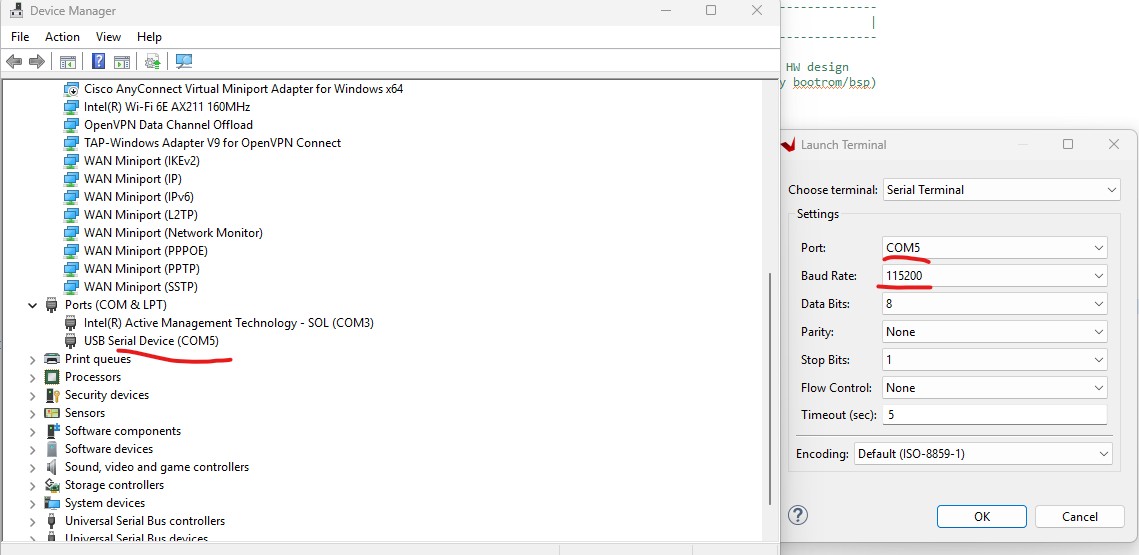
Go to Window - Show view to open the terminal. You can use Device Manager to find the current COM port used by the Zedboard.
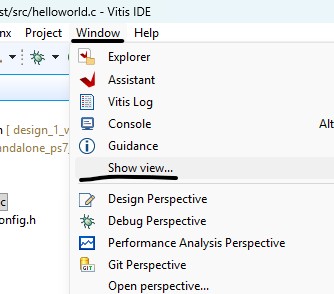

Open a new terminal.

Select the correct port and baud rate.
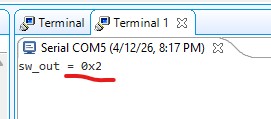
Bottom left should show the connection successful message.

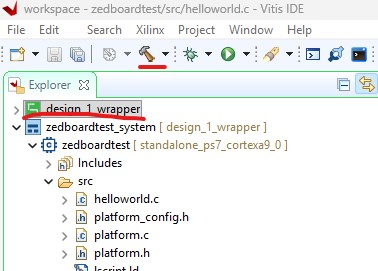
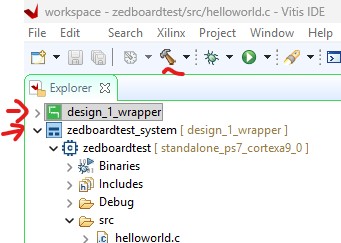
Build the wrapper and the systems files respectively.


The terminal should display your sw input. LEDs show the 0x11 address.

If you have to change the verilog code, you must follow these steps to update the everything:
1. Re-generate the bitstream file
2. Repeat the following steps in Vivado to output the hardware:
3.
Go to Vitis, in the 'Assistant' tab, right-click the platform project
(marked with a green icon or ending in _wrapper) and select Update
Hardware Specification.

4. Go to the 'Explorer' tab, re-build the wrapper and the project system file.
5.
Come back to the 'Assistant' tab, right click the system file - run and
click the current SystemDebugger if you already ran the Lauch Hardware
already.
--------------------------------
Tasks:
Repeat the steps in this tutorial.