Raspberry Pi OS Desktop Setup
The basic materials being used throughout this tutorial consist of
Any Raspberry Pi 3 or higher should be compatible with these tutorials.
The current Raspberry Pi products being offered can be found here.
This tutorial will cover setting up Raspberry Pi OS, installing Visual
Studio Code, and setting up the development environment so that we can
compile our C++ and SDL code.
Table of Contents:
Setting Up Raspberry Pi OS
Setting Up Visual Studio Code
Hello World Test
Compiling Using CMake
Setting Up Raspberry Pi OS:
The first step required is to install the Raspberry Pi OS Desktop onto
your Raspberry Pi (or you may try any other Debian based distributions
on a main computer). The Raspberry Pi OS Desktop download can be found
under the Software section on the official Raspberry Pi website or you
can just click here.
The easiest method would be to download the Raspberry Pi Imager and to
use a SD/micro SD card reader. Downloads are available for Ubuntu,
Windows, and MacOS.
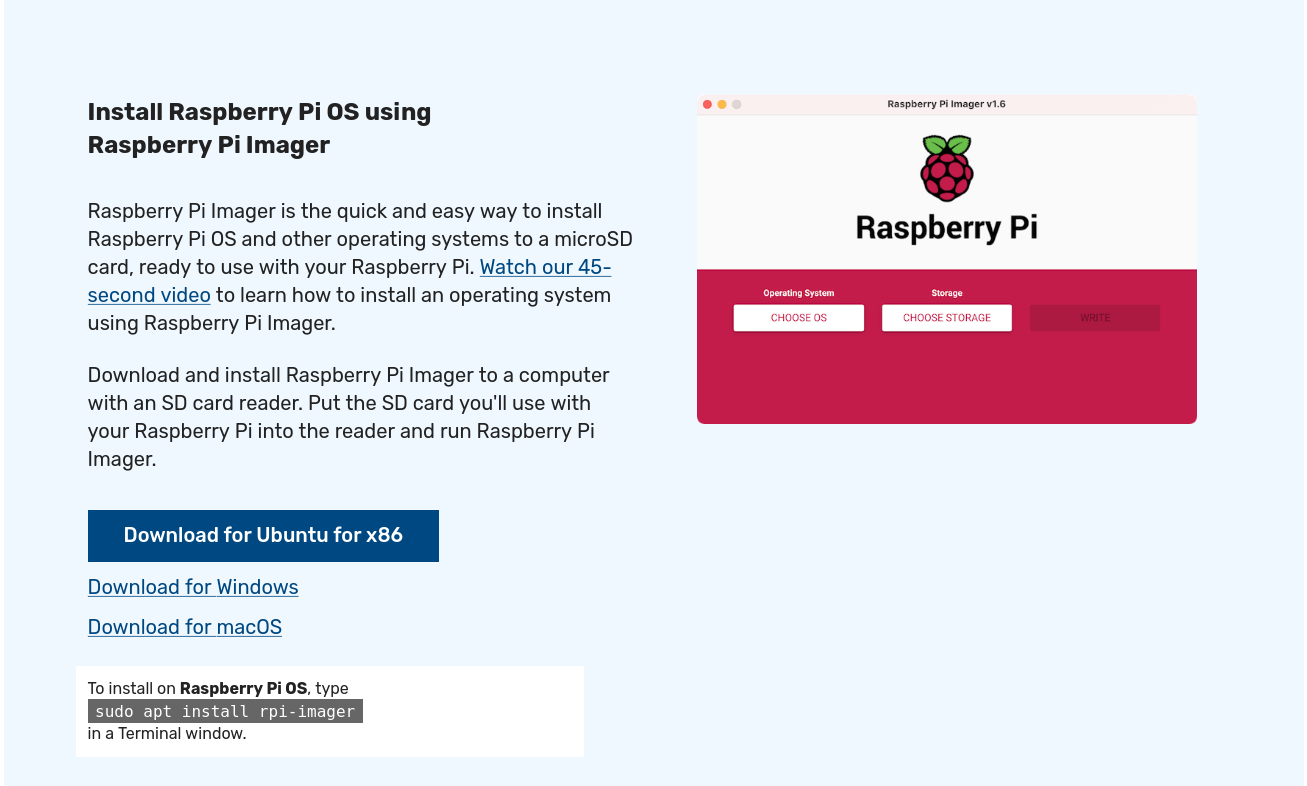
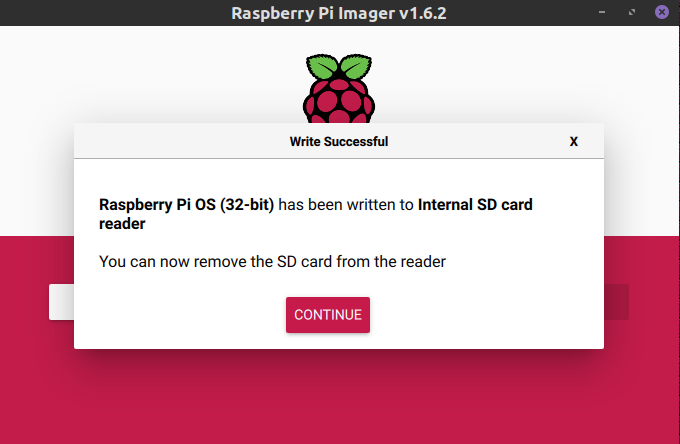
Operation is very simple after installation. Simply choose the
recommended option for the Operating System (Raspberry Pi OS Desktop),
choose the SD card you will be writing to, and click write. After some
time the screen below should be seen. Now your SD is ready to be
inserted into the Raspberry Pi!
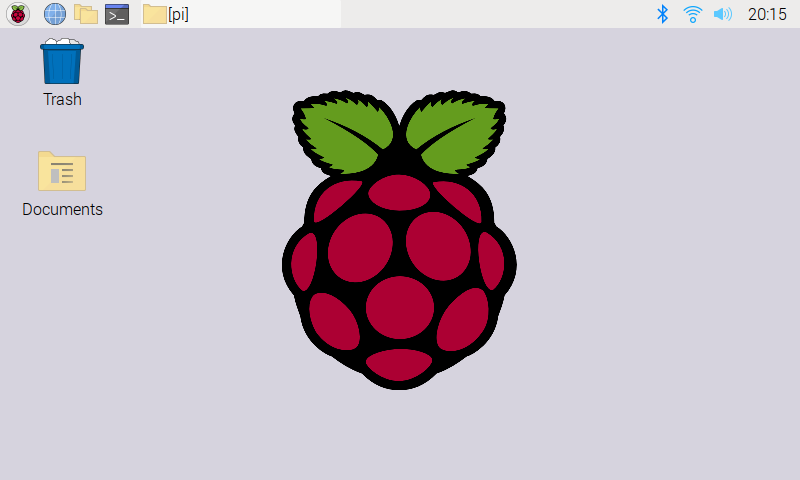
Follow the setup procedure when running Raspberry Pi OS for the
first time. Verify that the various options like the region, keyboard
layout, and timezone are correct and update the operating system if
possible. The Raspberry Pi OS desktop after rebooting should look
similar to this:
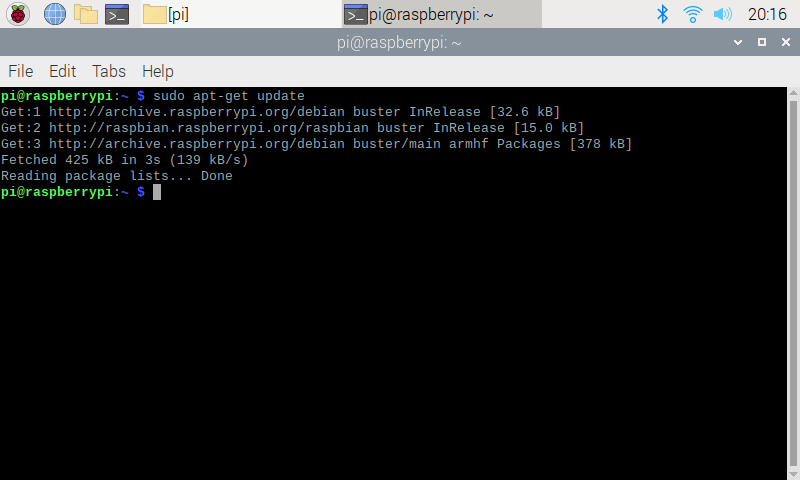
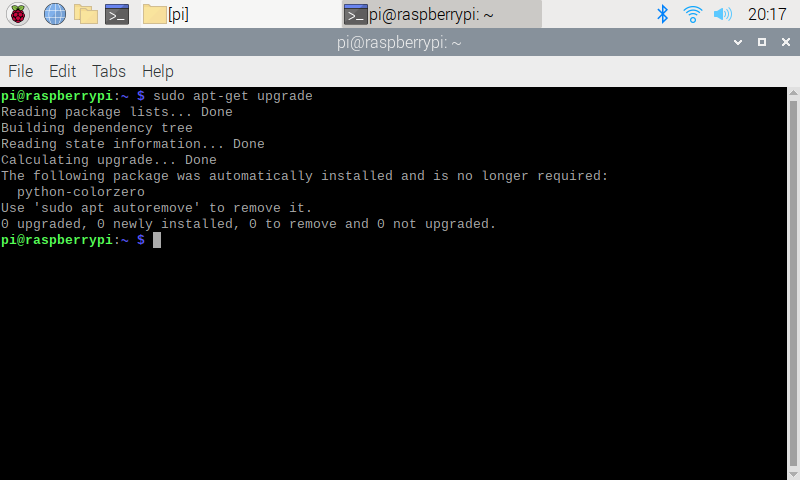
There are two things you should take care of before proceeding. Run the two following commands in a terminal:
sudo apt-get update
sudo apt-get upgrade
The first command will make sure the list of packages available is
updated. The second command will make sure the currently installed
packages are upgraded to the newest available versions. The results
should be similar to the screenshots shown below. I had already ran the
commands prior to the screenshot so you will likely see more output
than me.
Desktop Setup
Setting Up Visual Studio Code:
Now that Raspberry Pi OS is up to date we can begin by setting up our
development environment. This will consist of using a code editor and
the terminal to compile our code.
I have chosen to use Visual Studio Code because it is what I am used to
personally. It's a lightweight editor that has many extensions
available for it such as the C/C++ extensions and the CMake extensions
we will be using. These will add the appropriate syntax support and
code completion support. You don't have to use Visual Studio Code
however, any text editor will do such as the default one included in
Raspberry Pi OS, Vim, or whatever else.
Visual Studio Code has its own documentation on how to install Visual Studio Code on Raspberry Pi OS here.
The gist of it is that running these two commands in a terminal should
suffice since Raspberry Pi OS has it included in the default
repositories.
sudo apt update
sudo apt install code
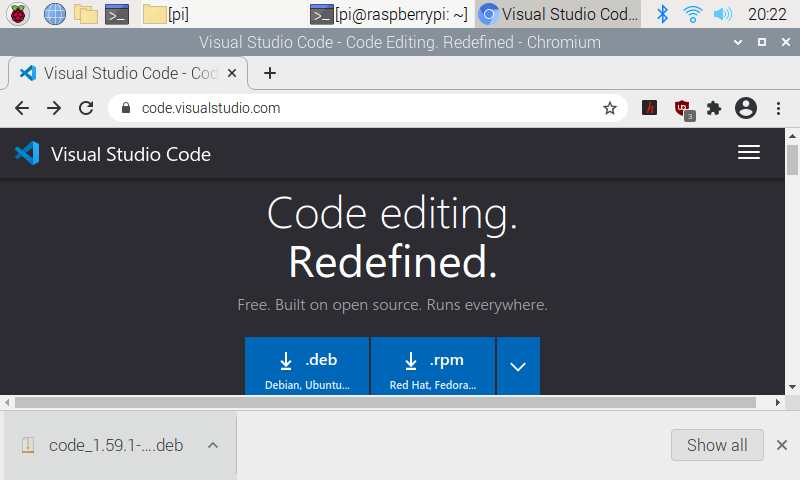
If you are using another distribution you can download the .deb
file or look into how you can install it via the terminal. The default
.deb file does not work with Raspberry Pi OS because it is not a 64-bit
operating system.
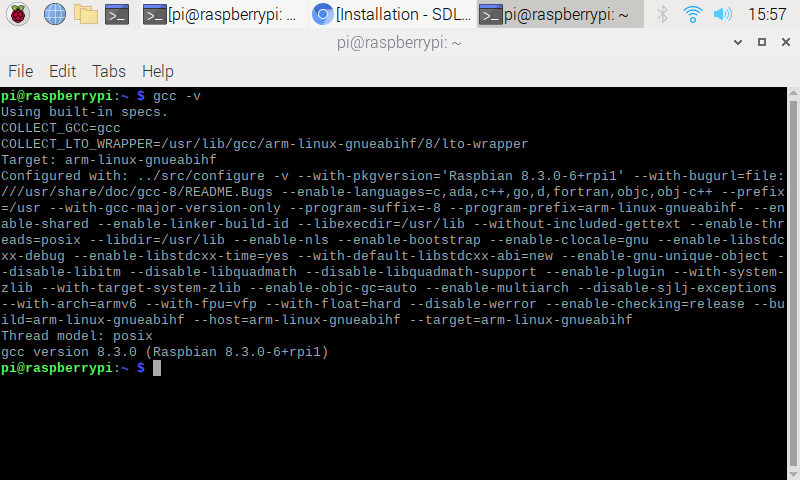
Now we should verify that C++ code is able to be compiled. Open up a new terminal and type the following command
gcc -v
If you see the below output then you will be able to compile C++ code into an executable and you can skip this part.
If you do not see that gcc is installed then you must run the following commands:
sudo apt-get update
sudo apt-get install build-essential gdb
Afterwhich you should be able to compile C++ programs. You may not have
GCC installed if you are using a different distribution of Linux.
Raspberry Pi OS has GCC installed by default since the Raspberry Pi
devices are often used by developers.
The next thing we need to do is get those useful C++ and CMake
extensions installed using Visual Studio Code. Visual Studio Code can
be launched using two different methods. You can click on the menu
button (Raspberry Pi Logo in the upper left corner) or you can open up
a terminal and type either of the following commands:
code
code .
The first command opens up Visual Studio Code the same as if you were
to use the menu button. The second command will open Visual Studio Code
in the current directory which will be useful later on when we are
using folders. Once Visual Studio Code is open you should see a Welcome
Screen. You can adjust the theme if you want but we are most interested
in extensions, so click the icon on the left that shows four squares as
shown below:
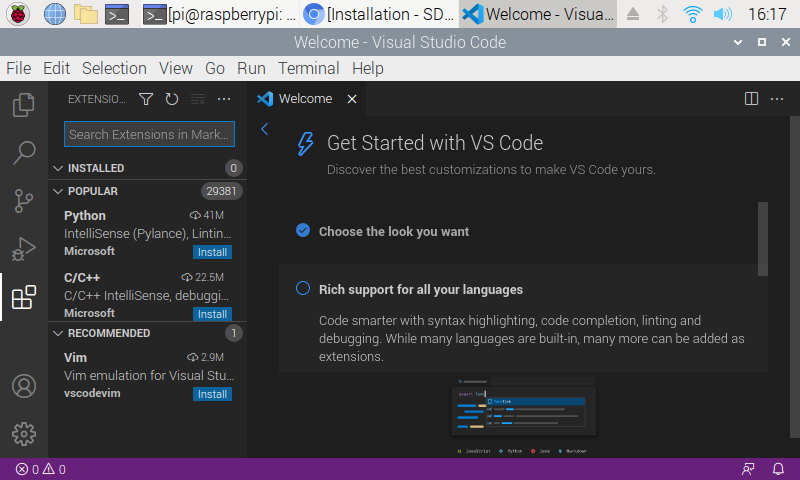
As you can see, the C/C++ extension is the second most popular
extension available. If you do not see the C/C++ extension you can
simply type it into the search bar. Click install to add C/C++ language
support to Visual Studio Code.

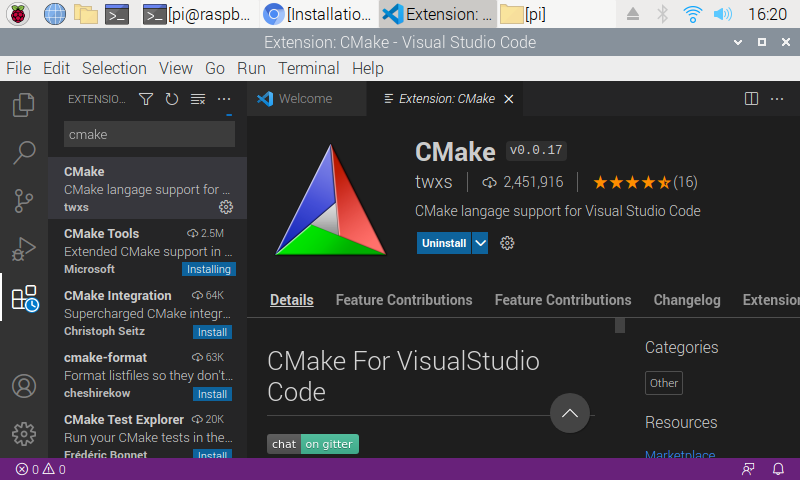
The next extension that will be handy is the CMake and CMake Tools
extensions. These can be found by searching cmake. CMake allows us to
create Makefile's which simplify compiling C++ code, especially when
working with larger projects. All these extensions do is add the
appropriate syntax support for these languages. They don't allow us to
compile code by themselves, which is why we had to verify that GCC was
installed.
Hello World Test:
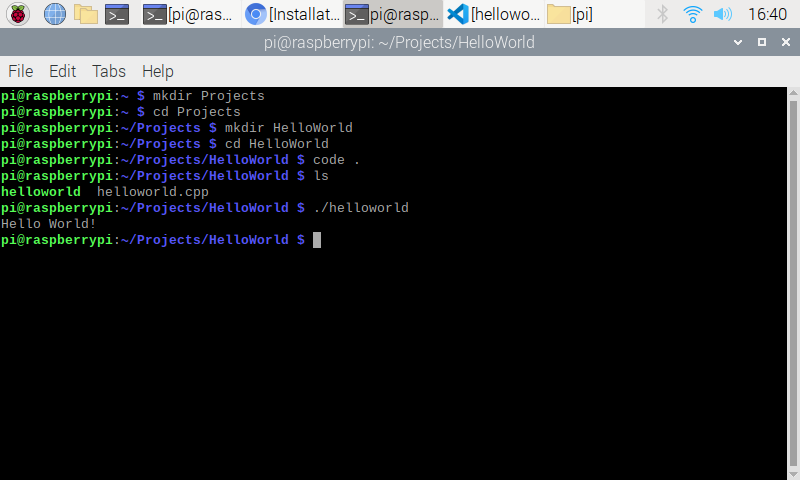
Now we will verify that we are able to write and compile C++ code. Open
a new terminal and type the following commands. This will create a
folder called Projects in our home directory, change the current
directory to Projects, create another folder called HelloWorld, and
then change the current directory to HelloWorld. The final line will
open a Visual Studio Code instance with a working directory in the
HelloWorld folder.
mkdir Projects
cd Projects
mkdir HelloWorld
cd HelloWorld
code .
You will probably be greeted with this screen asking if you trust the
current folder. Just click yes since we are the ones who created it.

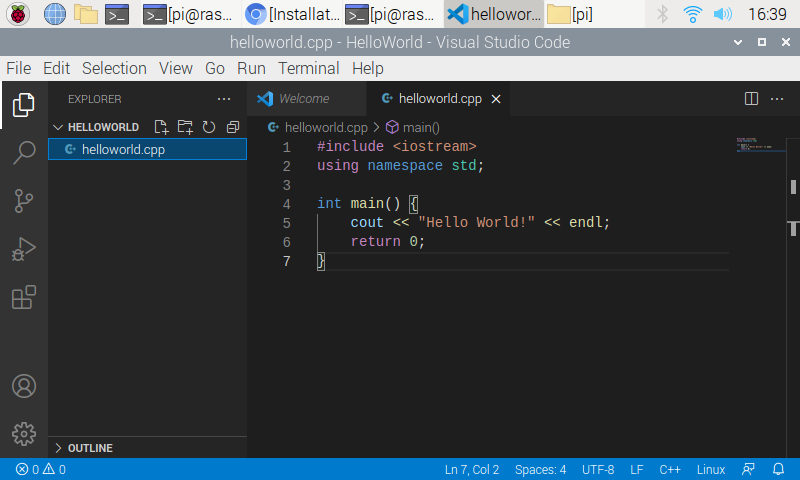
Next create a new file by clicking on the new file icon seen by the folder name as shown below.
 as shown below.
Call this file helloworld.cpp and copy the following code.
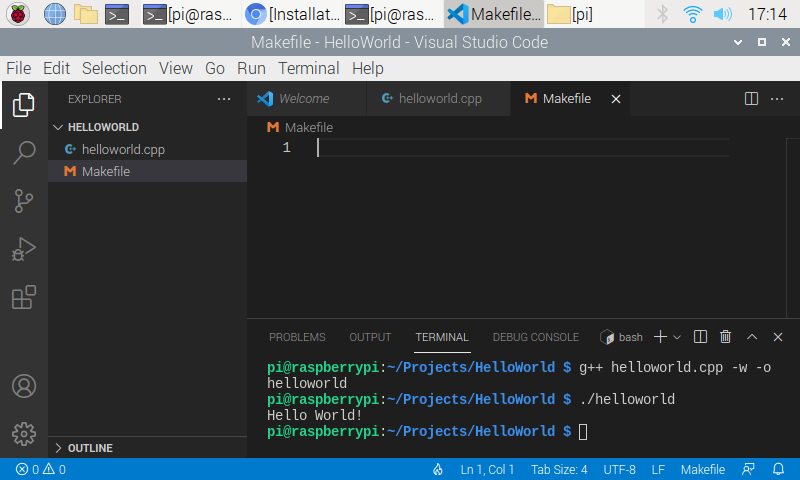
Now we will see how to compile C++ code on Linux using the terminal.
Begin by clicking the Terminal option in Visual Studio Code's menu bar.
You will see that you can create a new Terminal as shown below. You
could create a new terminal in Visual Studio Code if you would like or
you can use the existing one we used to setup our project directories
and launch Visual Studio Code at the start of this section. Either one
will work, but I will show the Visual Studio Code terminal.

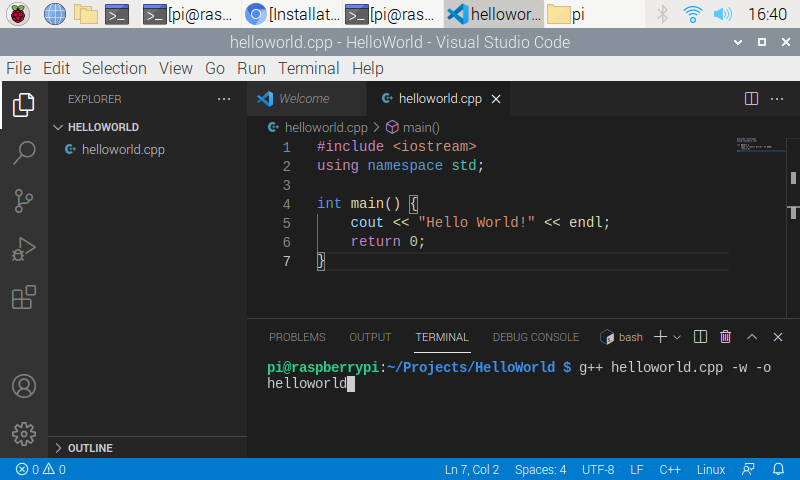
Type the following command in whatever terminal you chose to use:
g++ helloworld.cpp -w -o helloworld
All this command does is tell the terminal we want to use the GCC
compiler to compile helloworld.cpp into an executable called
helloworld. The -w suppresses all warnings and -o turns on various
optimizations.
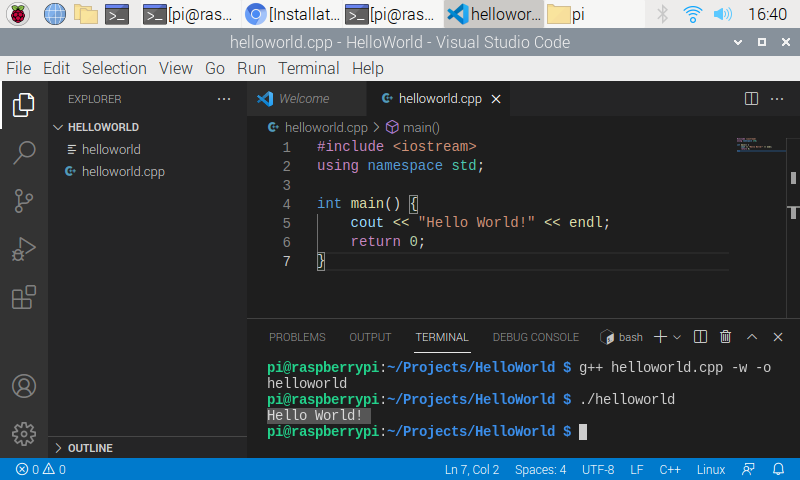
After running the command you should not get any specific output but
you should see that there is a new file in the folder called
helloworld. This is the executable and it can be launched by typing in
the command
./helloworld
After which you should see the "Hello World!" text outputted in the terminal.
As you can see, you can also run the exectuable in the previous
terminal. The previous commands to compile the executable can also be
ran in this terminal if you do not want to use Visual Studio Code's
terminal. Either will work fine, it is up to your personal preference.
Compiling Using CMake:
You may be wondering why we wanted to install the CMake extension now
since we didn't need it for compiling our C++ program. The reason we
didn't need it for our hello world program is because it isn't very
necessary for such a simple program but I will demonstrate its use so
you can compare both methods of compiling C++ programs.
Begin by deleting your helloworld executable. You can do this via a
File Explorer or you can do it in the terminal with the following
command:
rm helloworld
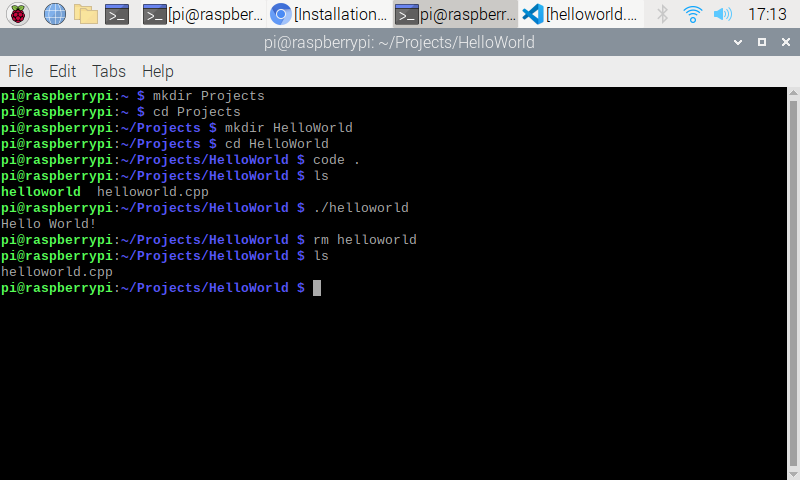
At this point I also cleared my terminal by using the following command.
clear
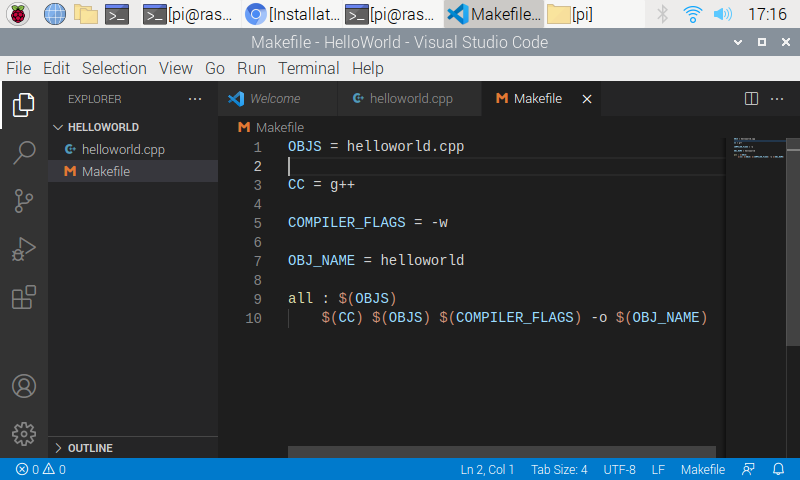
Go back into Visual Studio Code and create a file called "Makefile". It
is important that you create the file with that exact name and case as
well. Thanks to our CMake extensions we get that Makefile icon
and the syntax will be appropriately formatted.
Copy what is in my Makefile and notice that the Makefile is reiterating
the command we used to compile previously. OBJS is where we put our
.cpp file. CC is where we put our compiler command, in this case g++.
COMPILER_FLAGS are what the name implies, we will be inserting the
suppress warnings flag here. OBJ_NAME is the name of our executable, we
keep it the same as before. The final two lines create the command used
previously if you subsitute the variable names with their content.
The advantage to using a Makefile is that we won't have to type out
every single file when compiling a project made up of lots of files. We
just have to modify our Makefile script once. In order to compile using
this method we need to run the following command in a terminal:
make all
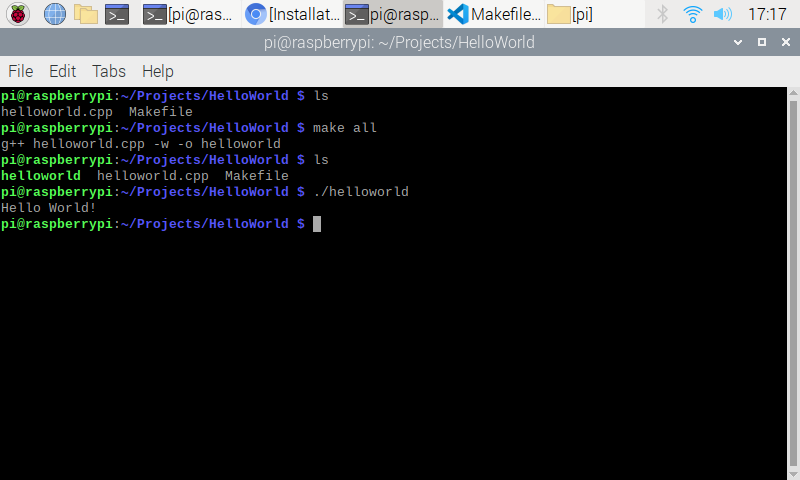
This will run the Makefile script and produce the same results as
before. Again, make sure you are in the correct directory. In the
screenshot below I am using the ls command to list the current files in
the HelloWorld directory. Then I run the make all command to compile
the program. Notice that the previously used command is shown below
make all. Last we verify that the program was successfully compiled by
running helloworld. We can see that the Makefile has successfully
accomplished the same task as writing out the g++ command. Now we can
just modify our Makefile and we only need to type "make all" for future
projects.
In this tutorial we successfully set up Raspberry Pi OS and Visual
Studio Code to allow for C++ development. We verified that we are able
to compile C++ code and learned a little about the command needed for
compiling and how CMake can simplify this process. In the next tutorial
we will be installing SDL and writing a similar Hello World program to
verify that we are able to use SDL in our programs.