CE 432 Lab 2021 Fall
Lab 1
Name:
Nicolas Llarena
Email: Njllarenaarias@fortlewis.edu

1. Tutorial 2 - Take Photos

2. Introduction
The purpose of this lab is to work with ESP 32 and Arduino software to control a camera that can be used for many things including robot cars and surveilance. We will get familiar with the ways on how to connect and code with the ESP 32. This will help us in future projects when we have to implement cameras. This specific tutorial will guide us on how to take pictures manually and automatically.

3. Materials
Materials Quantity
Arduino UNO
1
ESP 32
1
Bread Board
1
Jumper cables
10
Push Button
1
10kOhm Resistor
1

4. Results

Task 1
 
Figure 1.  Photos taken by the ESP 32 automatically with an interval of 3 seconds.


Task 2

Figure 2. Photos' description show actual date and time. this was done by changing the gmt offset to mountain time.


Task 3


Figure 3. After making the required connections, a pushbutton was used to take pictures manually. For some reason, the picture quality was not working as intended.

Task 4


 Figure 4.  Using a webserver to take pictures, The picture was viewable after refreshing the webpage.


    Task 5    

                   
Figure 5. In this task, we were able to capture photo, refresh the page to view it, and view/delete photos. The photos' description is showing the correct date and time as per instructions.


     Task 6


Figure 6. This task required the server to be able to take photos and send a notifiation via email. For some reason, the ESP32 was unable to log into the sender email. unfortunately it couldn't send the notification.
Task 7

         
Figure 7. This task required the server to take a photo and send that photo via email to the recipient's email. As with task 6, the ESP32 was not able to log in to the sender email for unknown reasons. All the connections and code was done correctly for this to work.


Task 8

         
Figure 8. After downloading and installing the Telegram application, a bot was set up to be able to take photos and send them to the app when requested. A flash was also made available for darker areas.


Discussion

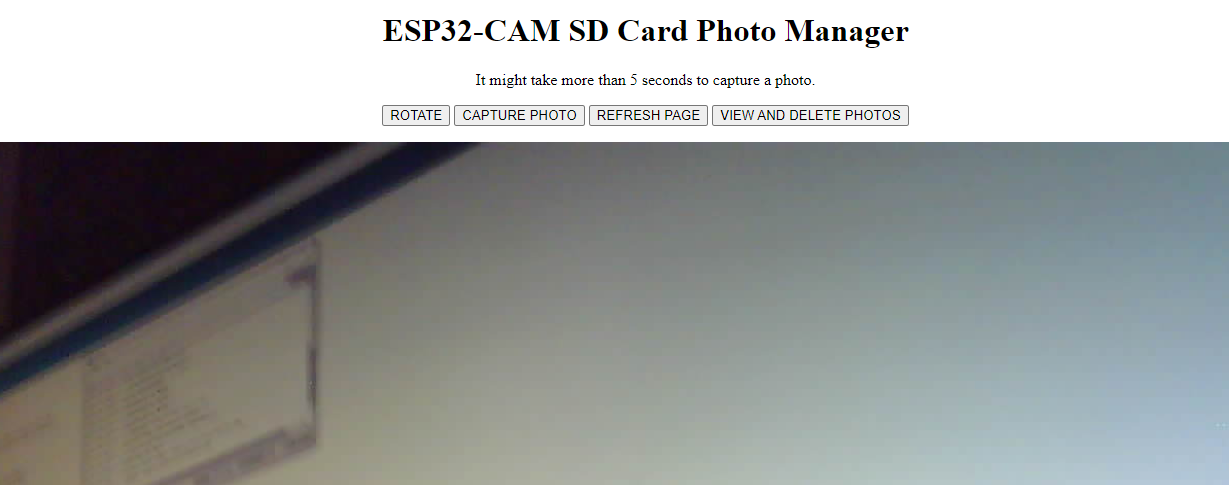
Most parts of this tutorial worked without any issues. I ran into some issues with task #3 when the pushbutton was used to take pictures manually. The pictures' quality was not good enough. I tried disconnecting and reconnecting everything to make sure my connections were correct with no success. I ran into 
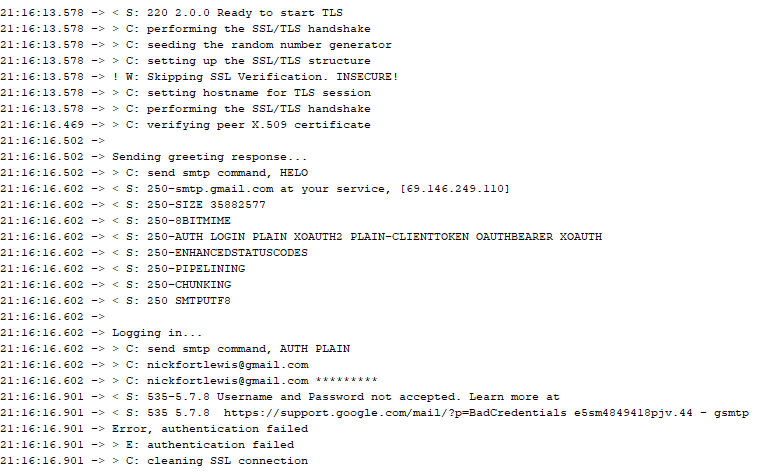
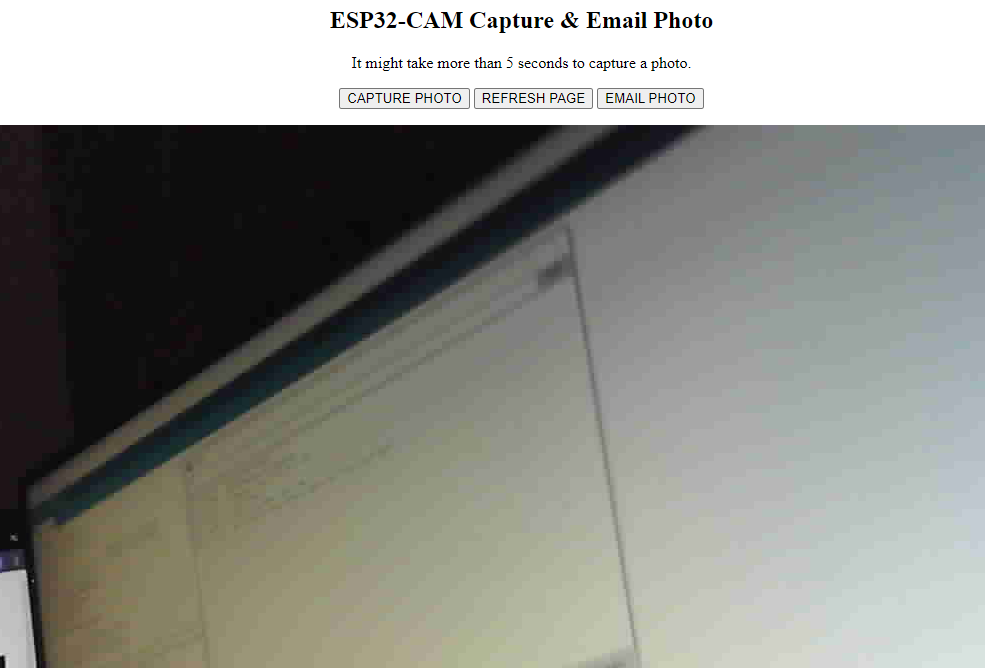
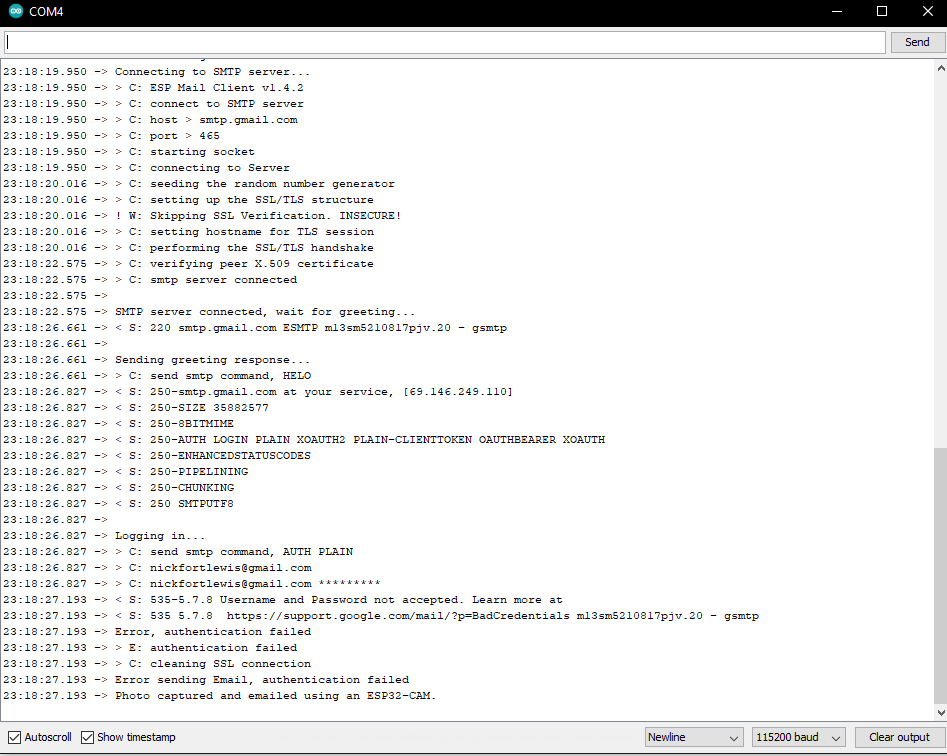
another issue when doing task #6 and task #7, these modules were completed by having the right connections and following the code from the book closely. unfortunately, the ESP32 was unable to connect to the newly created sender email to be able to send notifications and photos. I tried changing password three different times with no success. Also tried changing the server port but could not get it to log in. Hopefully this gets resolved if I eed to use email integration again. Besides the small inconveniences, I learned a lot about taking pictures 
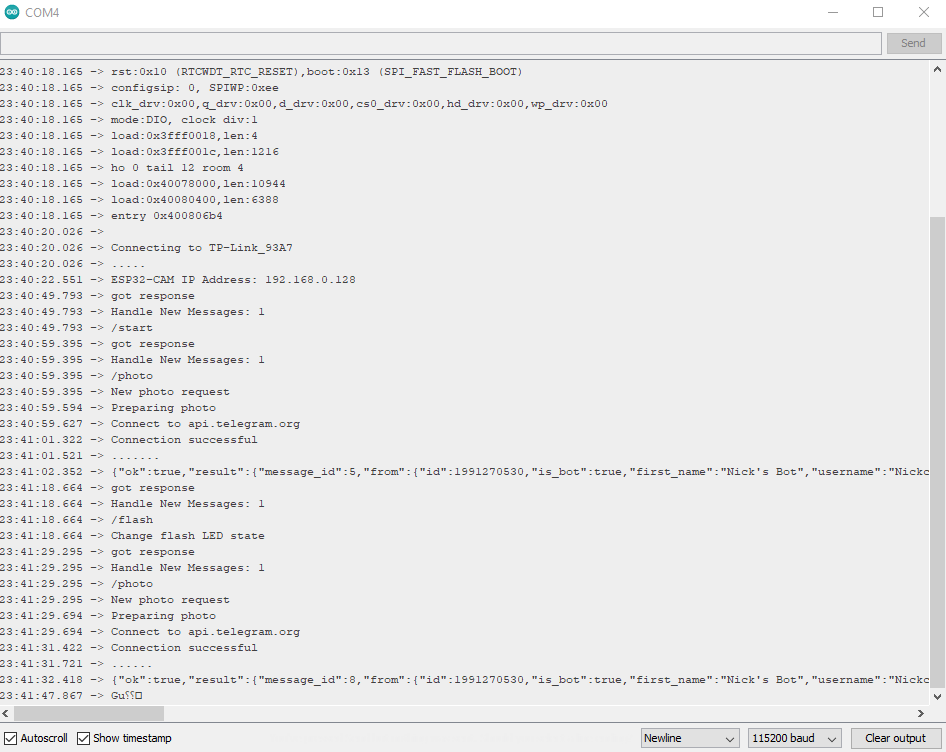
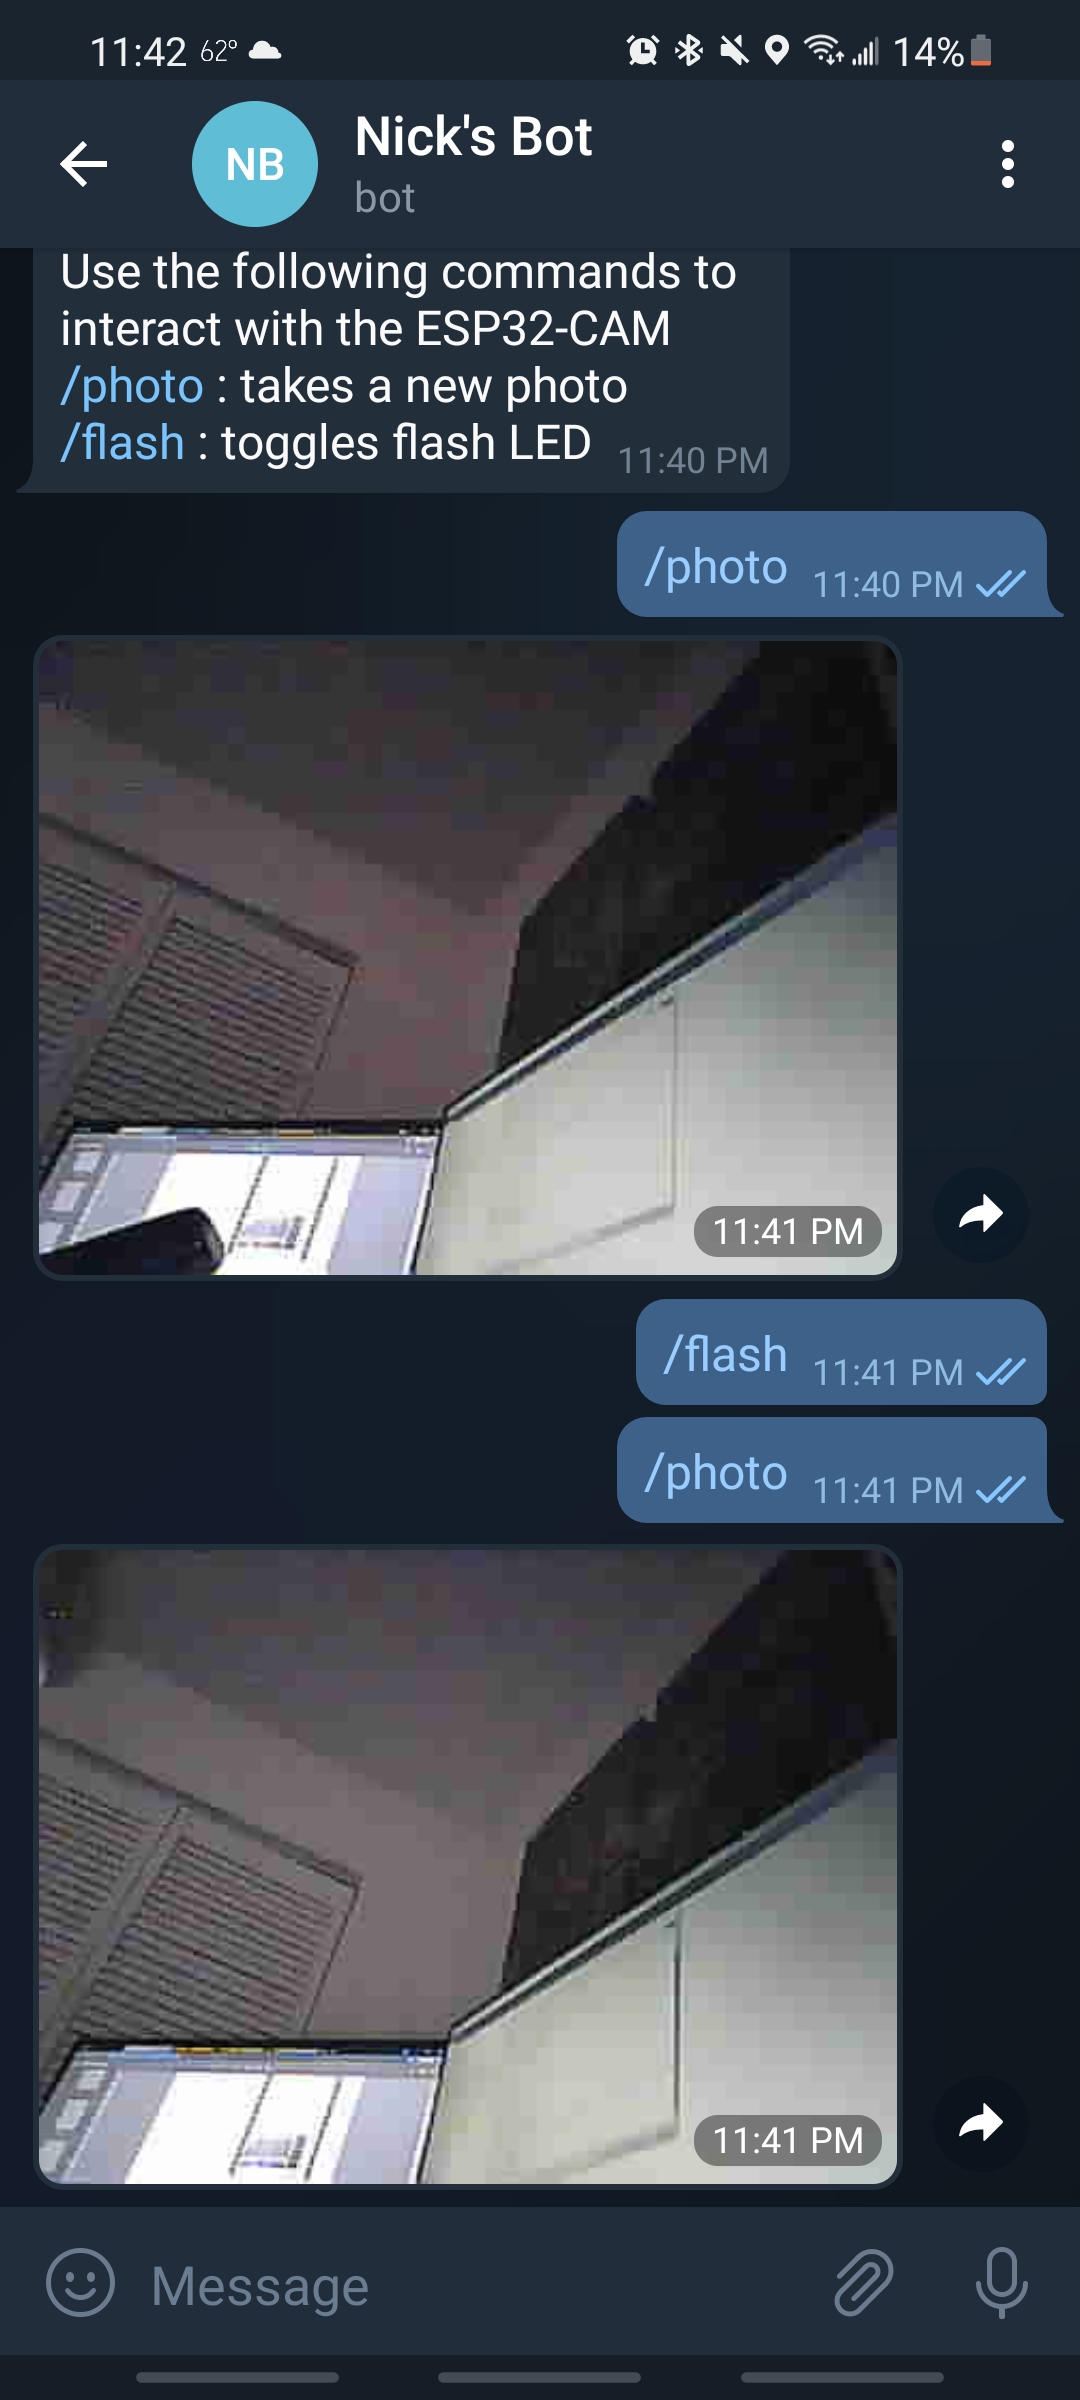
with the ESP32. Task #8 intereseted me the most since I believe integrating the camera with Telegram can be very useful for every day use.