E 432 Lab 2021 Fall
Lab 1
Name:
Nicolas Llarena
Email: Njllarenaarias@fortlewis.edu

1. Tutorial 1 - Get Started

2. Introduction
The purpose of this lab is to work with ESP 32 and Arduino software to ontrol a camera that can be used for many things including robot cars and surveilance. We will get familiar with the ways on how to connecta dn code with the ESP 32. This will help us in future projects when we have to implement cameras.

3. Materials
Materials Quantity
Arduino UNO
1
ESP 32
1
Bread Board
1
Jumper cables
10
Push Button
1
10kOhm Resistor
1

4. Results

Task 1
 
Figure 1.  showing initial workings and UI of the camera working with the ESP 32.


Figure 2. After fixing the code and uploading it to Arduino, the figure above shows the face detection and face recognition working as intended.


Figure 3. After Enrolling Face on the software, sun glasses were put on to show that it will not recognize a face that has not been saved to the server.

Task 2


 Figure 4.  Code is uploaded to arduino to make the LED on the ESP 32 flash. (picture is not the best since LED is very bright)


Figure 5. figure and video to show how implementing a push button along with the appropriate code can now control when the LED turns on and off.


Figure 6. Example 3 now shows the LED slowly dimming and then powering up with a small delay in between.


Discussion

At the beginning of this tutorial I had some issues with my computer not being able to recognize the FTDI usb cable. I had to download and install drivers from the company's website to finally make my PC recognize it. This gave me some issues since I didn't realize that was the problem right away. After fixing that problem, everything else worked as intended. I learned a few 
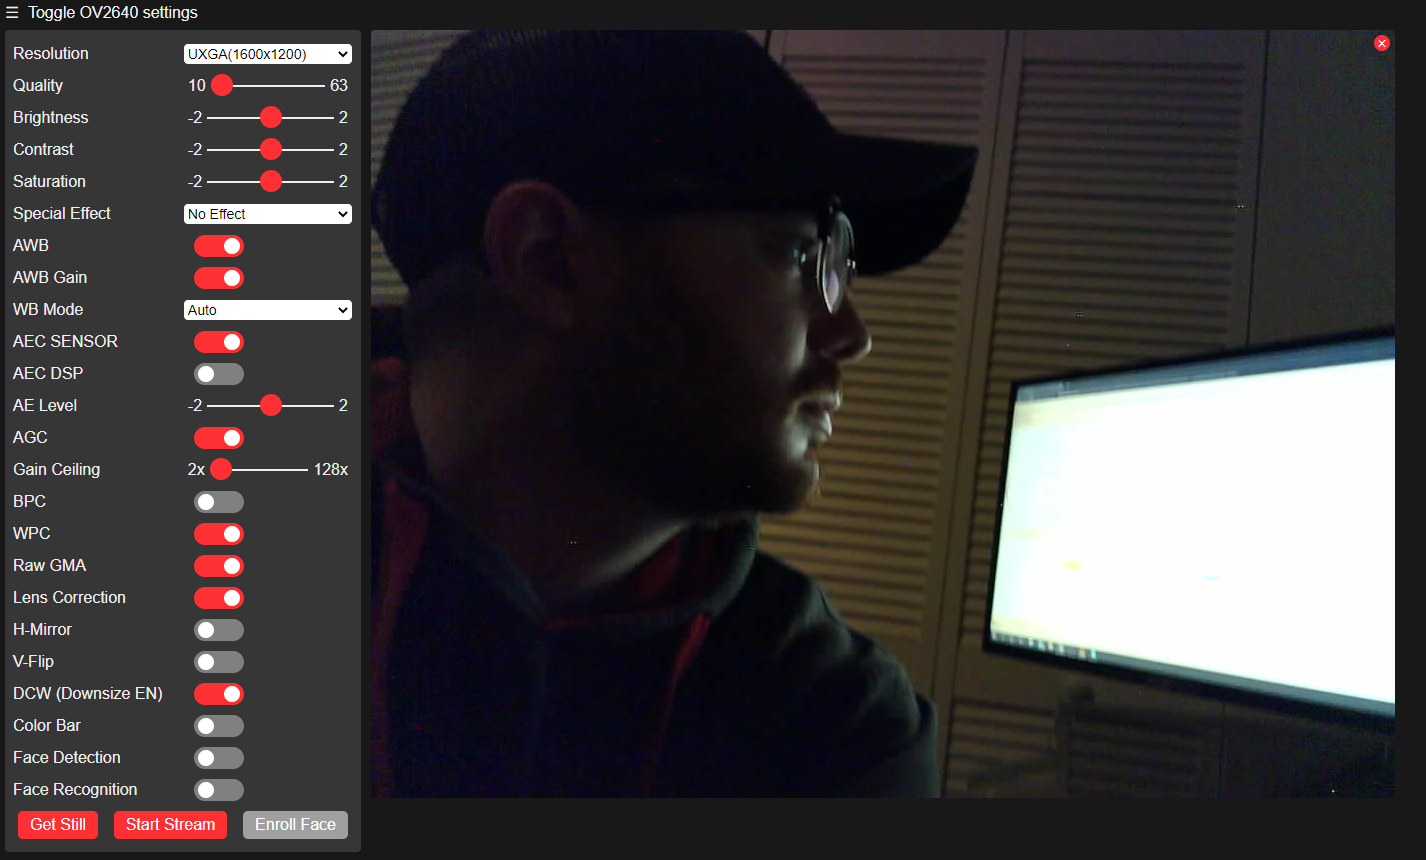
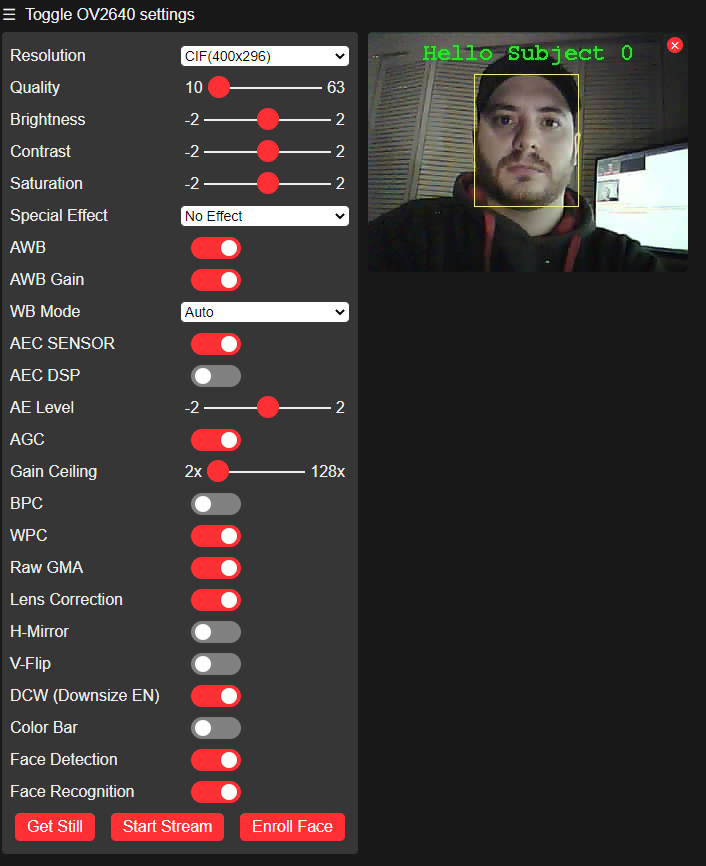
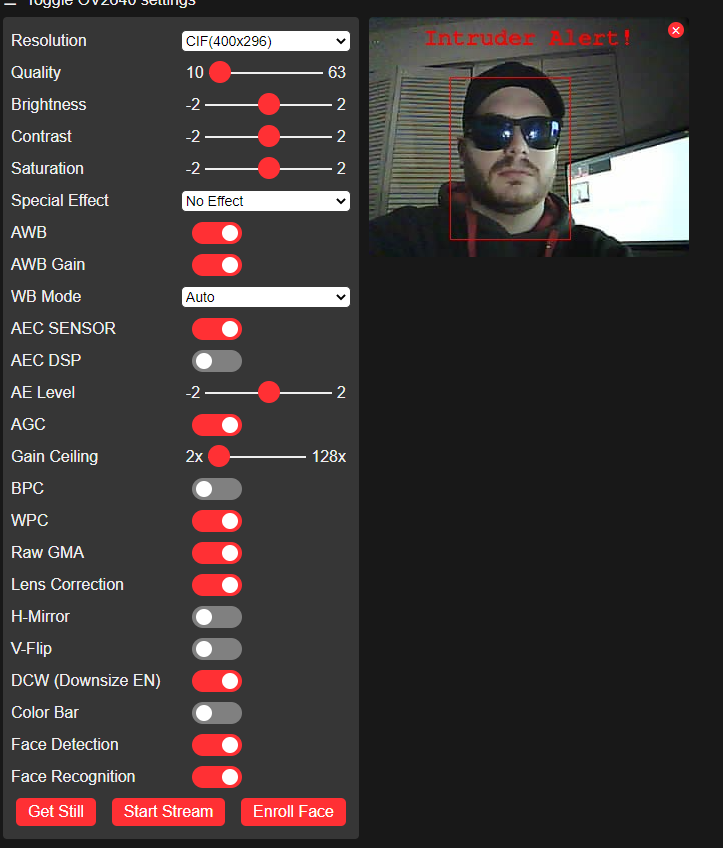
things about ESP 32 and how to use a camera with it for various applications.  After this, we will use it on a robot car which should make it a little bit more challenging.
All relevant code is uploaded into a folder inside the server.