Intro: This two week tutorial allows one to gain experience coding with
Arduinos and learn how LEDs and SSDs can be manipulated with them.
Materials: Arduino Uno R3, CE 351 toolbox, and Arduino software.
LED Tutorial
1.1
Blink the on-board LED
Q1:
To make LED blink faster, shorten the delay time.
Q2: To turn the LED on without turning it off, only write the LED to
high.
Q3: To keep the LED on longer than off, delay the write to high longer
than you delay the write to low.
1.2
Blink an external LED
1.3
Make running LEDs
2.1
Push to turn on, release to turn off
2.2
Push to turn off, release to turn on
2.3
Push to blink the LED w/ 2.4 Modifications
Figure 2.4:
Arduino code modification for task 2.4.
Seven-segment
display Tutorial
2.1
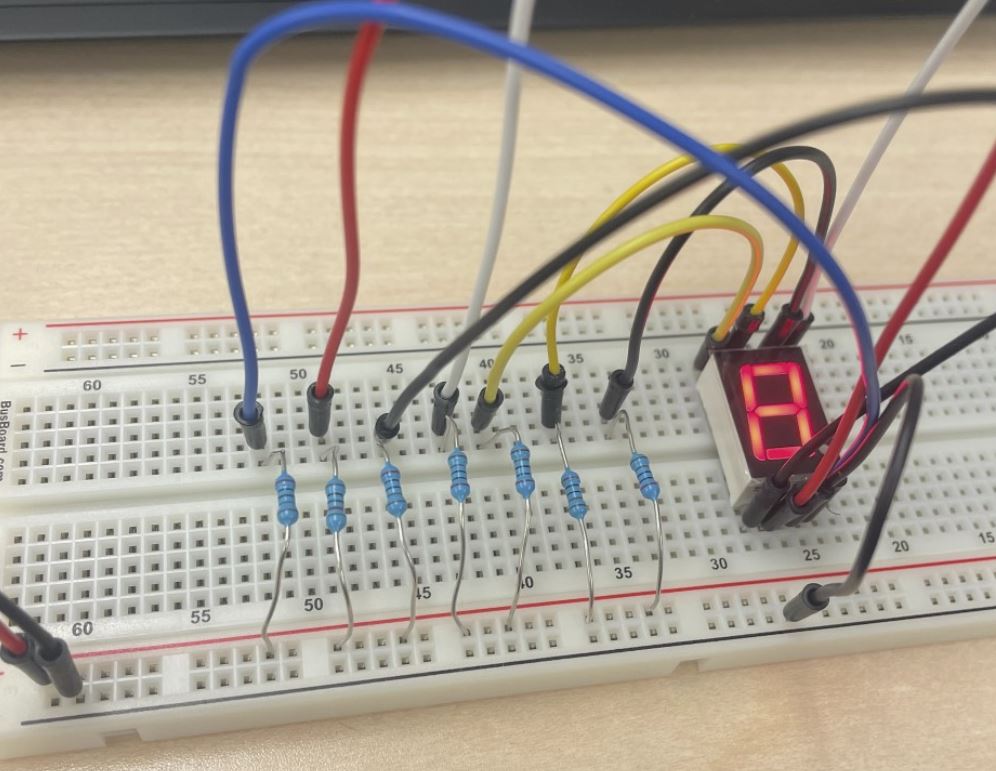
SSD powered by SEVEN wires
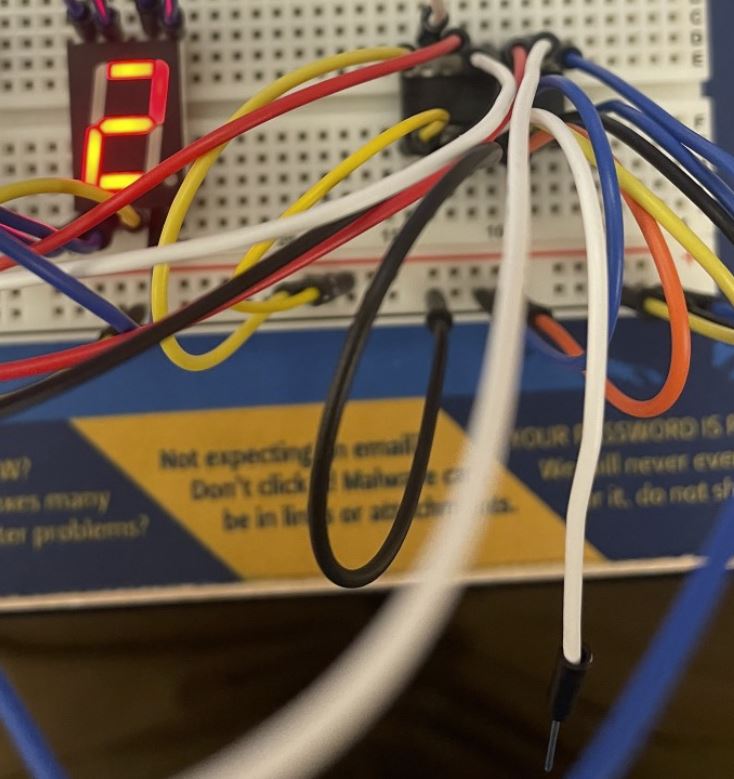
Figure 2.1: Images of SSD powered by two wires displaying 8 and 2. The
other 7 digits can be displayed by plugging/unplugging the seven wires.
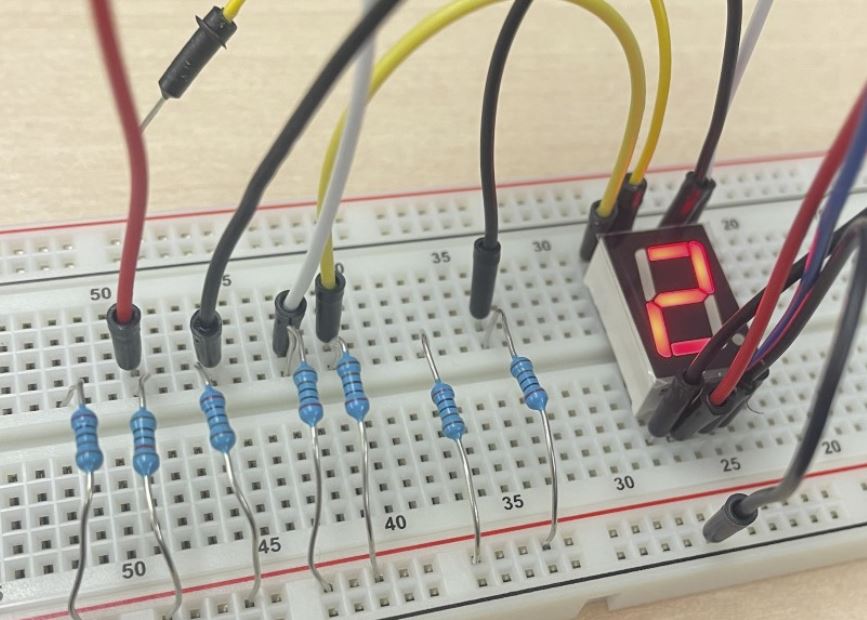
2.2
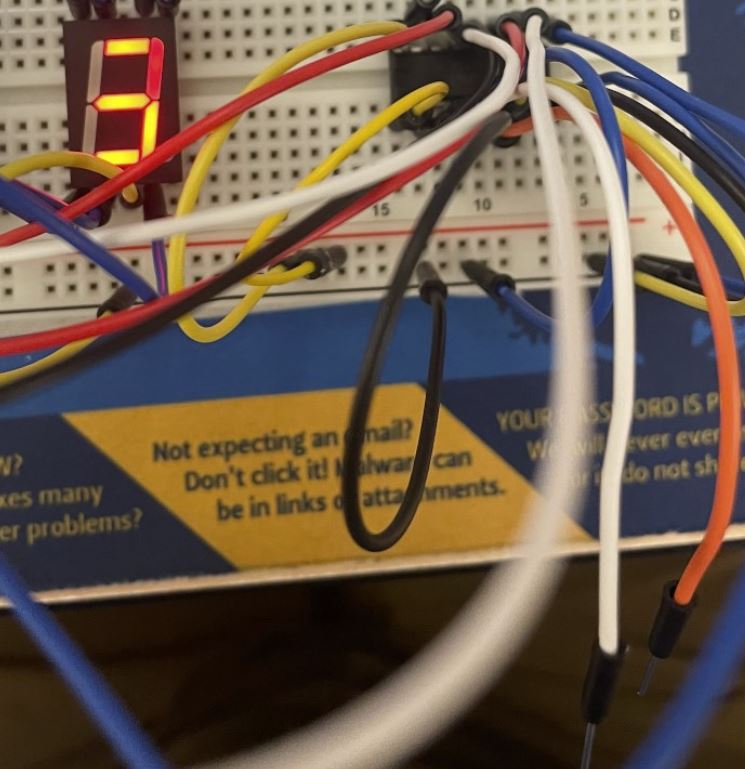
SSD powered by THREE wires (manually) Figure
2.2: SSD powered by three wires manually. Other 6 digits can be
displayed by plugging/unplugging the wires as seen in the figure.
2.3
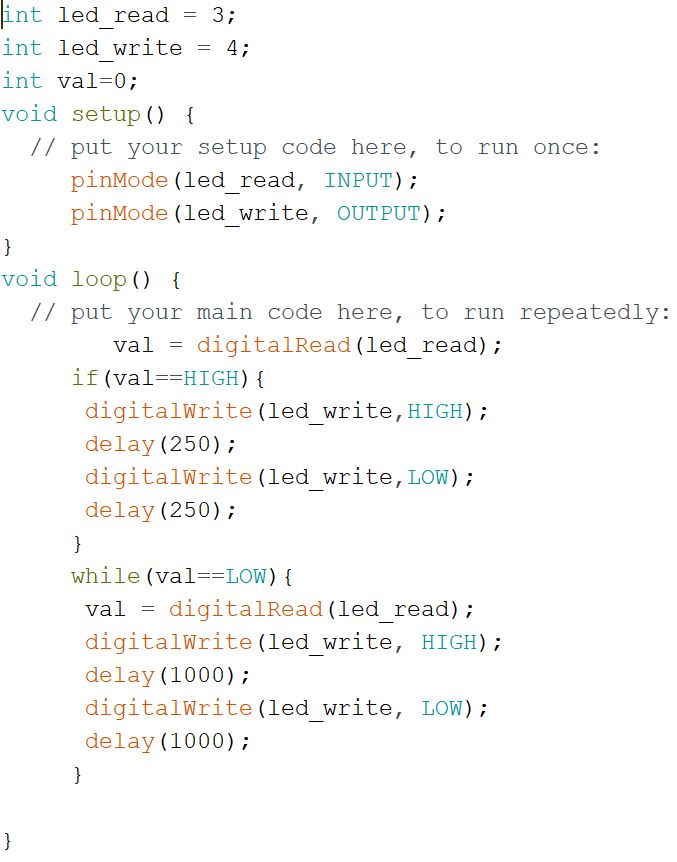
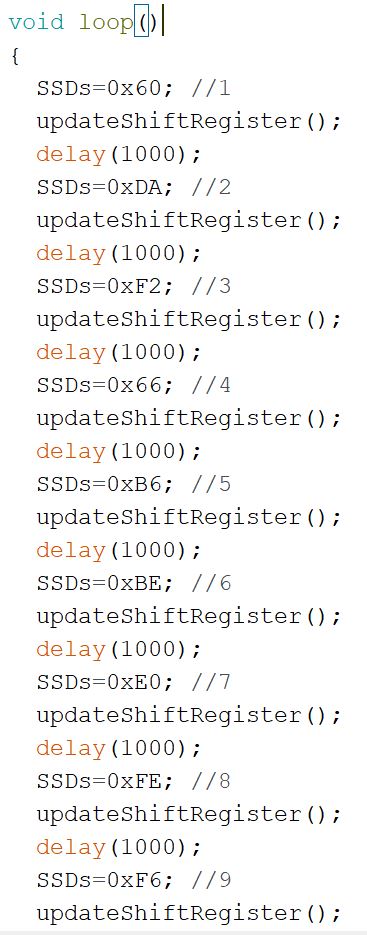
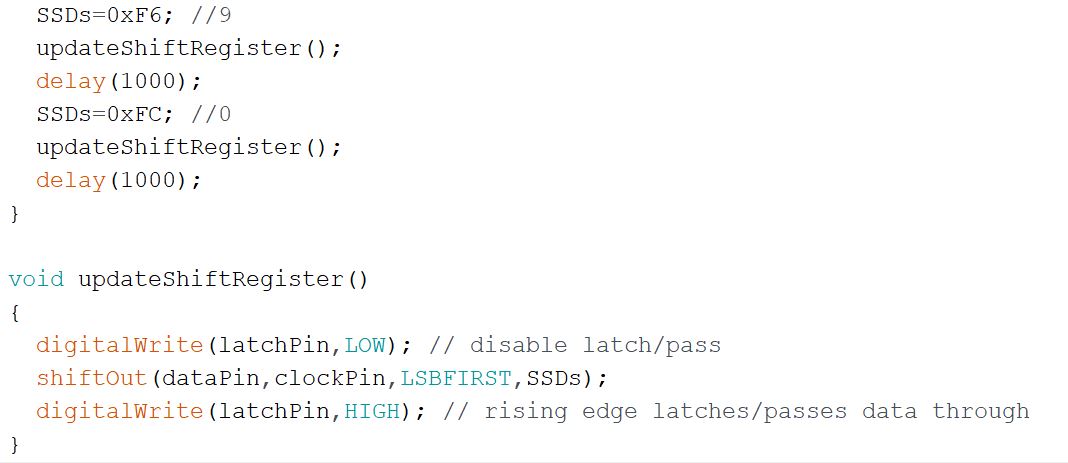
SSD powerd by ONE wire (only one digital line to control all seven pins)
The
code for MSBFIRST was provided. Below is the code modifications when
changing to LSBFIRST. The setup module and pin definition stay the same.
Figure 2.3: Modified 2.3 code for LSBFIRST.
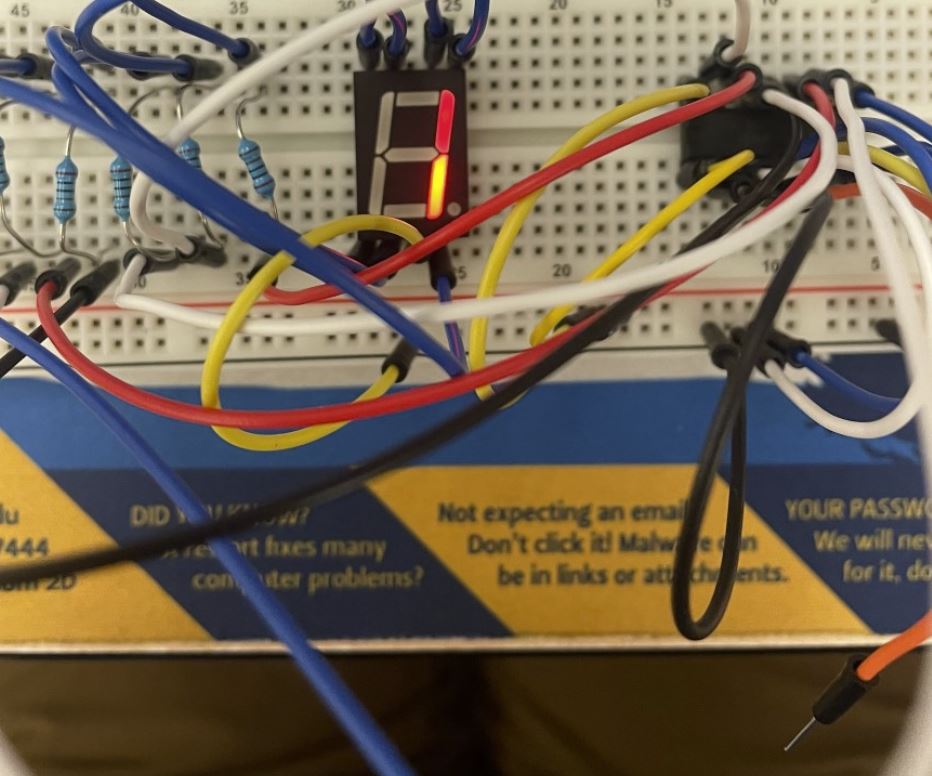
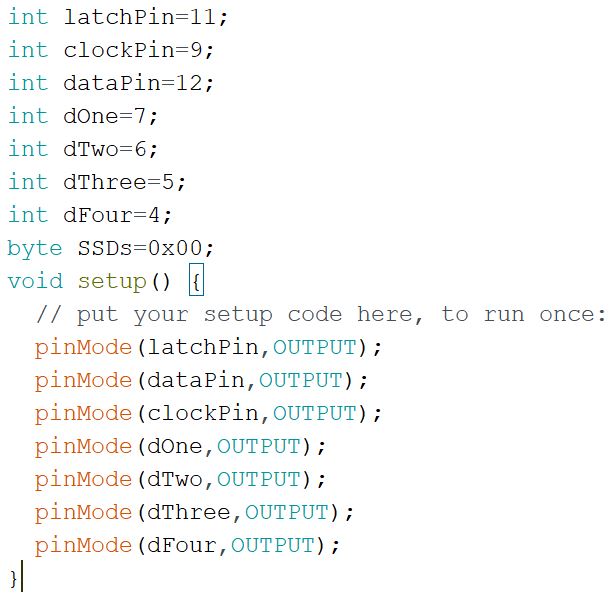
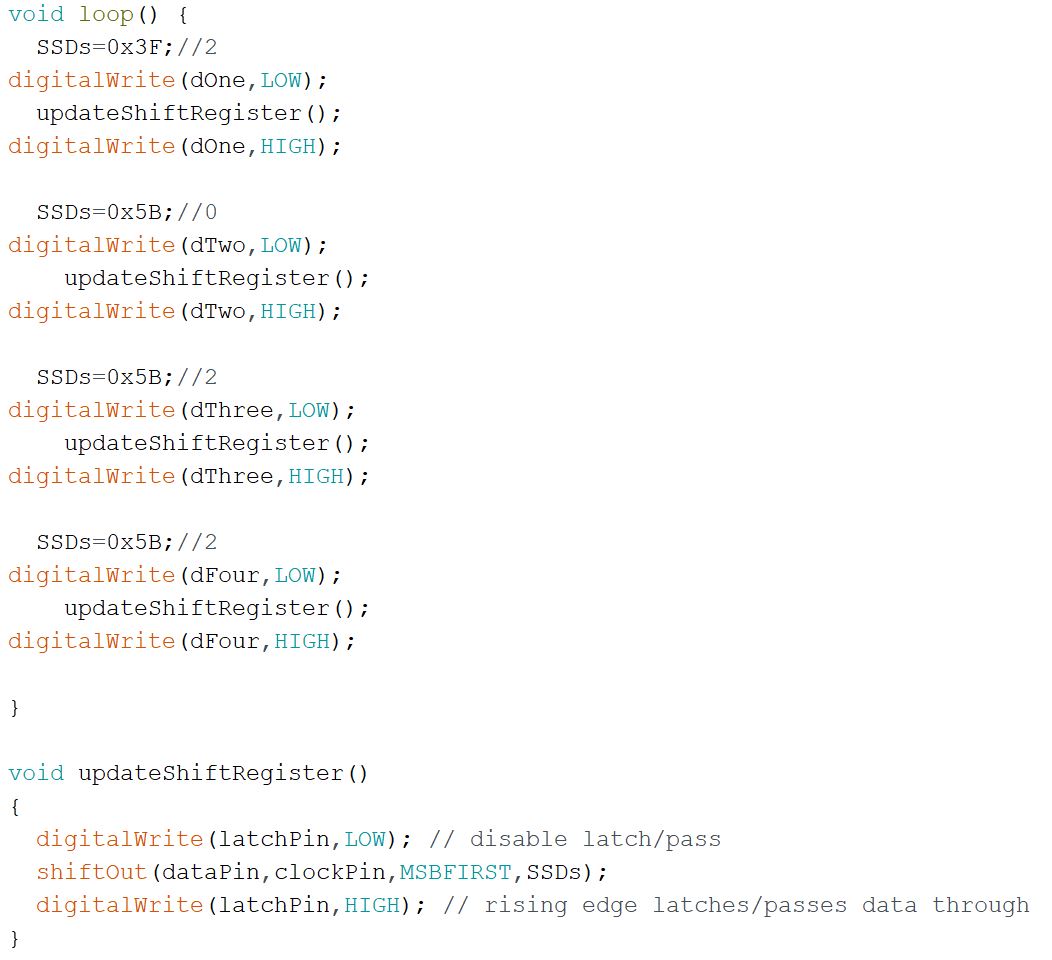
2.4
SSD powerd by ONE wire (More than ONE SSD devices)
Figure 2.4: Code
for 4-digit SSD to display 2022.
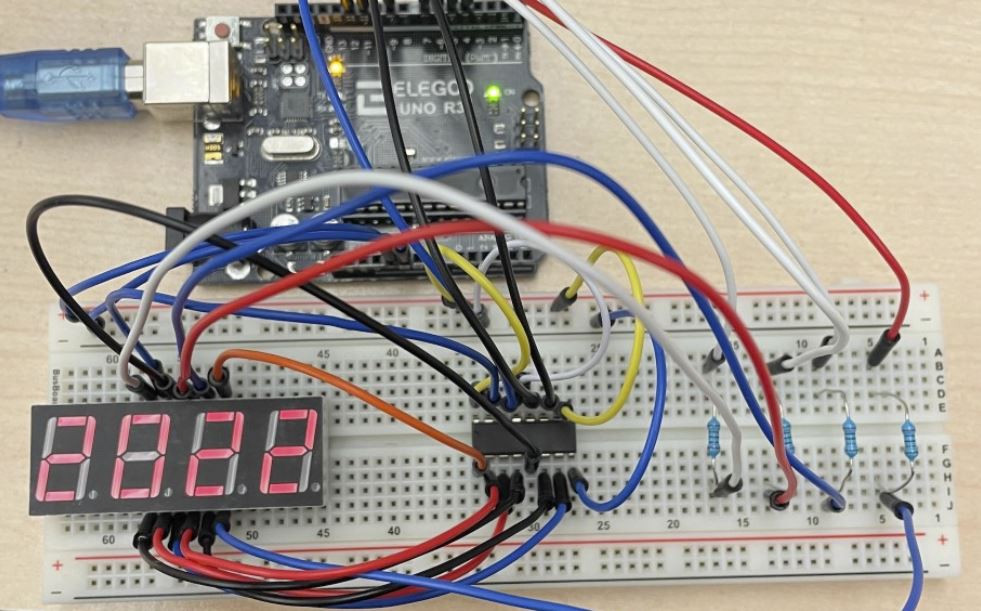
Figure 2.5:
Image verification for 4-digit SSD powered by one wire.
Results:
Following
the tutorials allow for one to start to build an understanding of
coding in Arduino and a glimpse into the world of microcontrollers.
I
found these tutorials quite fun as they allowed for hands-on
verification of one’s code.
Building
these schematics on our own breadboard and setting the pins was also